


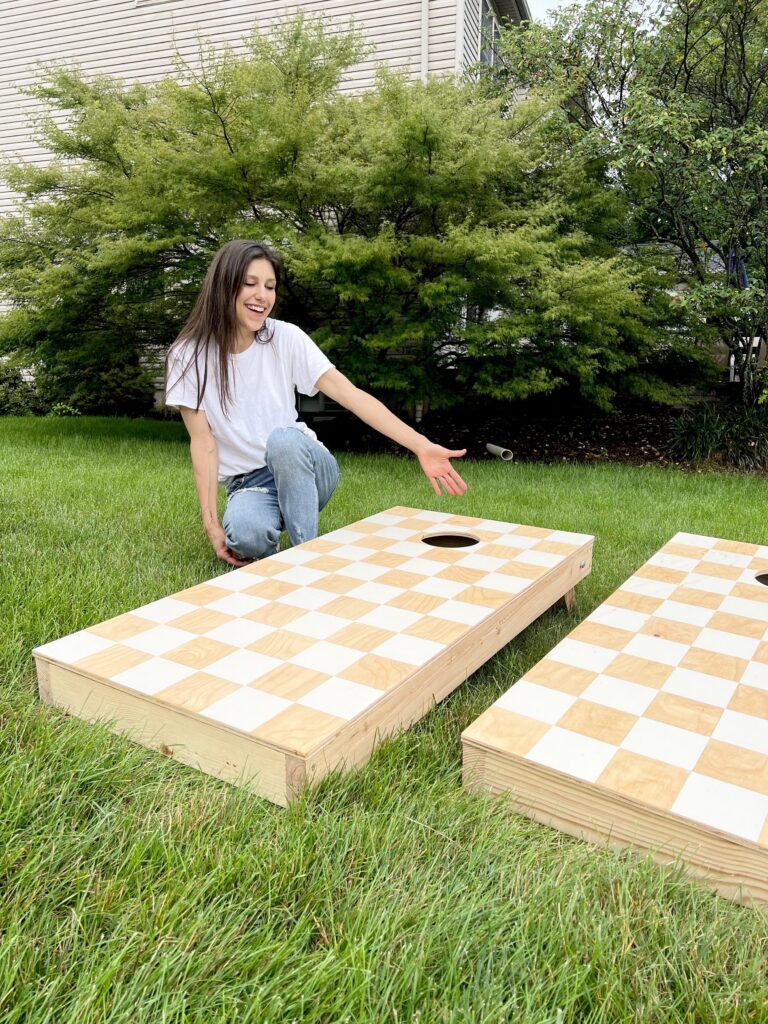
Corn hole is such a fun game but it’s even better having your own custom corn hole boards! For around $100 you can make your very own! Here is how to make DIY corn hole boards.
Let’s build it.
Here is what you will need.
- (2) 2’x4’ 1/2” plywood sheets or you can use these precut corn hole boards
- (4) 2”x4”x8’ studs
- (4) 3/8” Carriage bolts
- (8) 3/8” Washers
- (8) 3/8”nuts
- Paint ( I used Benjamin Moore Natural Cream)
- Stain (I used Minwax fruitwood.)
- Semigloss Polycrylic
- 1/2” Drill Bit
- 3” Wood Screws
- 1 1/2” screws or nails if using a nail gun
- To cut out opening – Jigsaw (or 6” hole saw)
- Corn Hole Bags
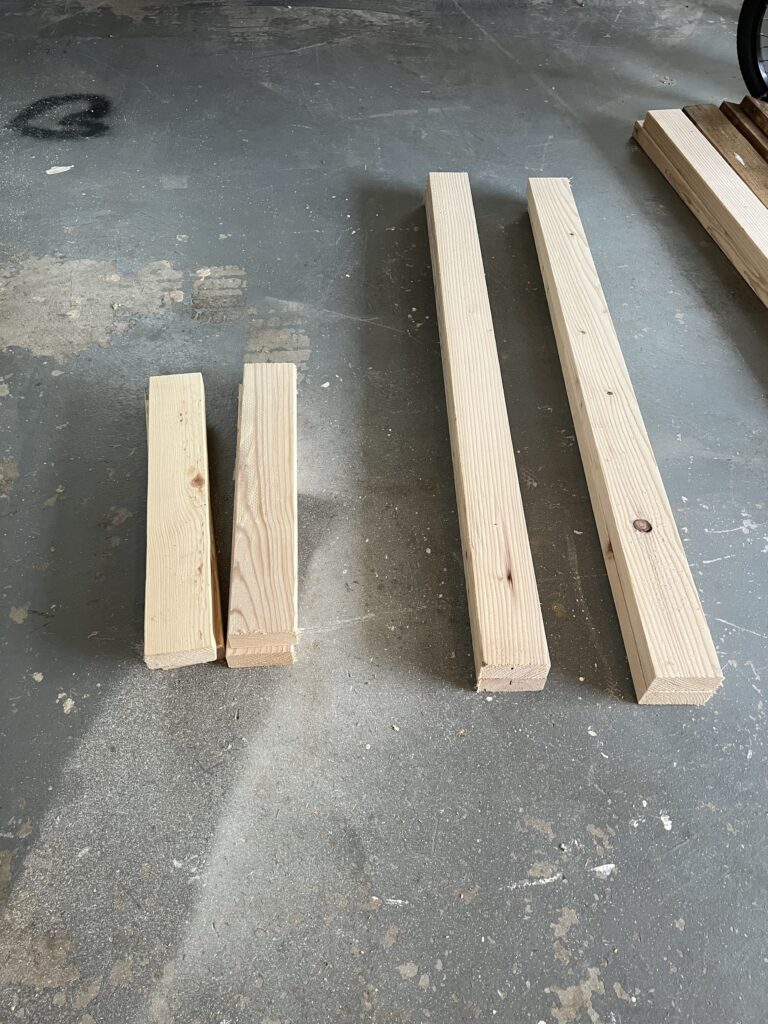
Start by building two bases. You will need to cut:
(4) 21” boards
(4) 48” boards
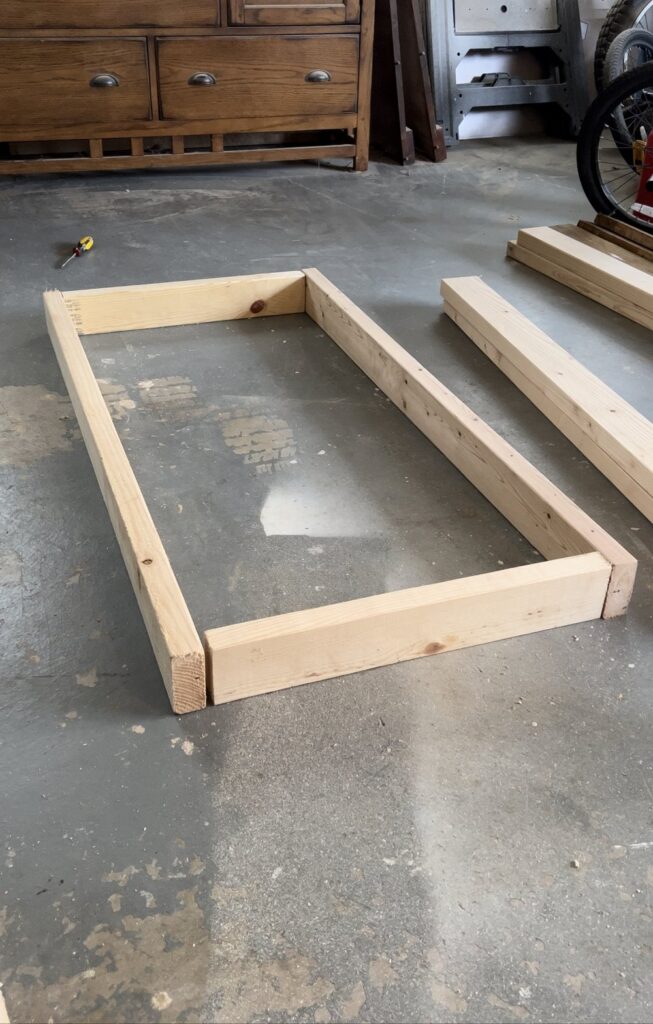
Attach your boards together with 3” wood screws. I predrilled the screw holes with a smaller bit before sinking the screws to avoid stripping the screw head or splitting the wood.
Once you have your bases built, grab your 2’x4’ plywood sheets and screw (or glue + pin/nail) one plywood sheet to each base.
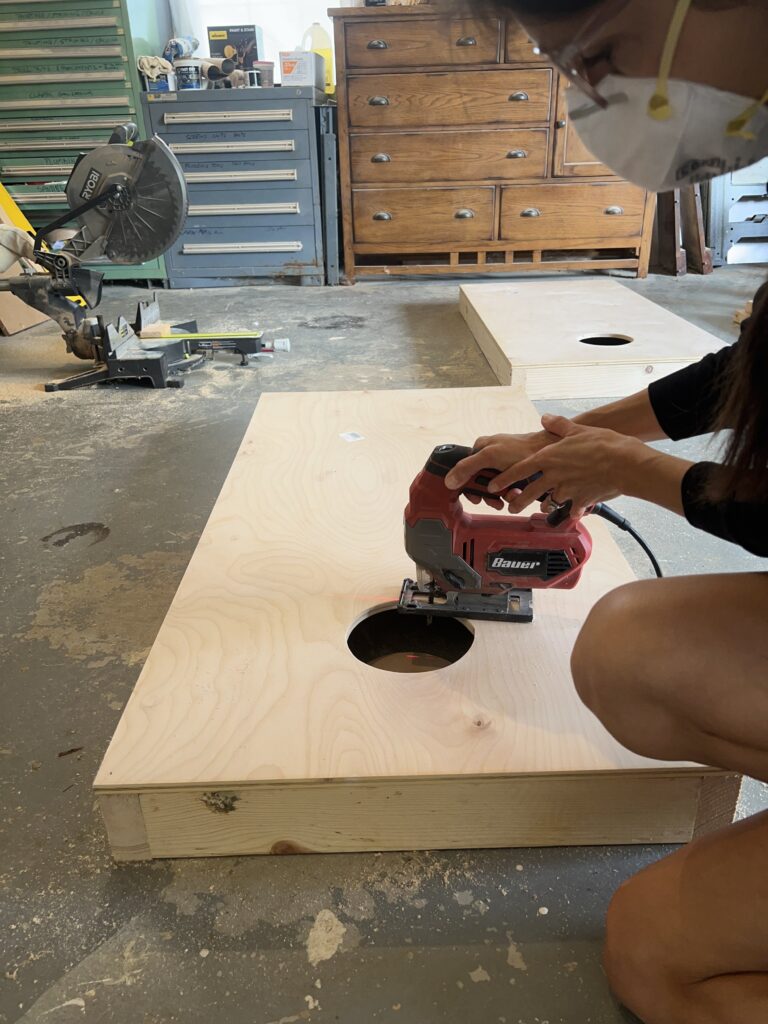
Now you are ready to cut your 6” opening in your plywood toppers.
Measure down 9” from the top of your board and 12” from the side. This is where you will want the center of your 6” circle to be.
Trace your 6” circle and use a jigsaw to cut the opening or use a 6” hole saw. (I opted for the the jigsaw to save money. Drill a hole large enough to fit your jigsaw blade through to start your circle cut.) You can also use these precut corn hole plywood sheets. It’s actually less expensive too!
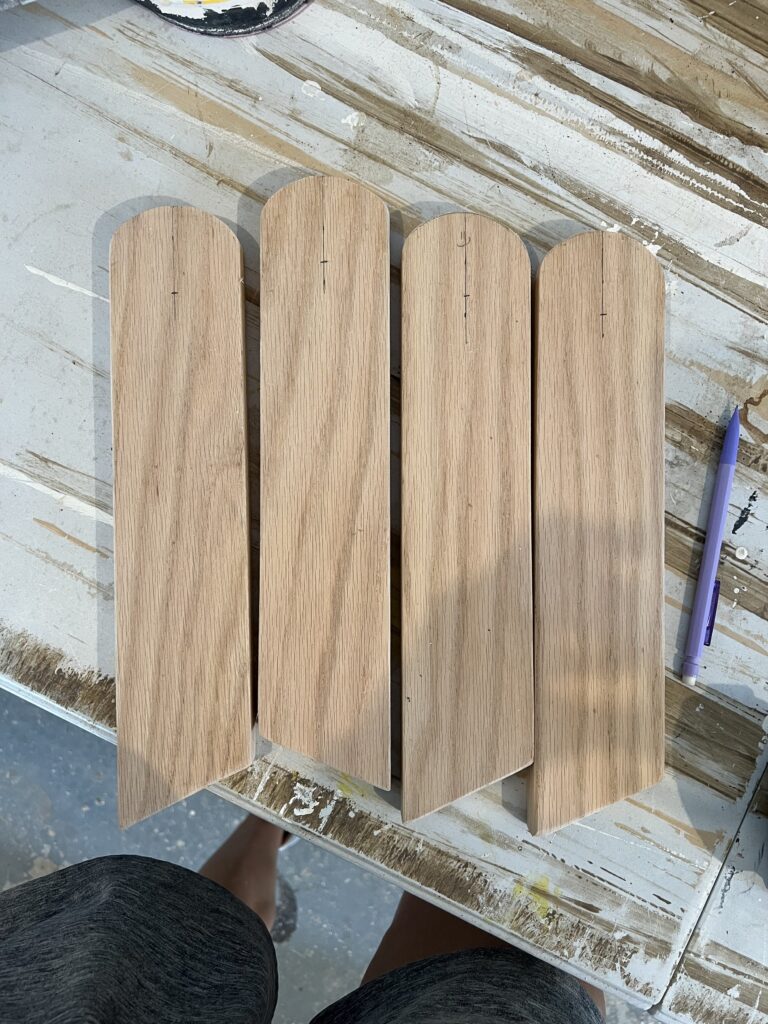
For the legs.
(4) 12 1/4” length with a 25* angle cut at one end
I decided to use some scrap oak I had for the legs but you can use the 2×4 studs for these as well.
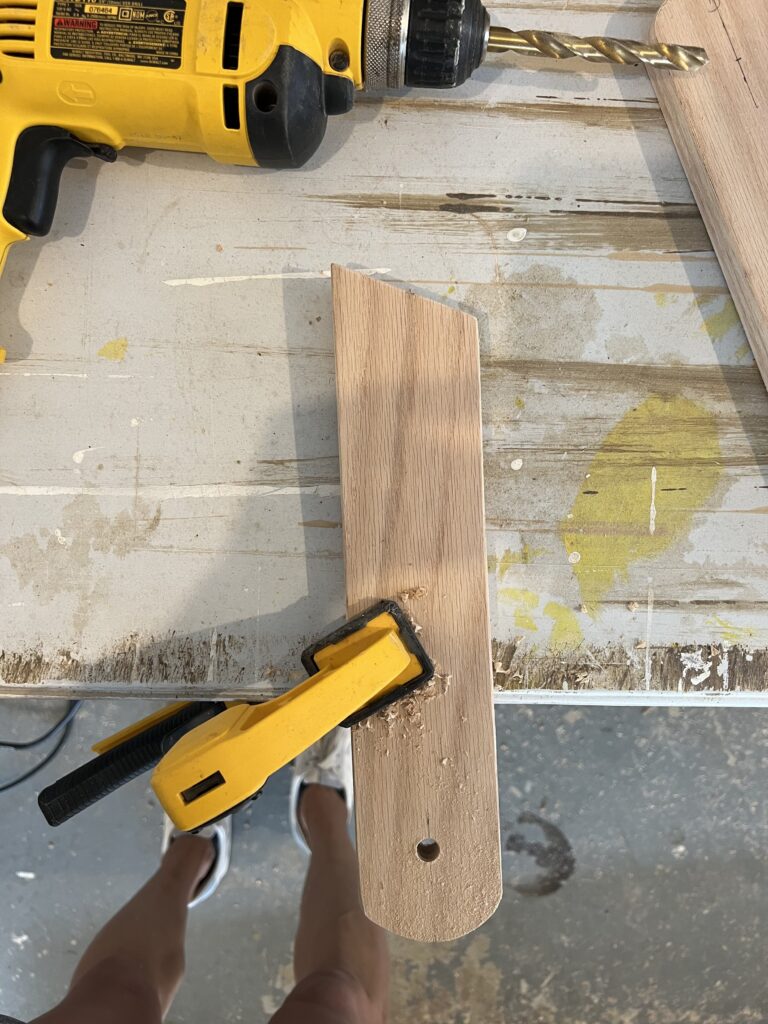
I also angle cut the top areas on each leg and rounded the edges to allow them to turn easily when setting up the corn hole game.
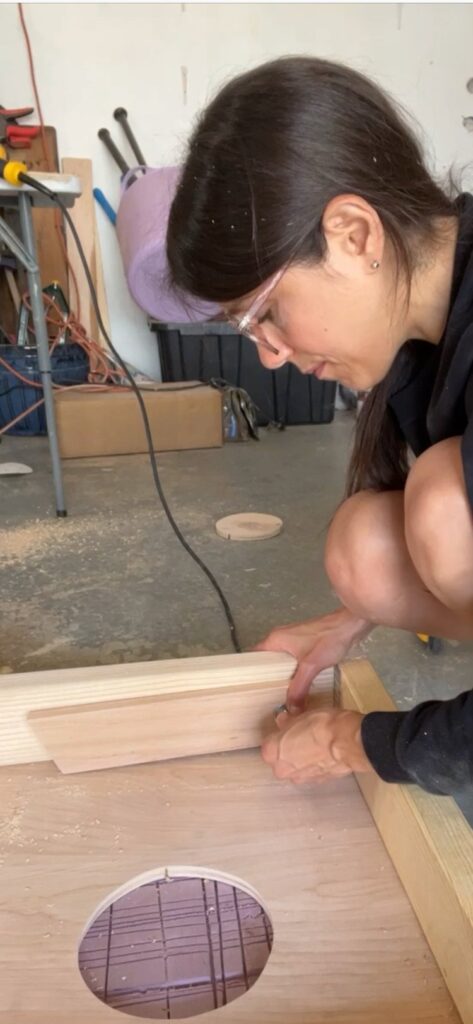
Drill a 1/2” hole
To drill a hole for your carriage bolt to run through when attaching legs to the base – find the center of your leg (width wise) and measure 1” down from the rounded top. Mark and drill your hole.
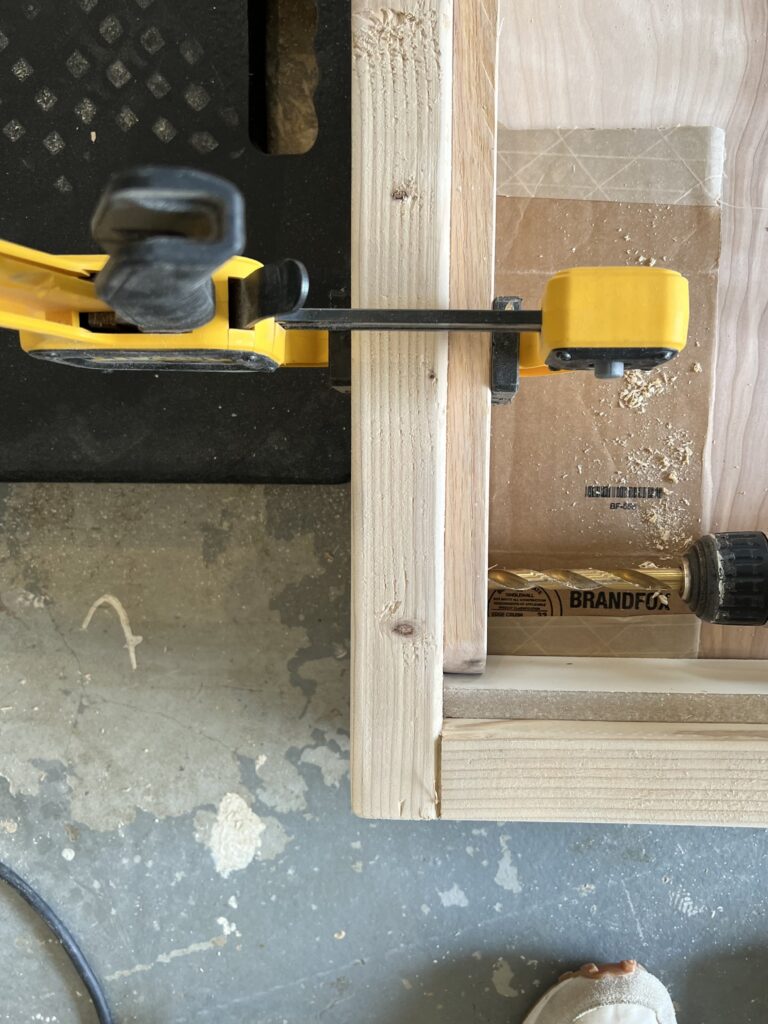
Attaching the legs
Set your legs into place with a piece of cardboard underneath and a 1/2” spacer between the base side and rounded leg top. Clamp your leg into place, grab your 1/2” drill bit and drill right through the leg opening into the corn hole base.
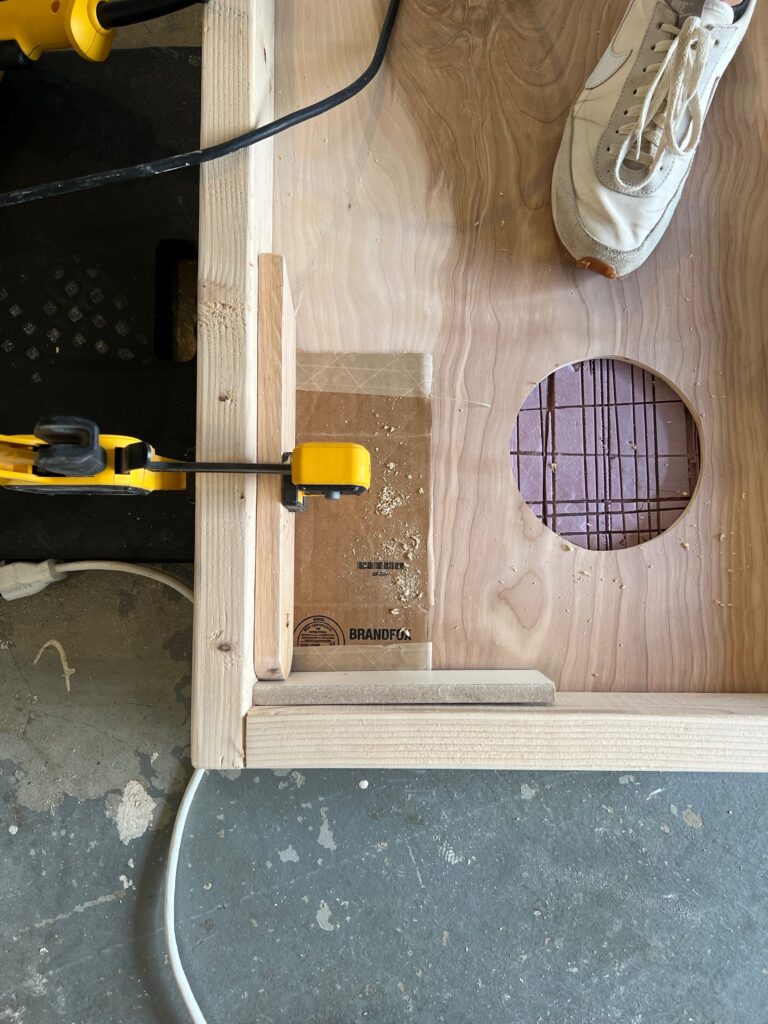
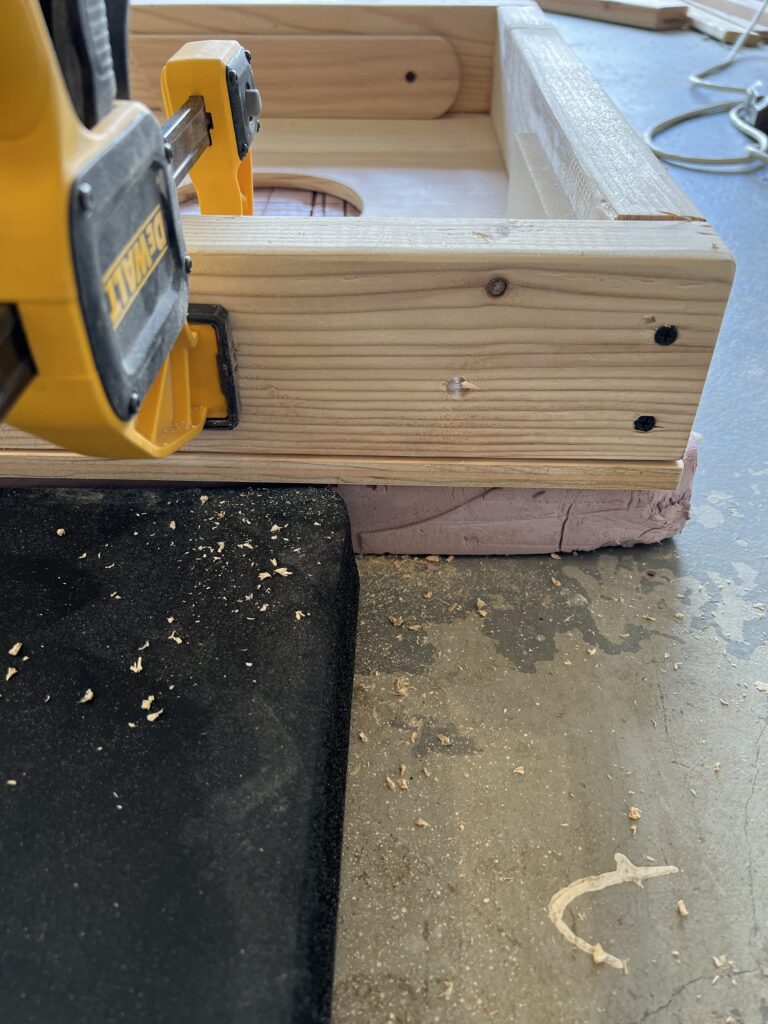
cardboard under leg
1/2” spacer between base and rounded leg top
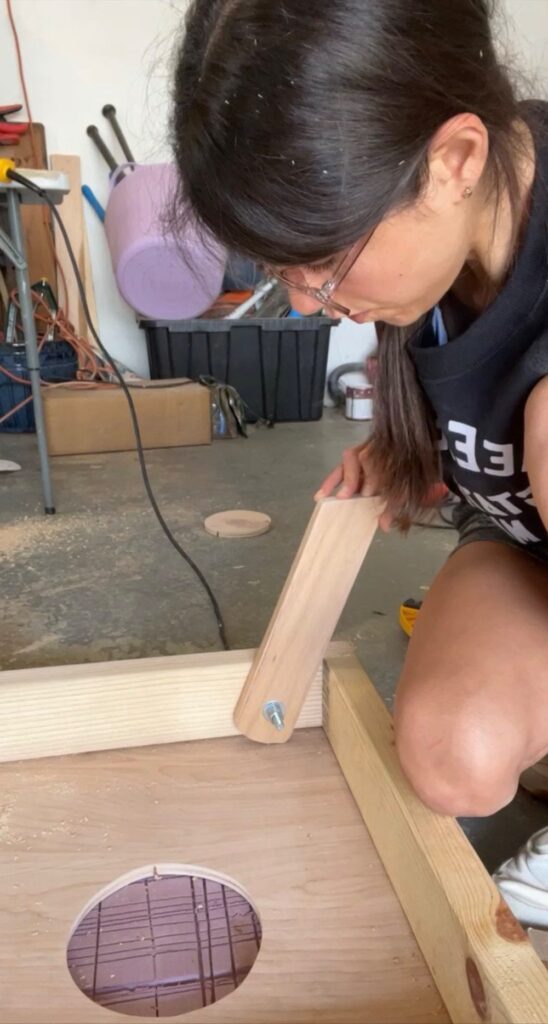
Next step:
Unclamp your legs and remove the cardboard and 1/2” spacer. Grab a carriage bolt and insert it fully through the opening in the base. Once the carriage bolt is through the base, add a washer, then leg, another washer and two bolts. Make sure your leg rotates. Fully tighten the first bolt before adding the second. The second bolt will act as a locking bolt and keep the leg attached.
Finish it off!
Before you add your special design touch, give it all a light sanding with a 120 grit. I chose to make a checkered pattern but the possibilities are endless!! Once you have your paint or stain design finished, seal the entire board (including legs) in a semigloss polycrylic.
You will want to do three coats.


