

Spring One Room Challenge
Half Bath 8 Week Transformation
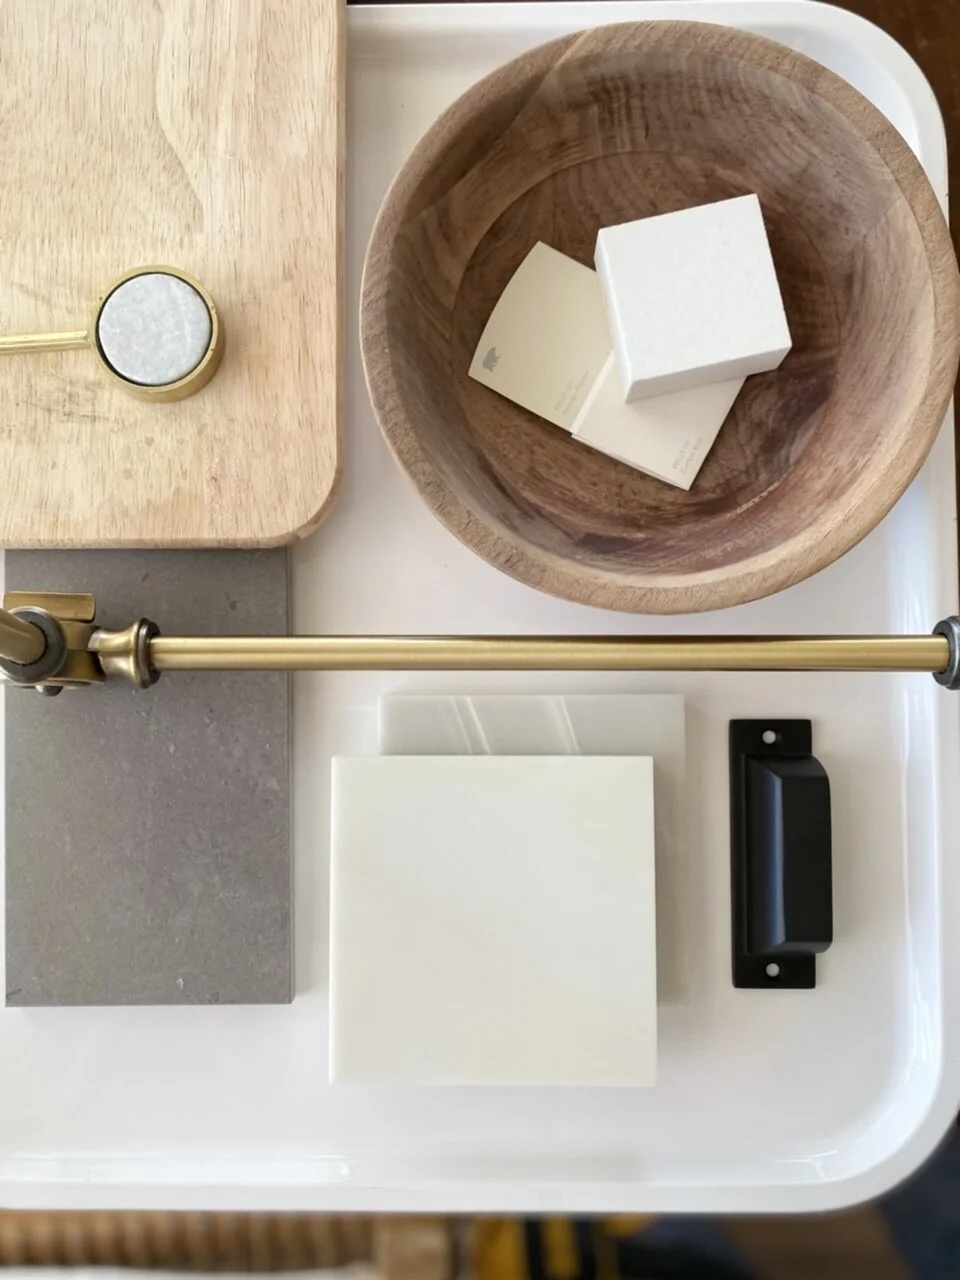
Half Bath Mood Board
For the half bath, I want to create a modern yet organic feel. Bringing in warm woods and other natural elements…such as DIY concrete tiles yes, I’m crazy…
I want function and beauty – the space needs to feel cohesive, collected and kid friendly of course!
WEEK ONE

Spring One Room Challenge Mood Board @betterhomesandgardens @oneroomchallenge #bhgorc #oneroomchallenge
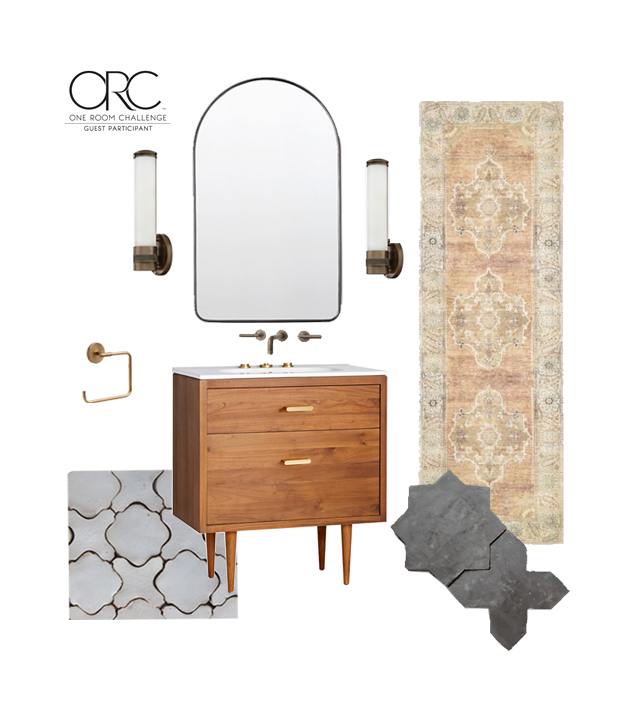
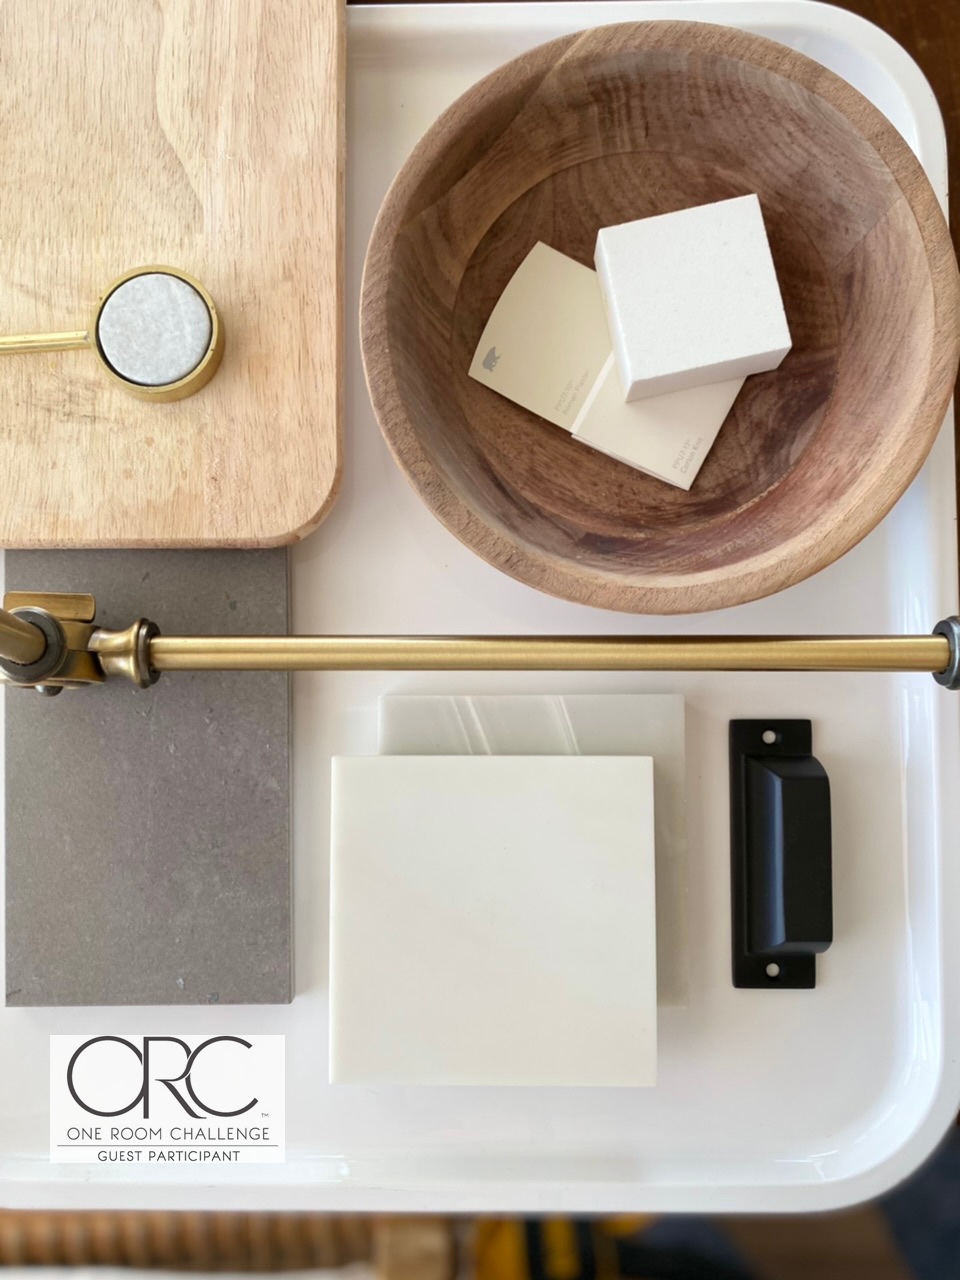
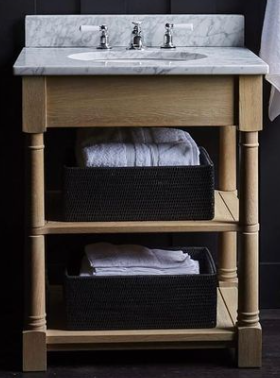
For the vanity…
I want to use a family antique sewing table. It is the perfect size for the space. Light fixtures will most likely be brushed brass or matte black. I plan to mix metals and finishes for this bathroom to create more layers.
For the floors…
I mentioned before that I plan to make my own cement tiles! I have never tried anything like this before. I was inspired by Mandi and her husband from Vintage Revivals. The couple has been making their own cement tiles for their current renovation. Seeing them go for it got me thinking that maybe, just maybe, I could make my own DIY cement star and crossed cement tiles.
I am very nervous BUT since the wait time on authentic star and cross tiles is 8-10 weeks *ugh, my only option at this point is to make my own. (Plus, I just really just want to.)
Spring One Room Challenge Mood Board
@betterhomesandgardens @oneroomchallenge #bhgorc #oneroomchallenge
#betterhomesandgardens
Spring ORC
WEEK TWO – DEMO
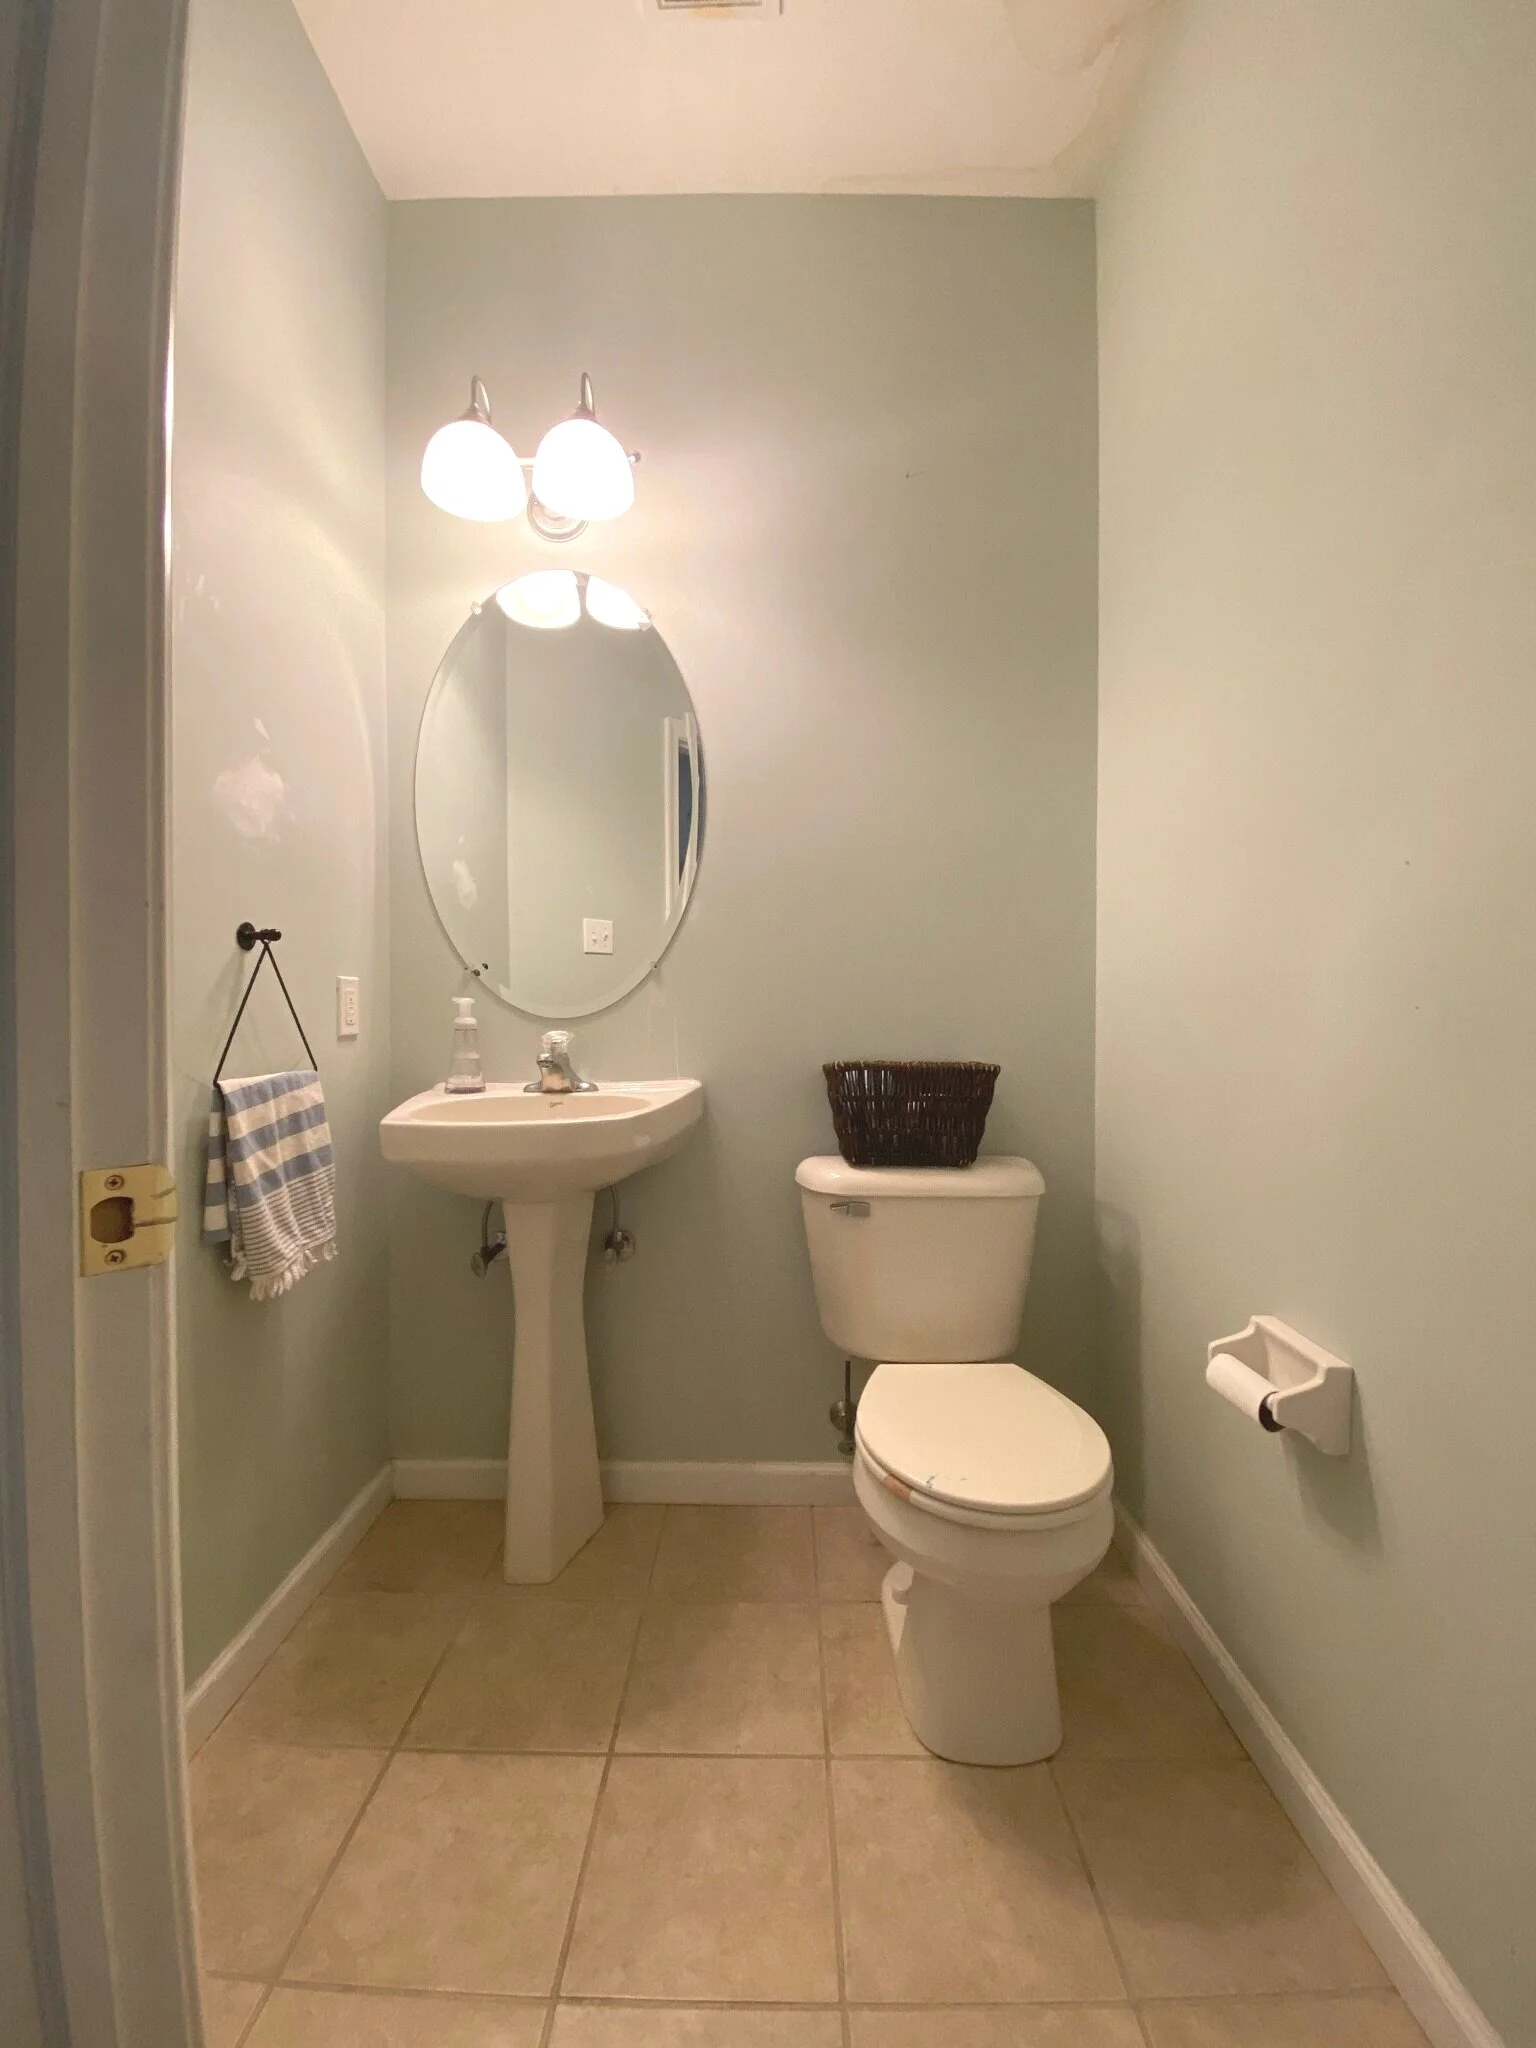
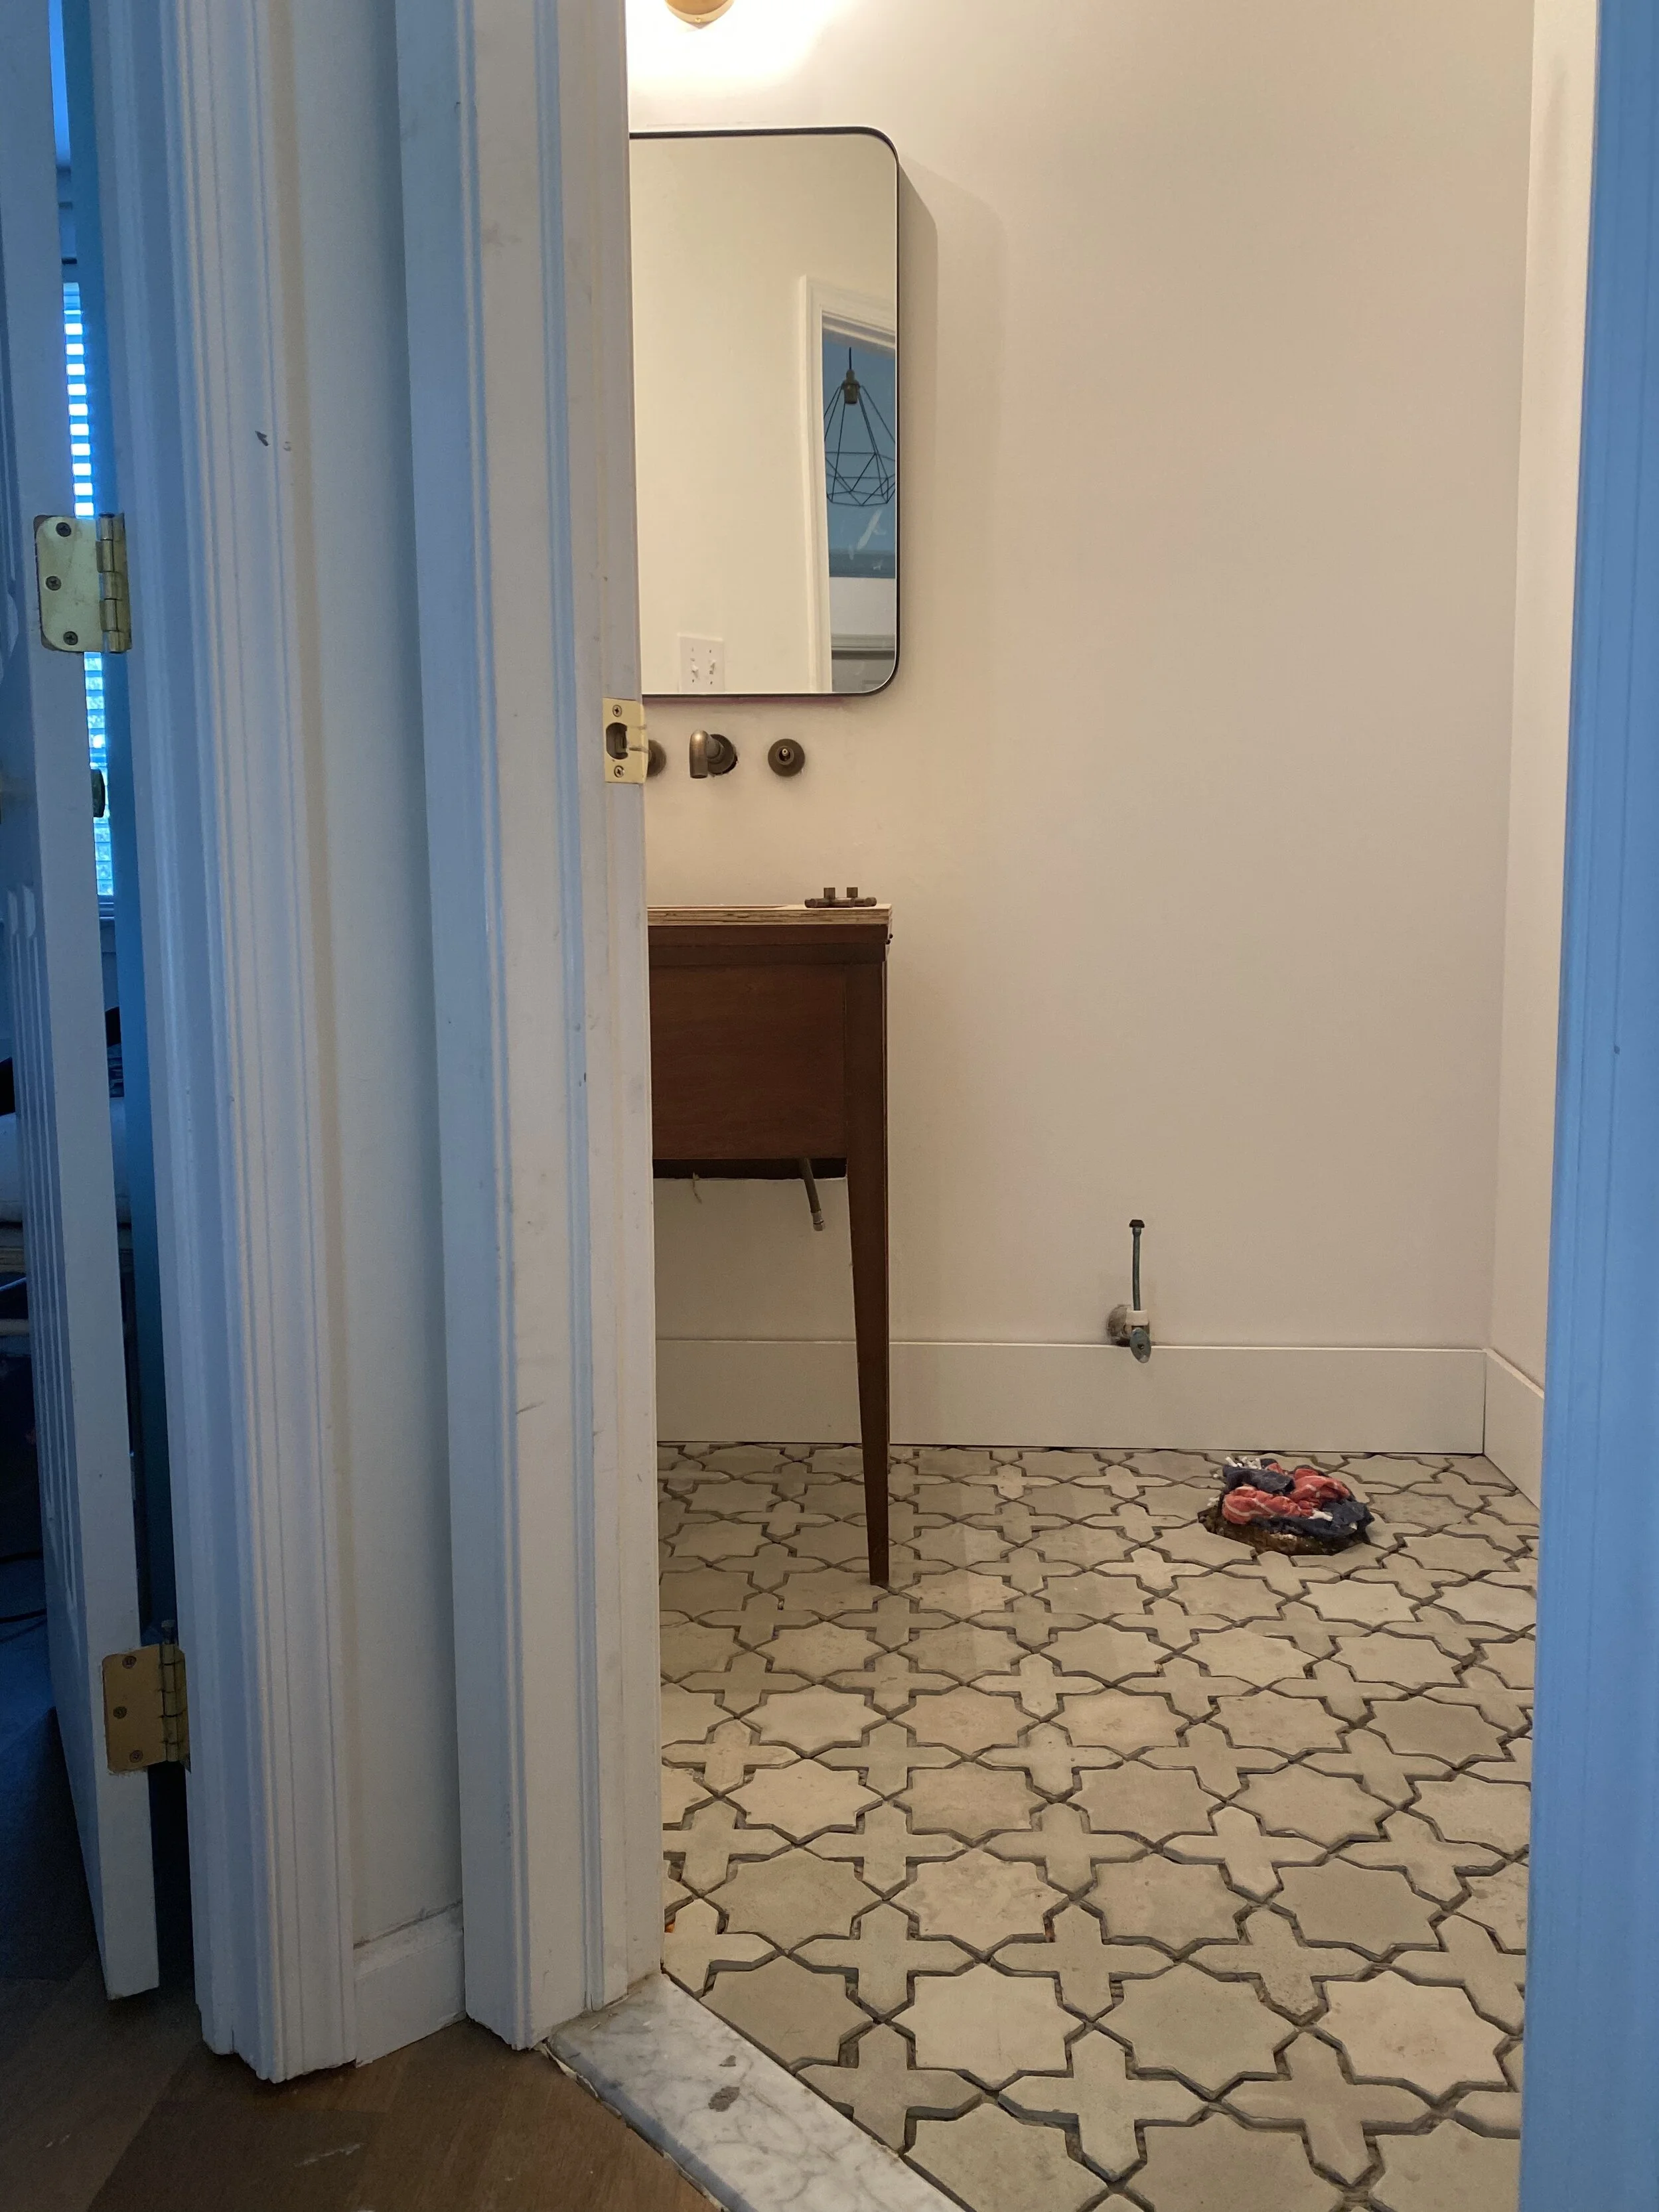
How amazing is this before?
This bathroom definitely needed some updating. Not only did it feel dreary and boring, it had zero function when it came to storage and seriously lacked any character or style.
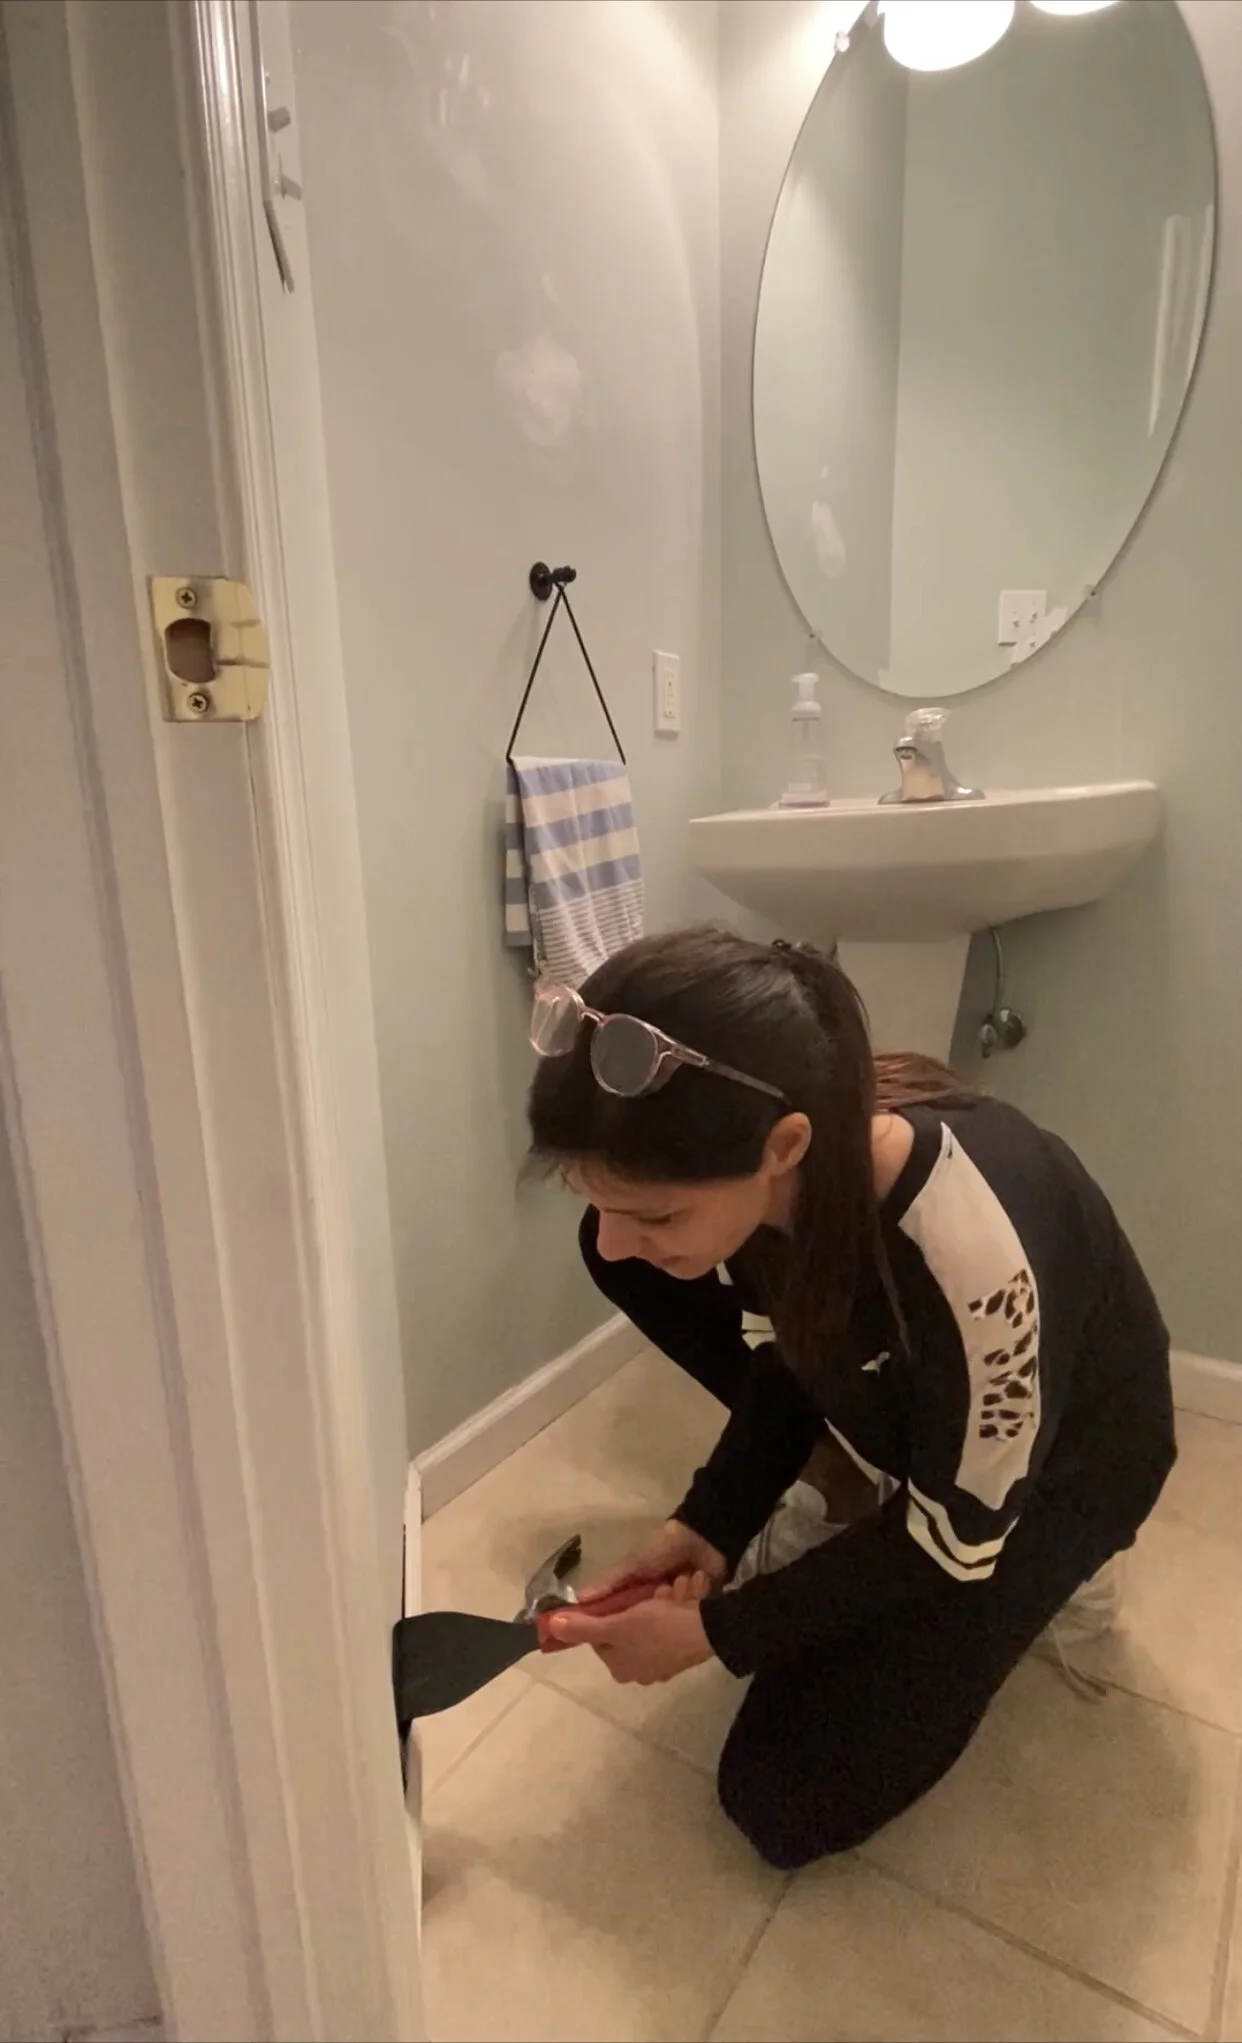
Removing baseboards first.
The first step to removing all of the tile was removing the baseboards. I BEGAN by scoring the top of the trim with a utility knife. Then I used this trim puller to get behind the molding and easily remove it without damaging the drywall behind it! This tool is a must to have!
How I removed the baseboards.
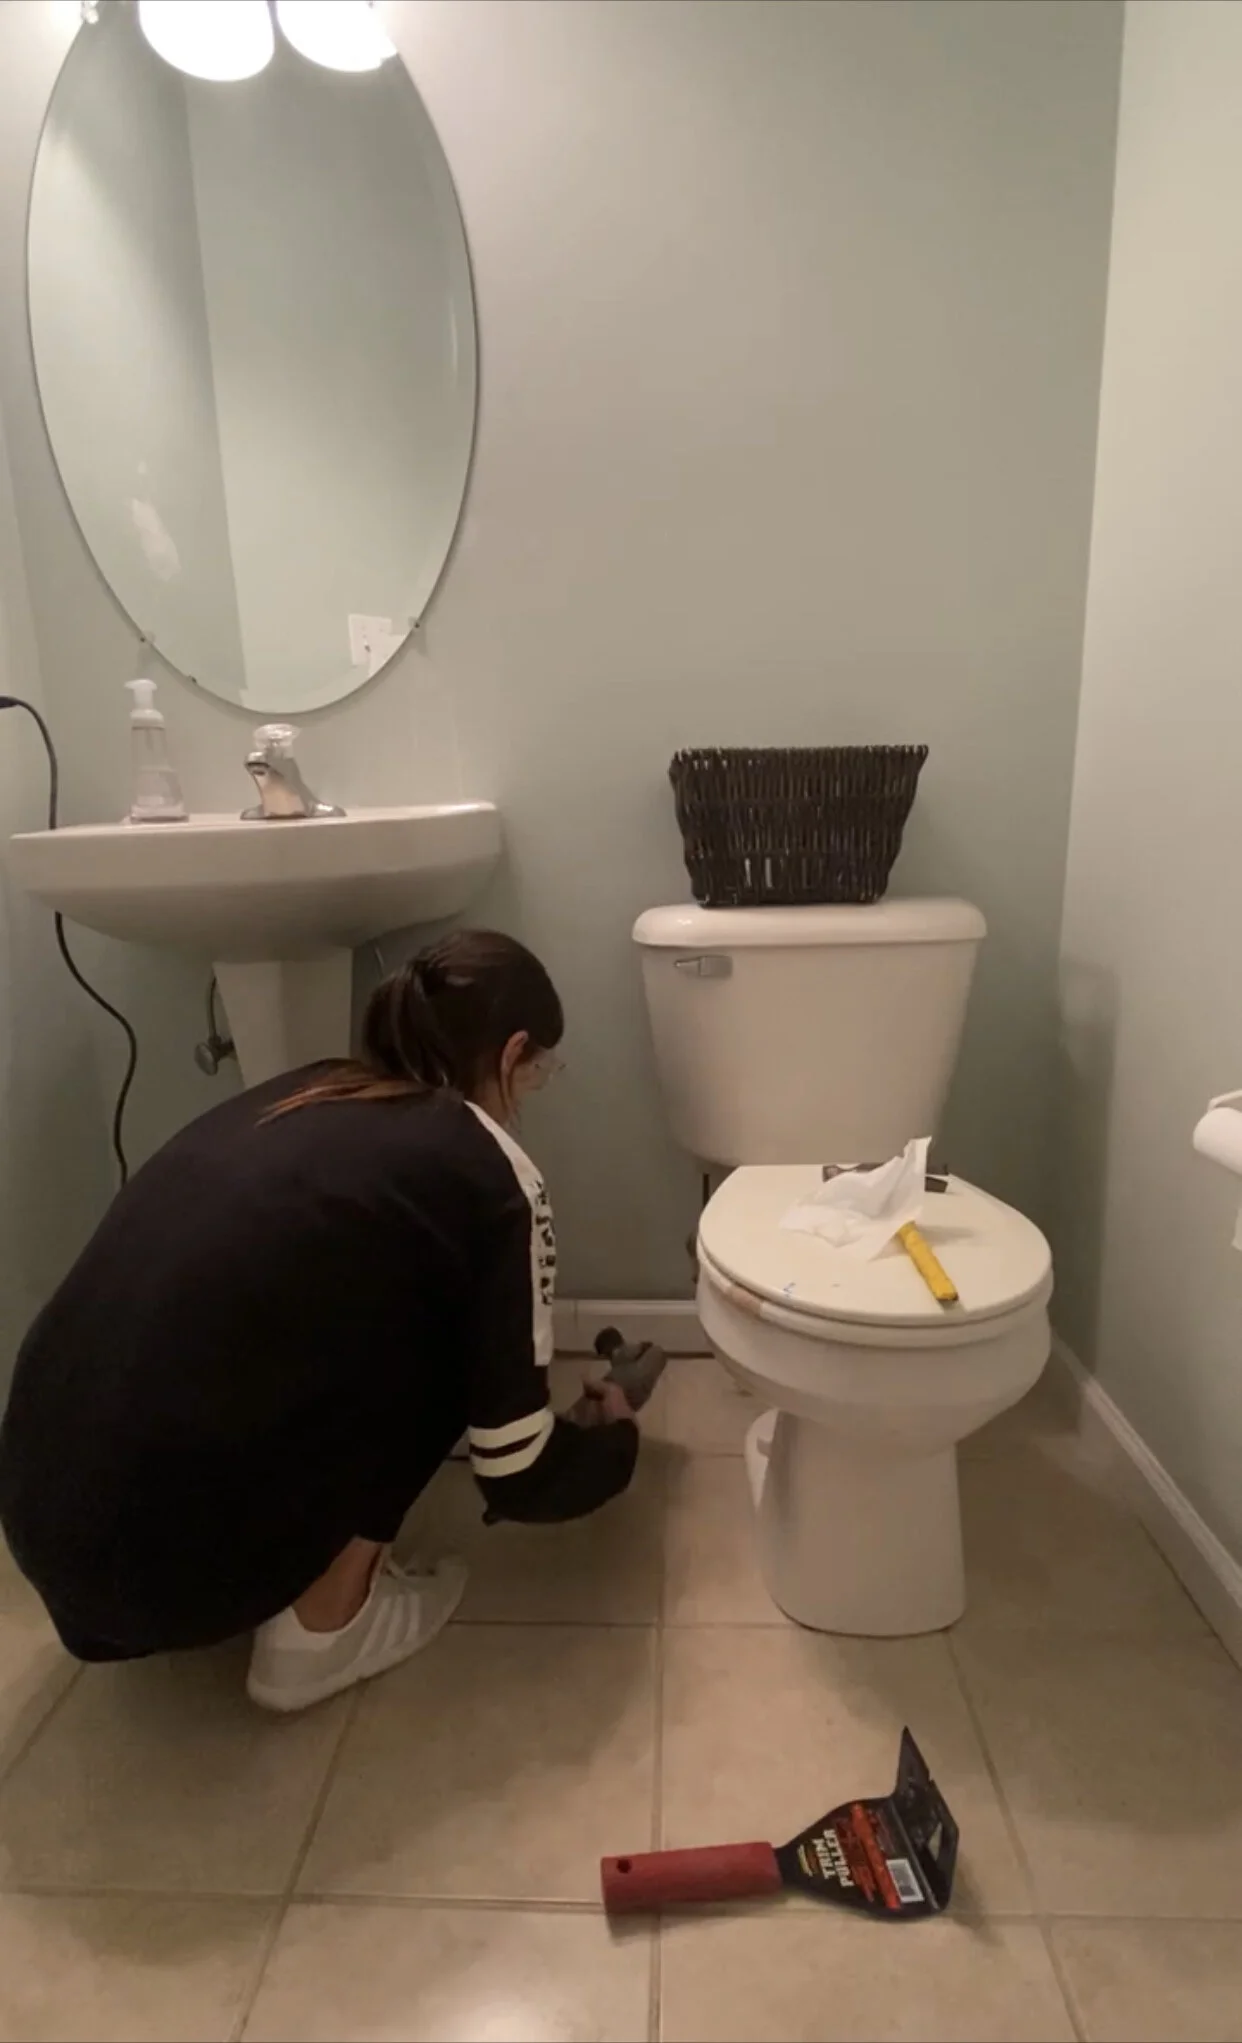
This back piece of molding put up a fight! So I used my multi tool to cut this trim right in half!

I also gave it a little kick…shhh.
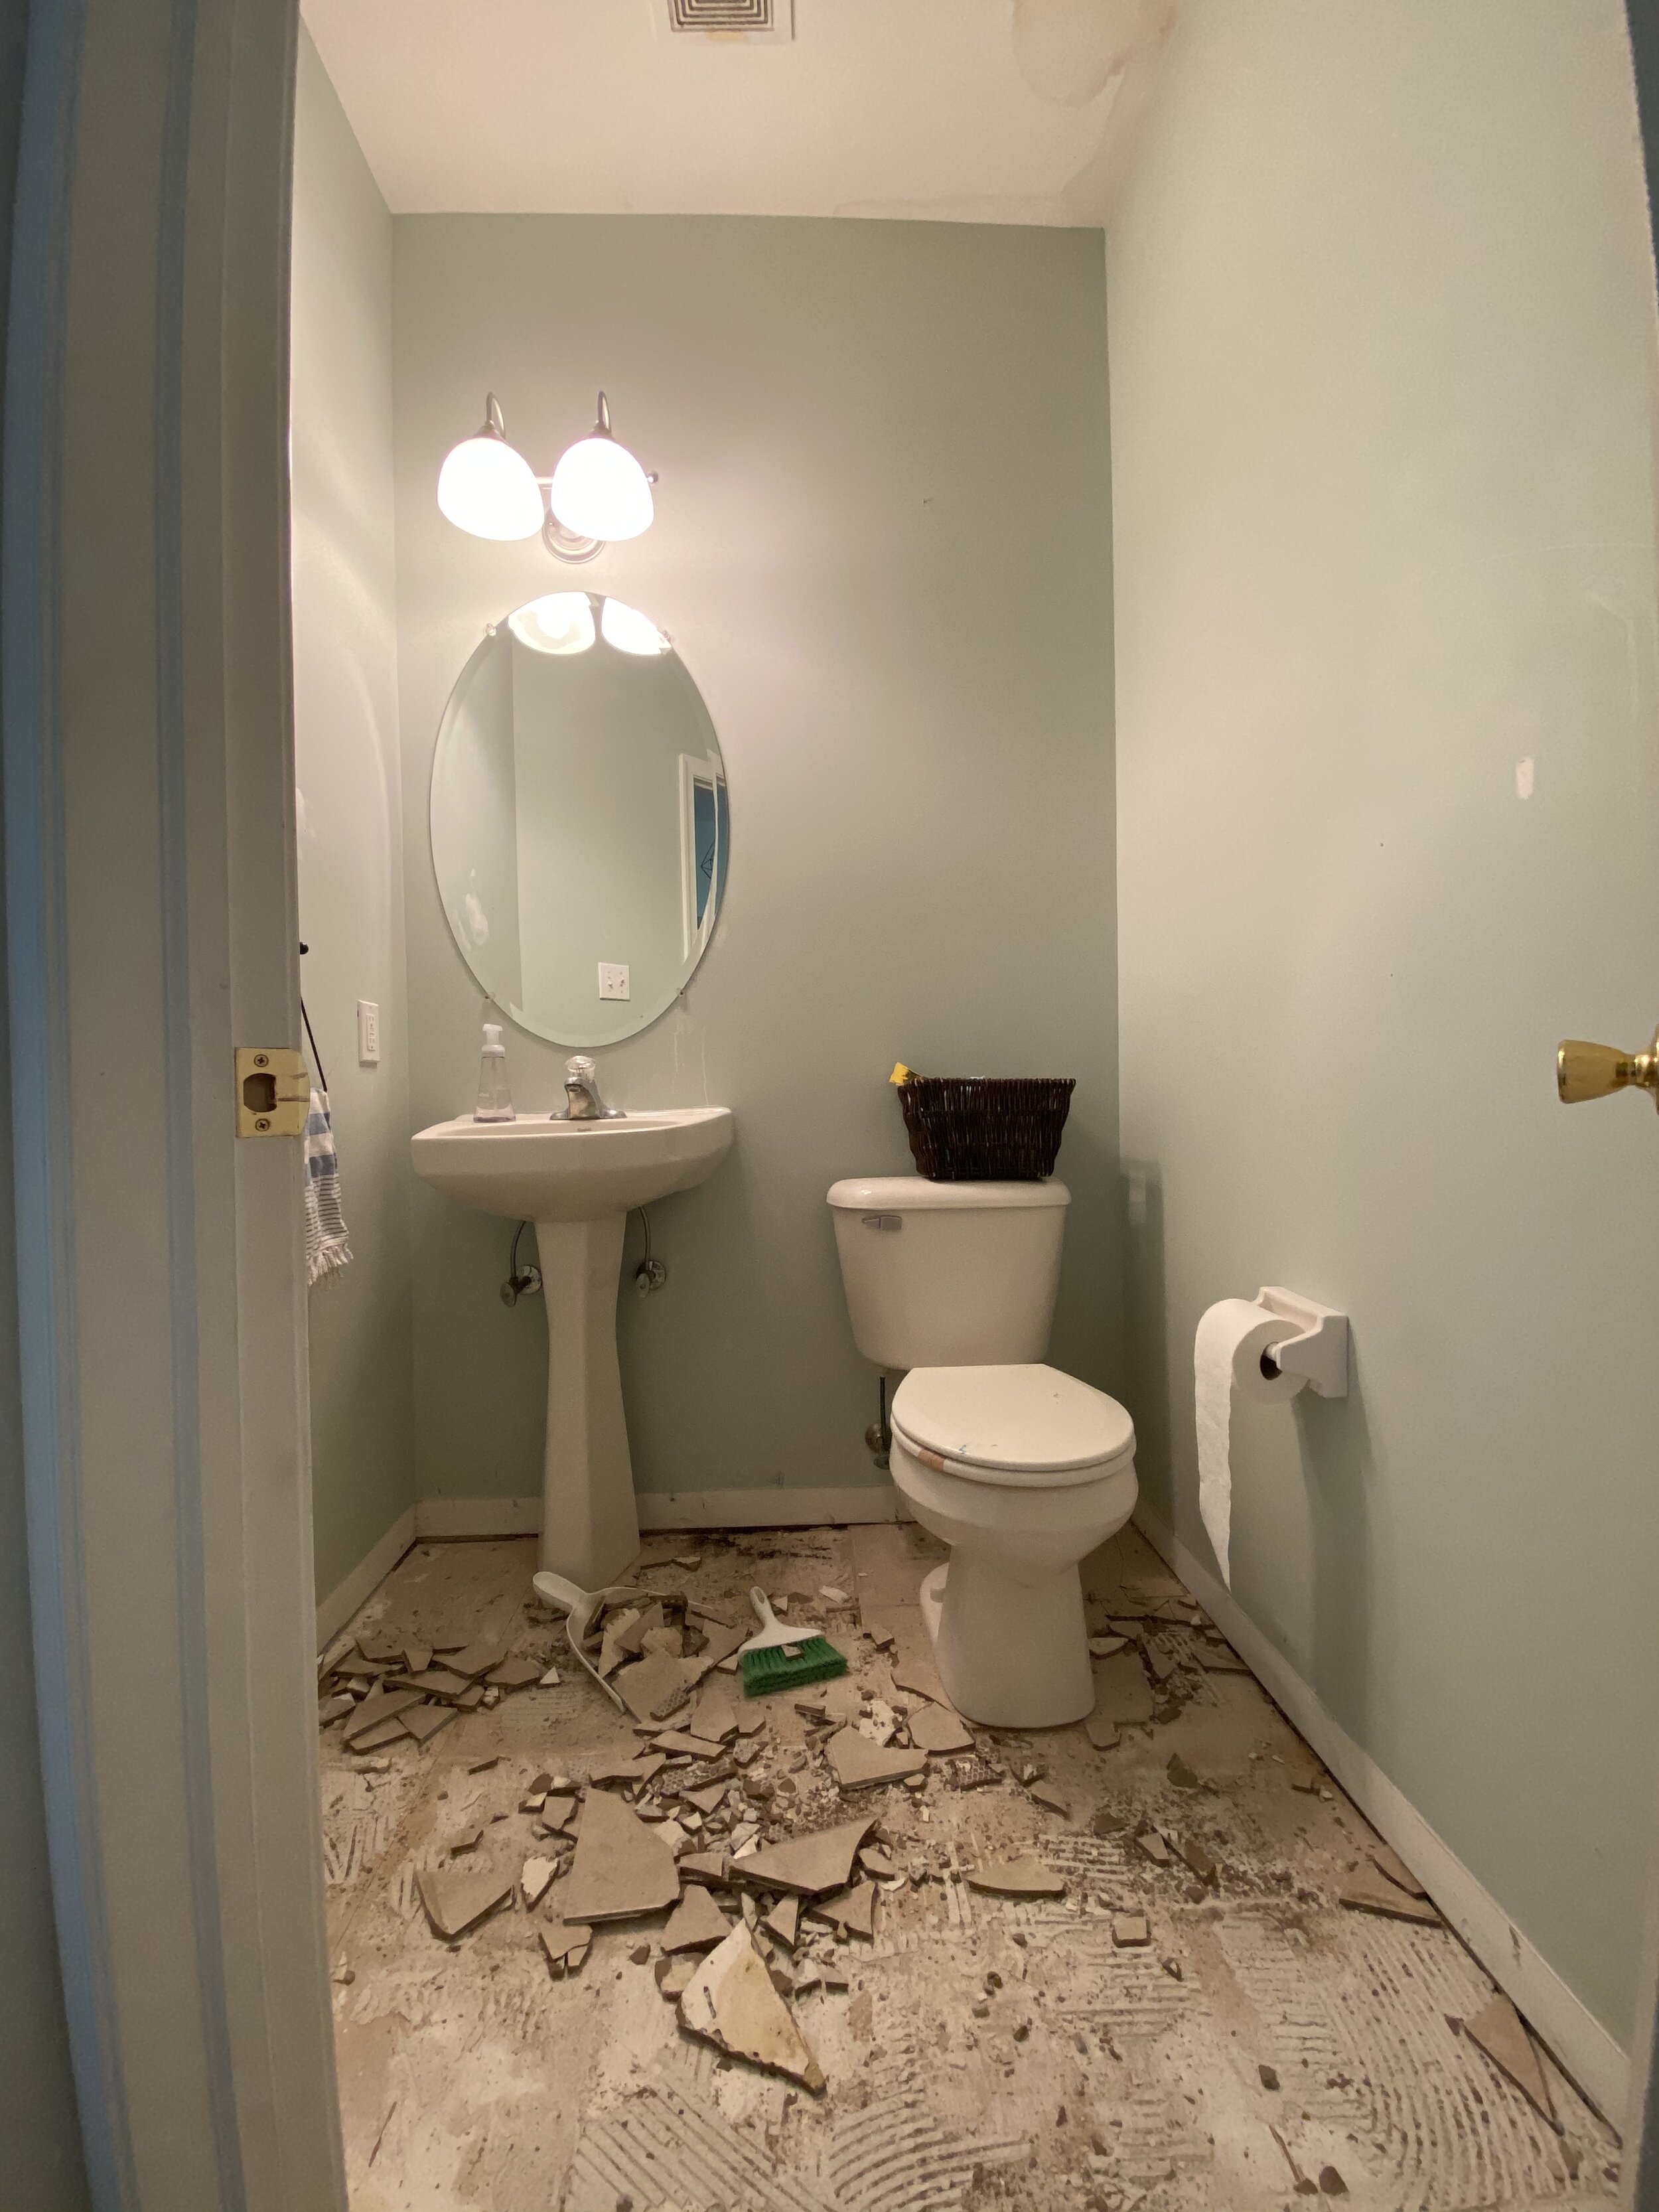
After about an hour or so, almost all of the tile was out! These tiles came up pretty easily unlike the tile we had in our kitchen and entry way when we first moved in. Ugh!
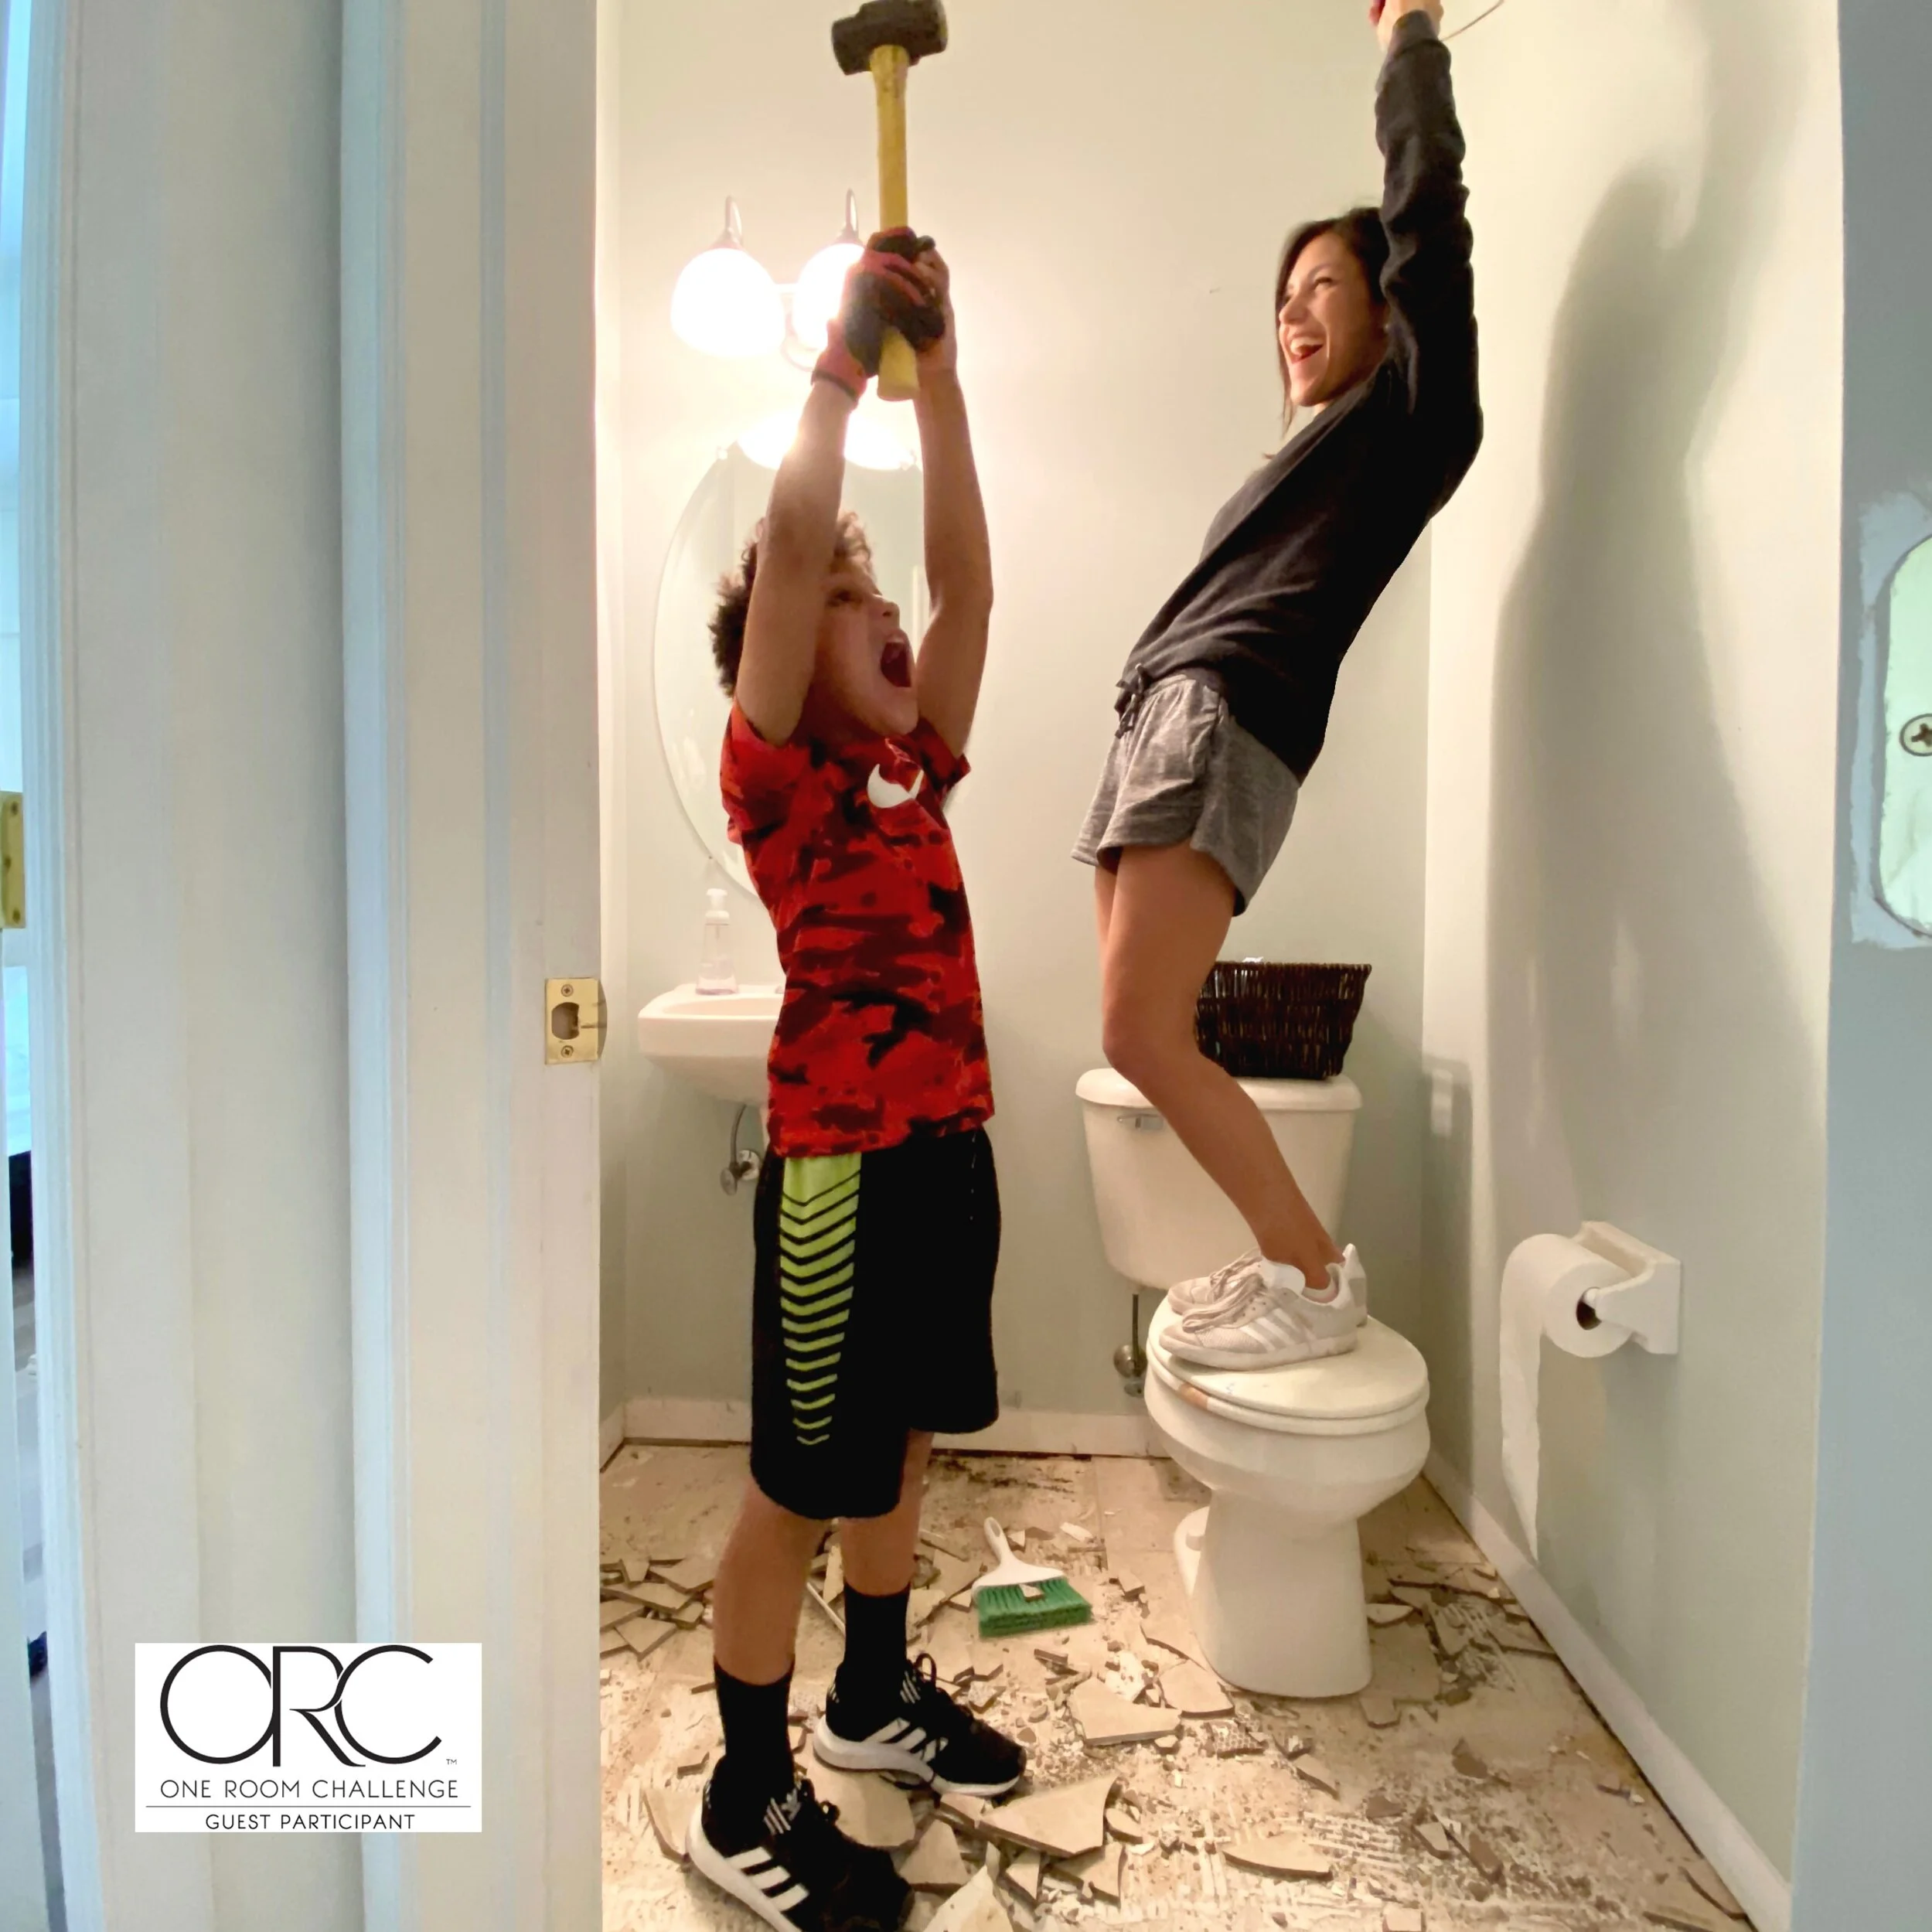
Demo is such a good feeling! Next on the list – figuring out how to make my own floor tiles. Now THAT will be fun!
Oh, but first I still need to remove the toilet and sink 😉
Click HERE to see more demo action on @abby_roadhome
– WEEK THREE –
Week 3 of the One Room Challenge.
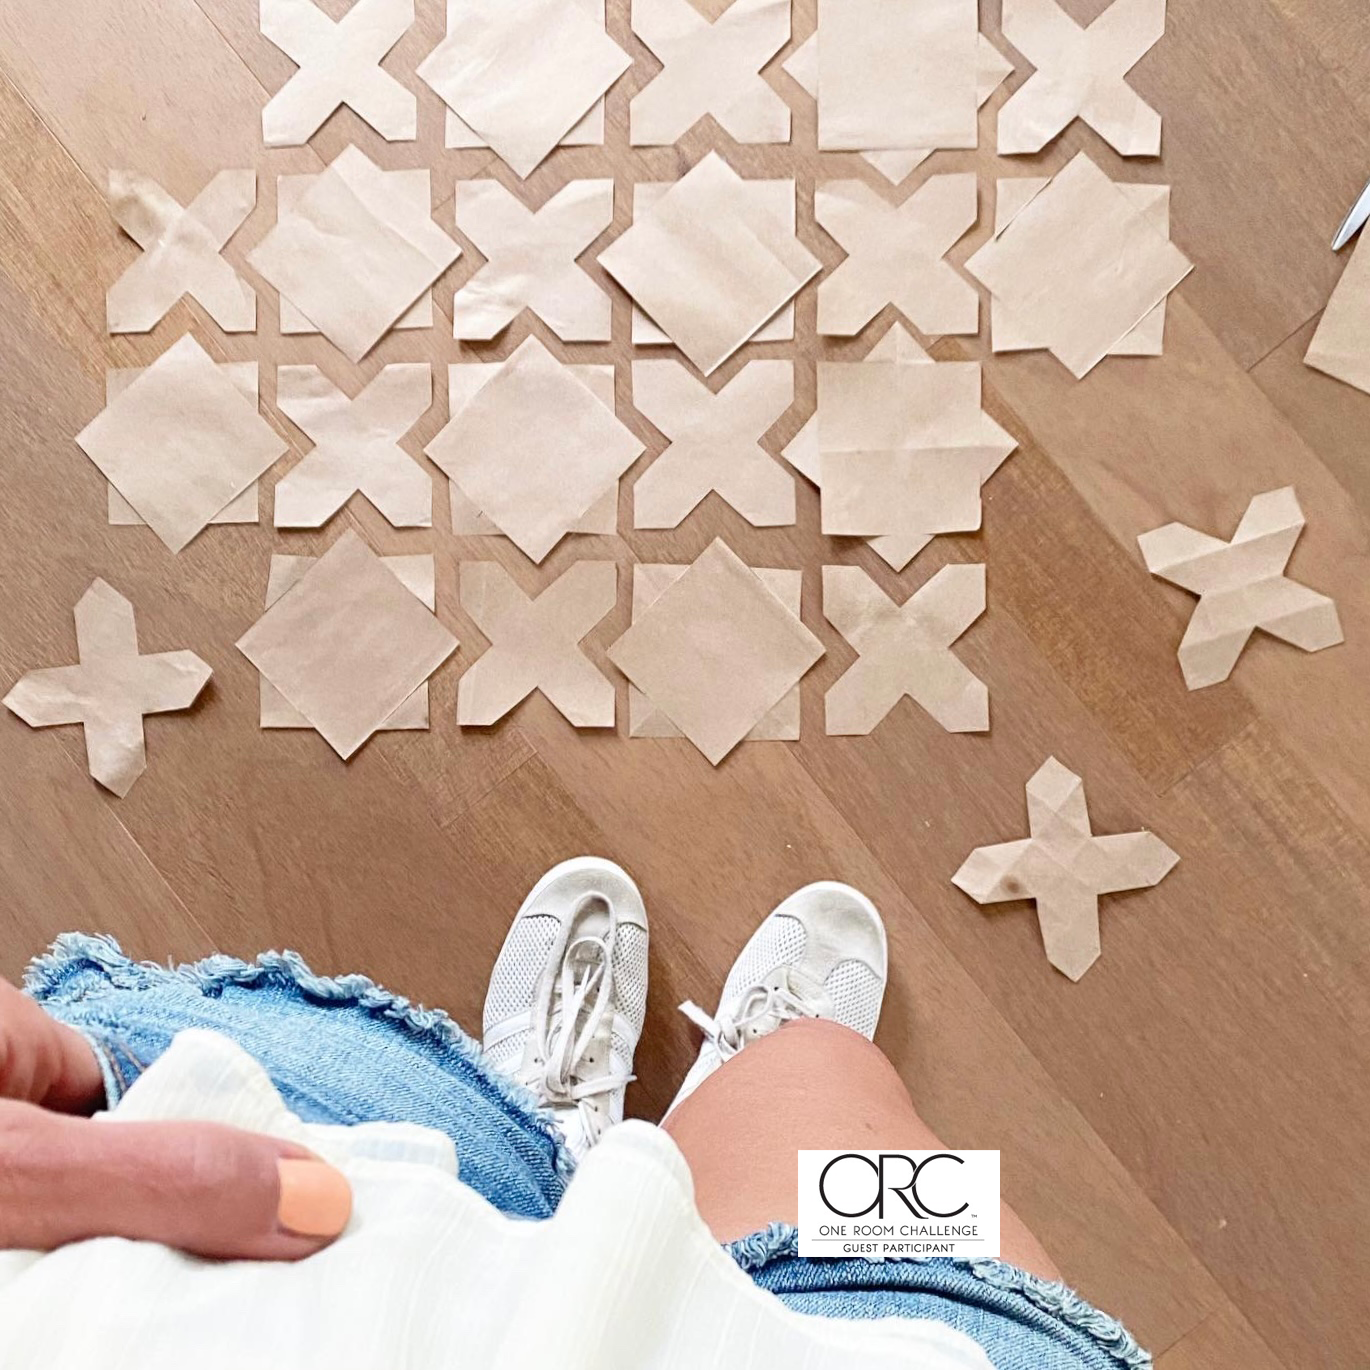
This was the week of tile planning.
I knew from the start that the star and cross tile I REALLY wanted for the powder room would never arrive in time for the 8 week deadline. Since I had my heart 100% set on this particular tile – the only option left was to try making my own cement tiles!
So this past week I somewhat obsessively *haha – began cutting out my own star and cross faux tiles from craft paper. I am SO GLAD I did this before diving into the tile molds because I would have made my tiles way too big! The first go around with these paper tiles, I made them 6”x6”. They looked way too big…
I resized my faux tiles to a smaller 4″x4” and found the perfect size and look.
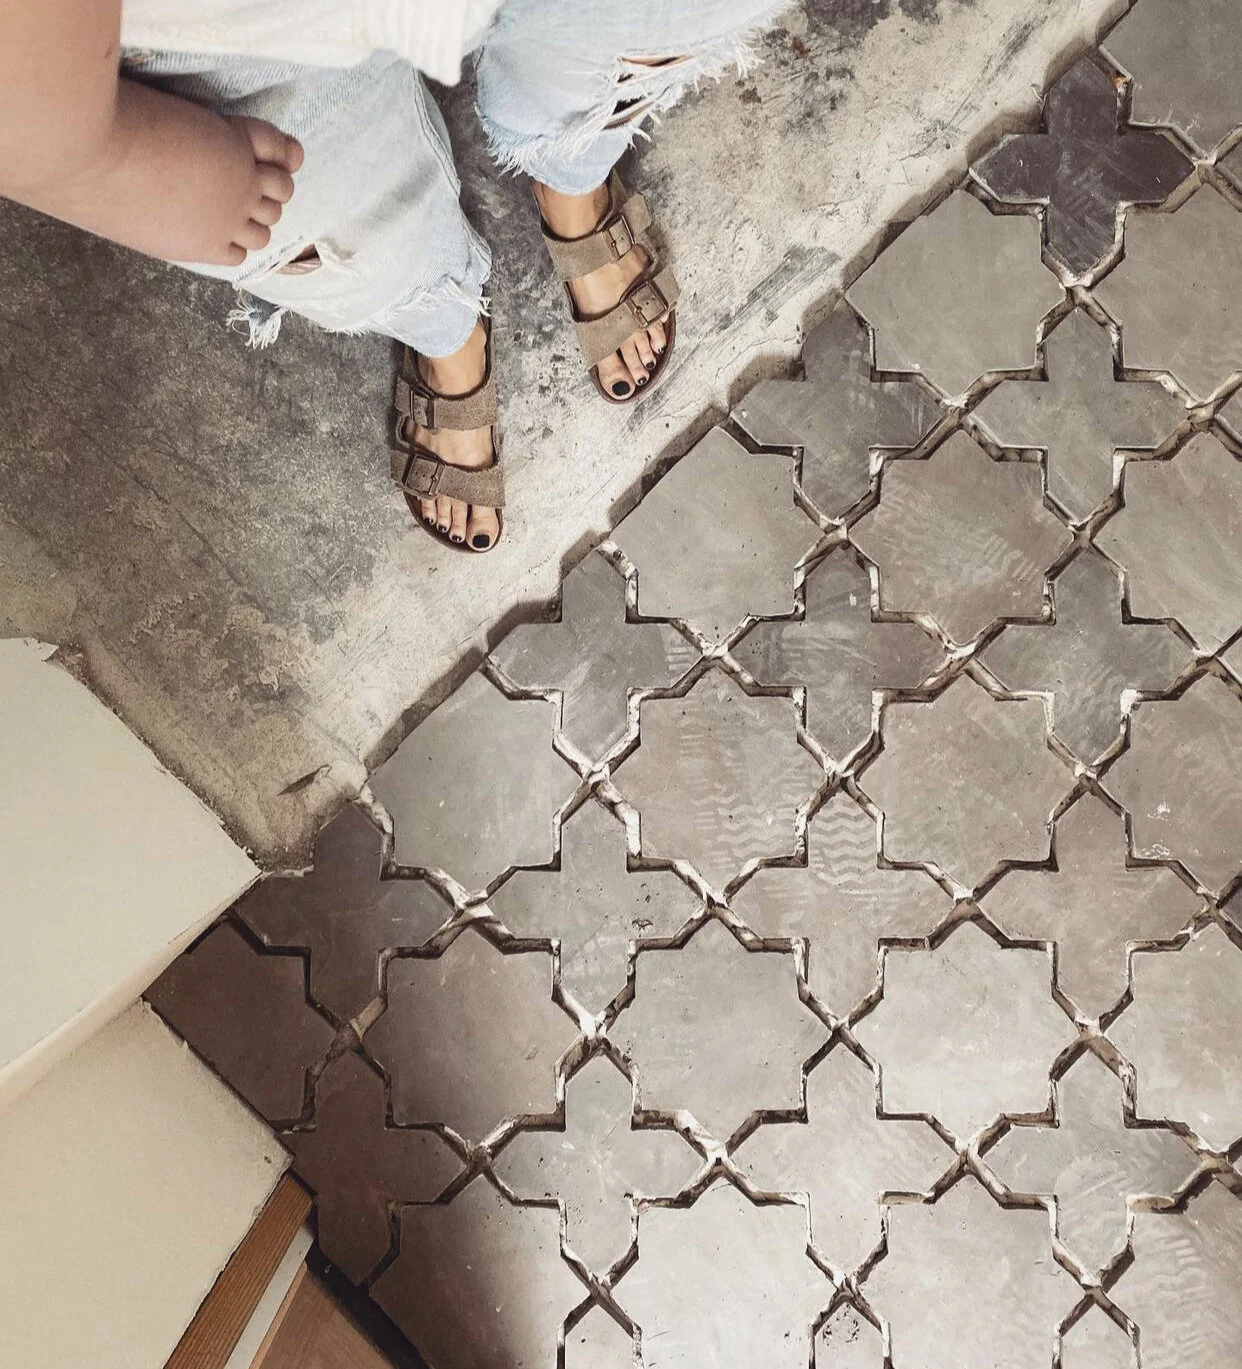
The image that started it all.
When I saw this image from @workyourcloset I was immediately swooning! How beautiful is this tile?! I love the grounding and organic feel of the cement tile. Now let’s see if I can recreate this look.
Week Four
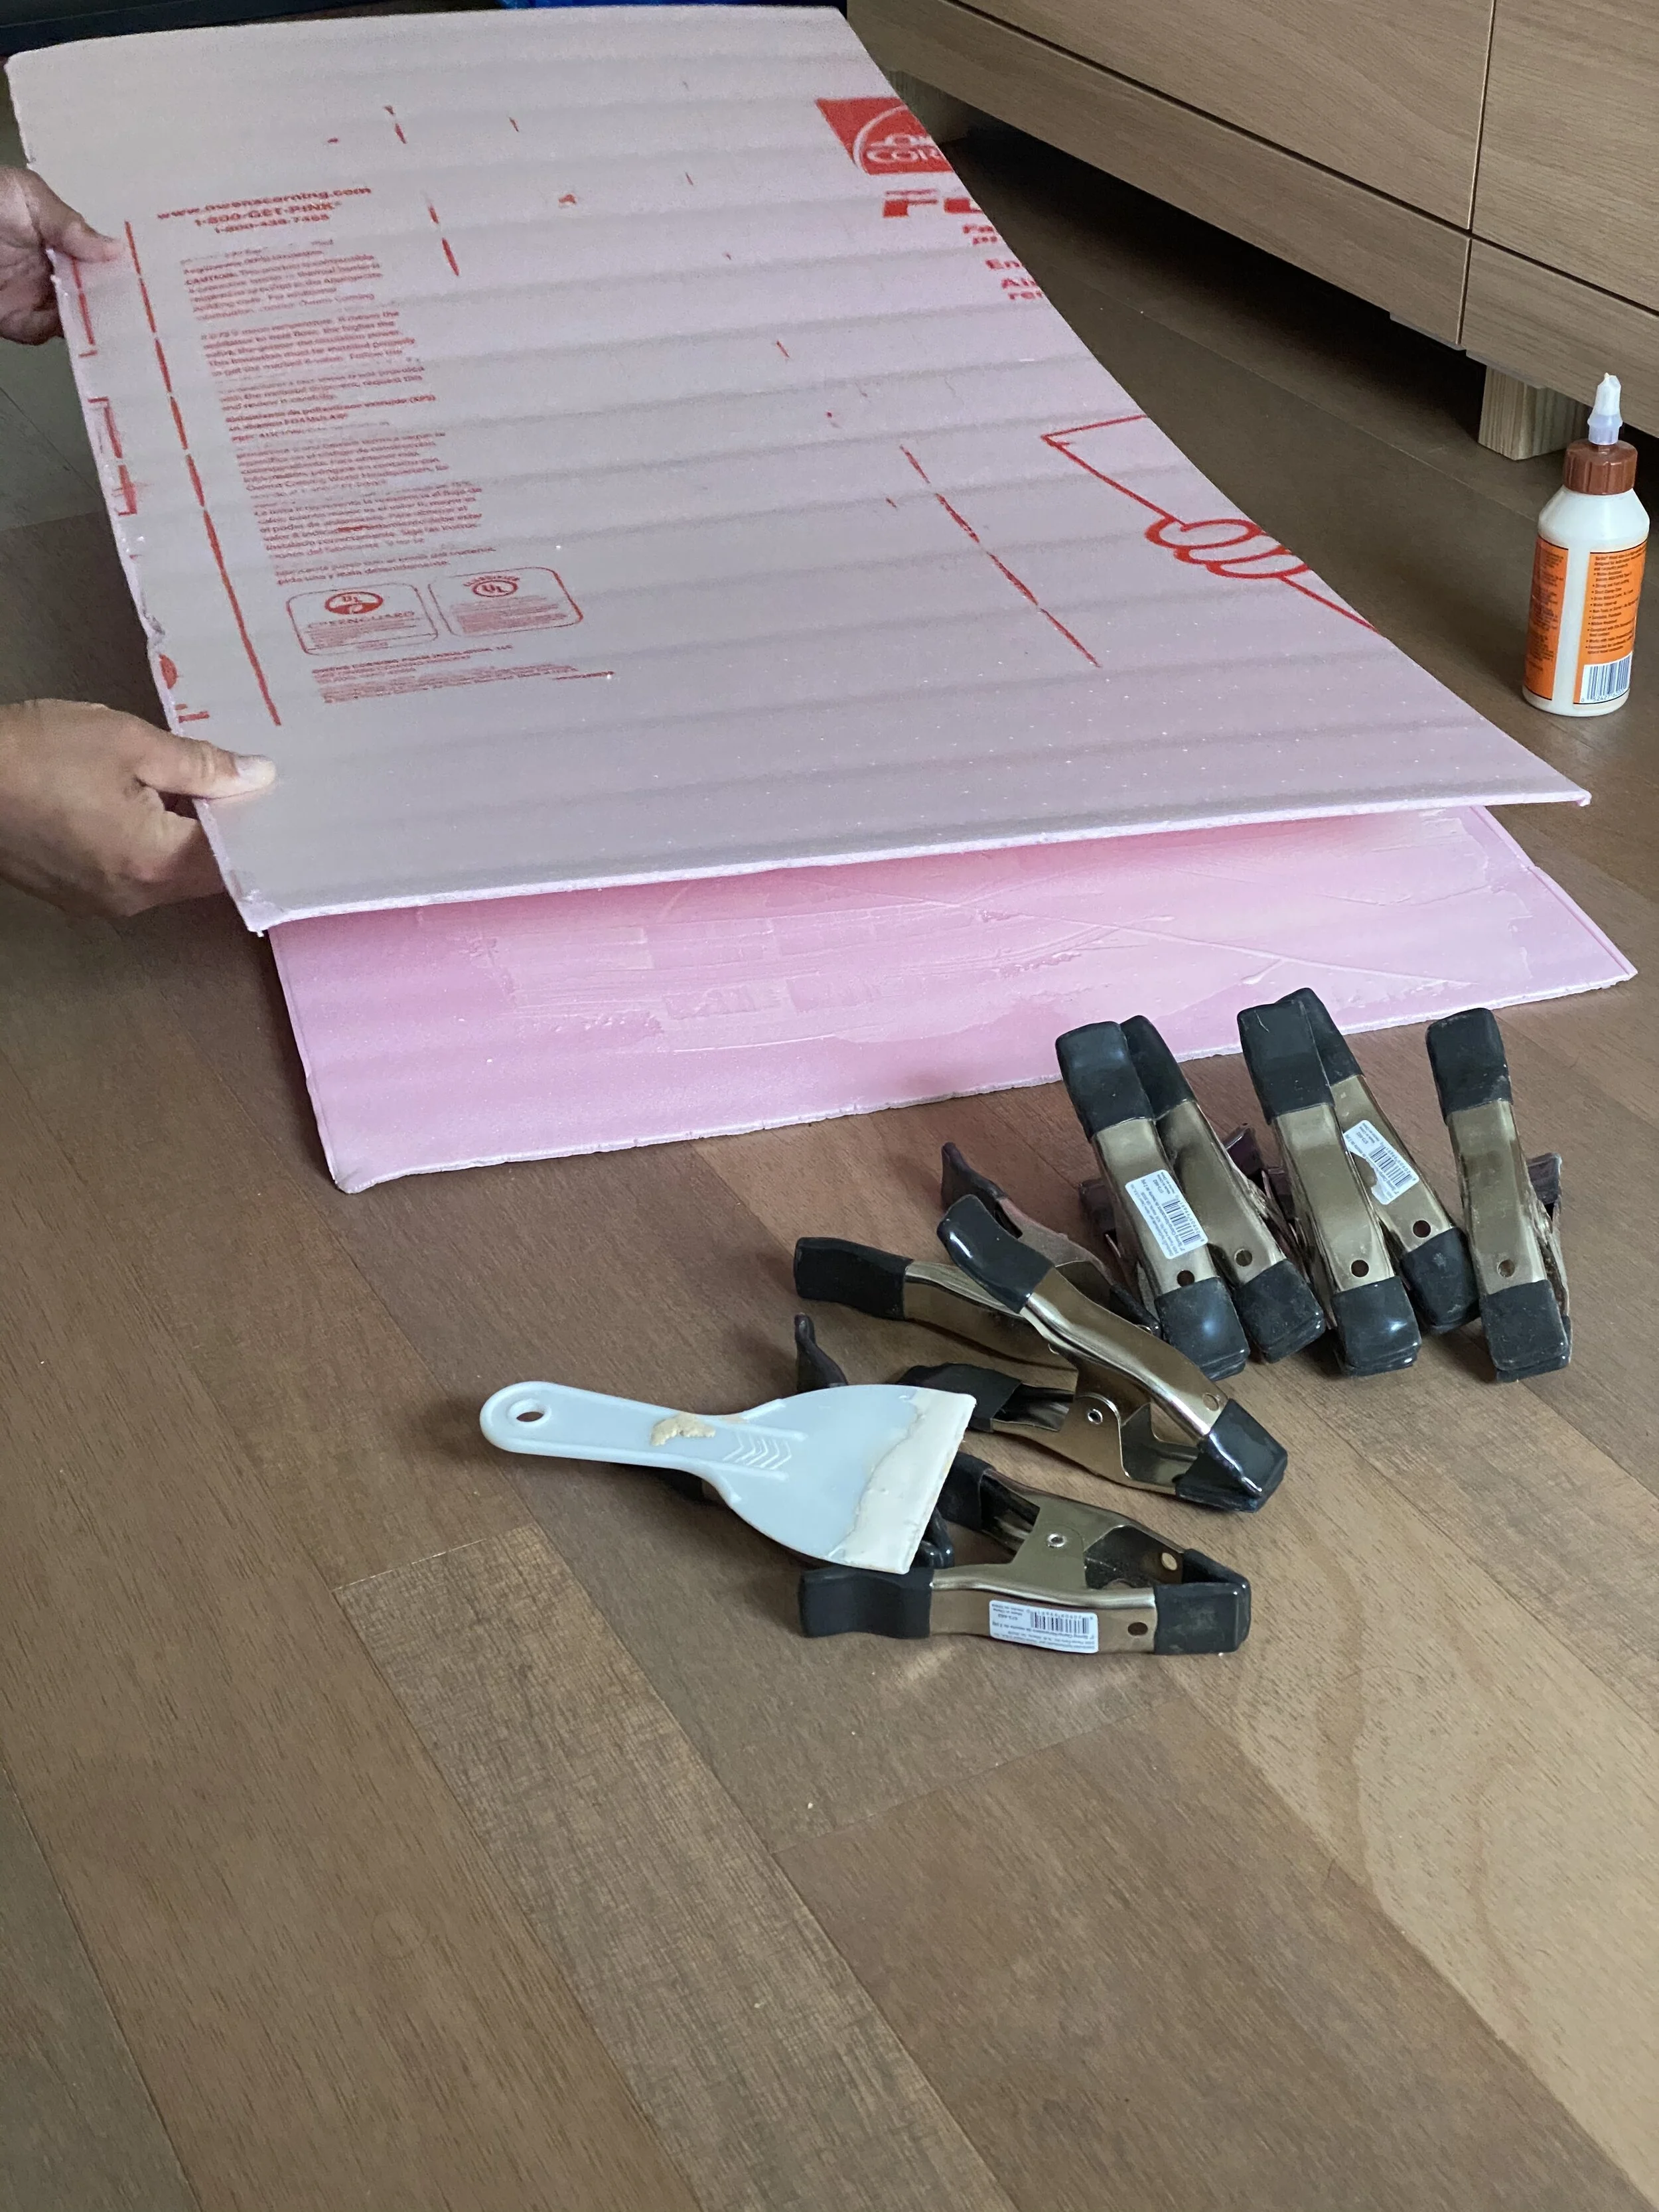
First attempt at tile forms.
(I thought) the best way to make tile forms that could easily break away from the dry cement tile, would be to use foam insulation for the forms. I went to Home Depot and bought some 1/4” foam insulation sheets. The sheets were 1/8” thick which meant I had to glue two sheets together for the proper thickness.
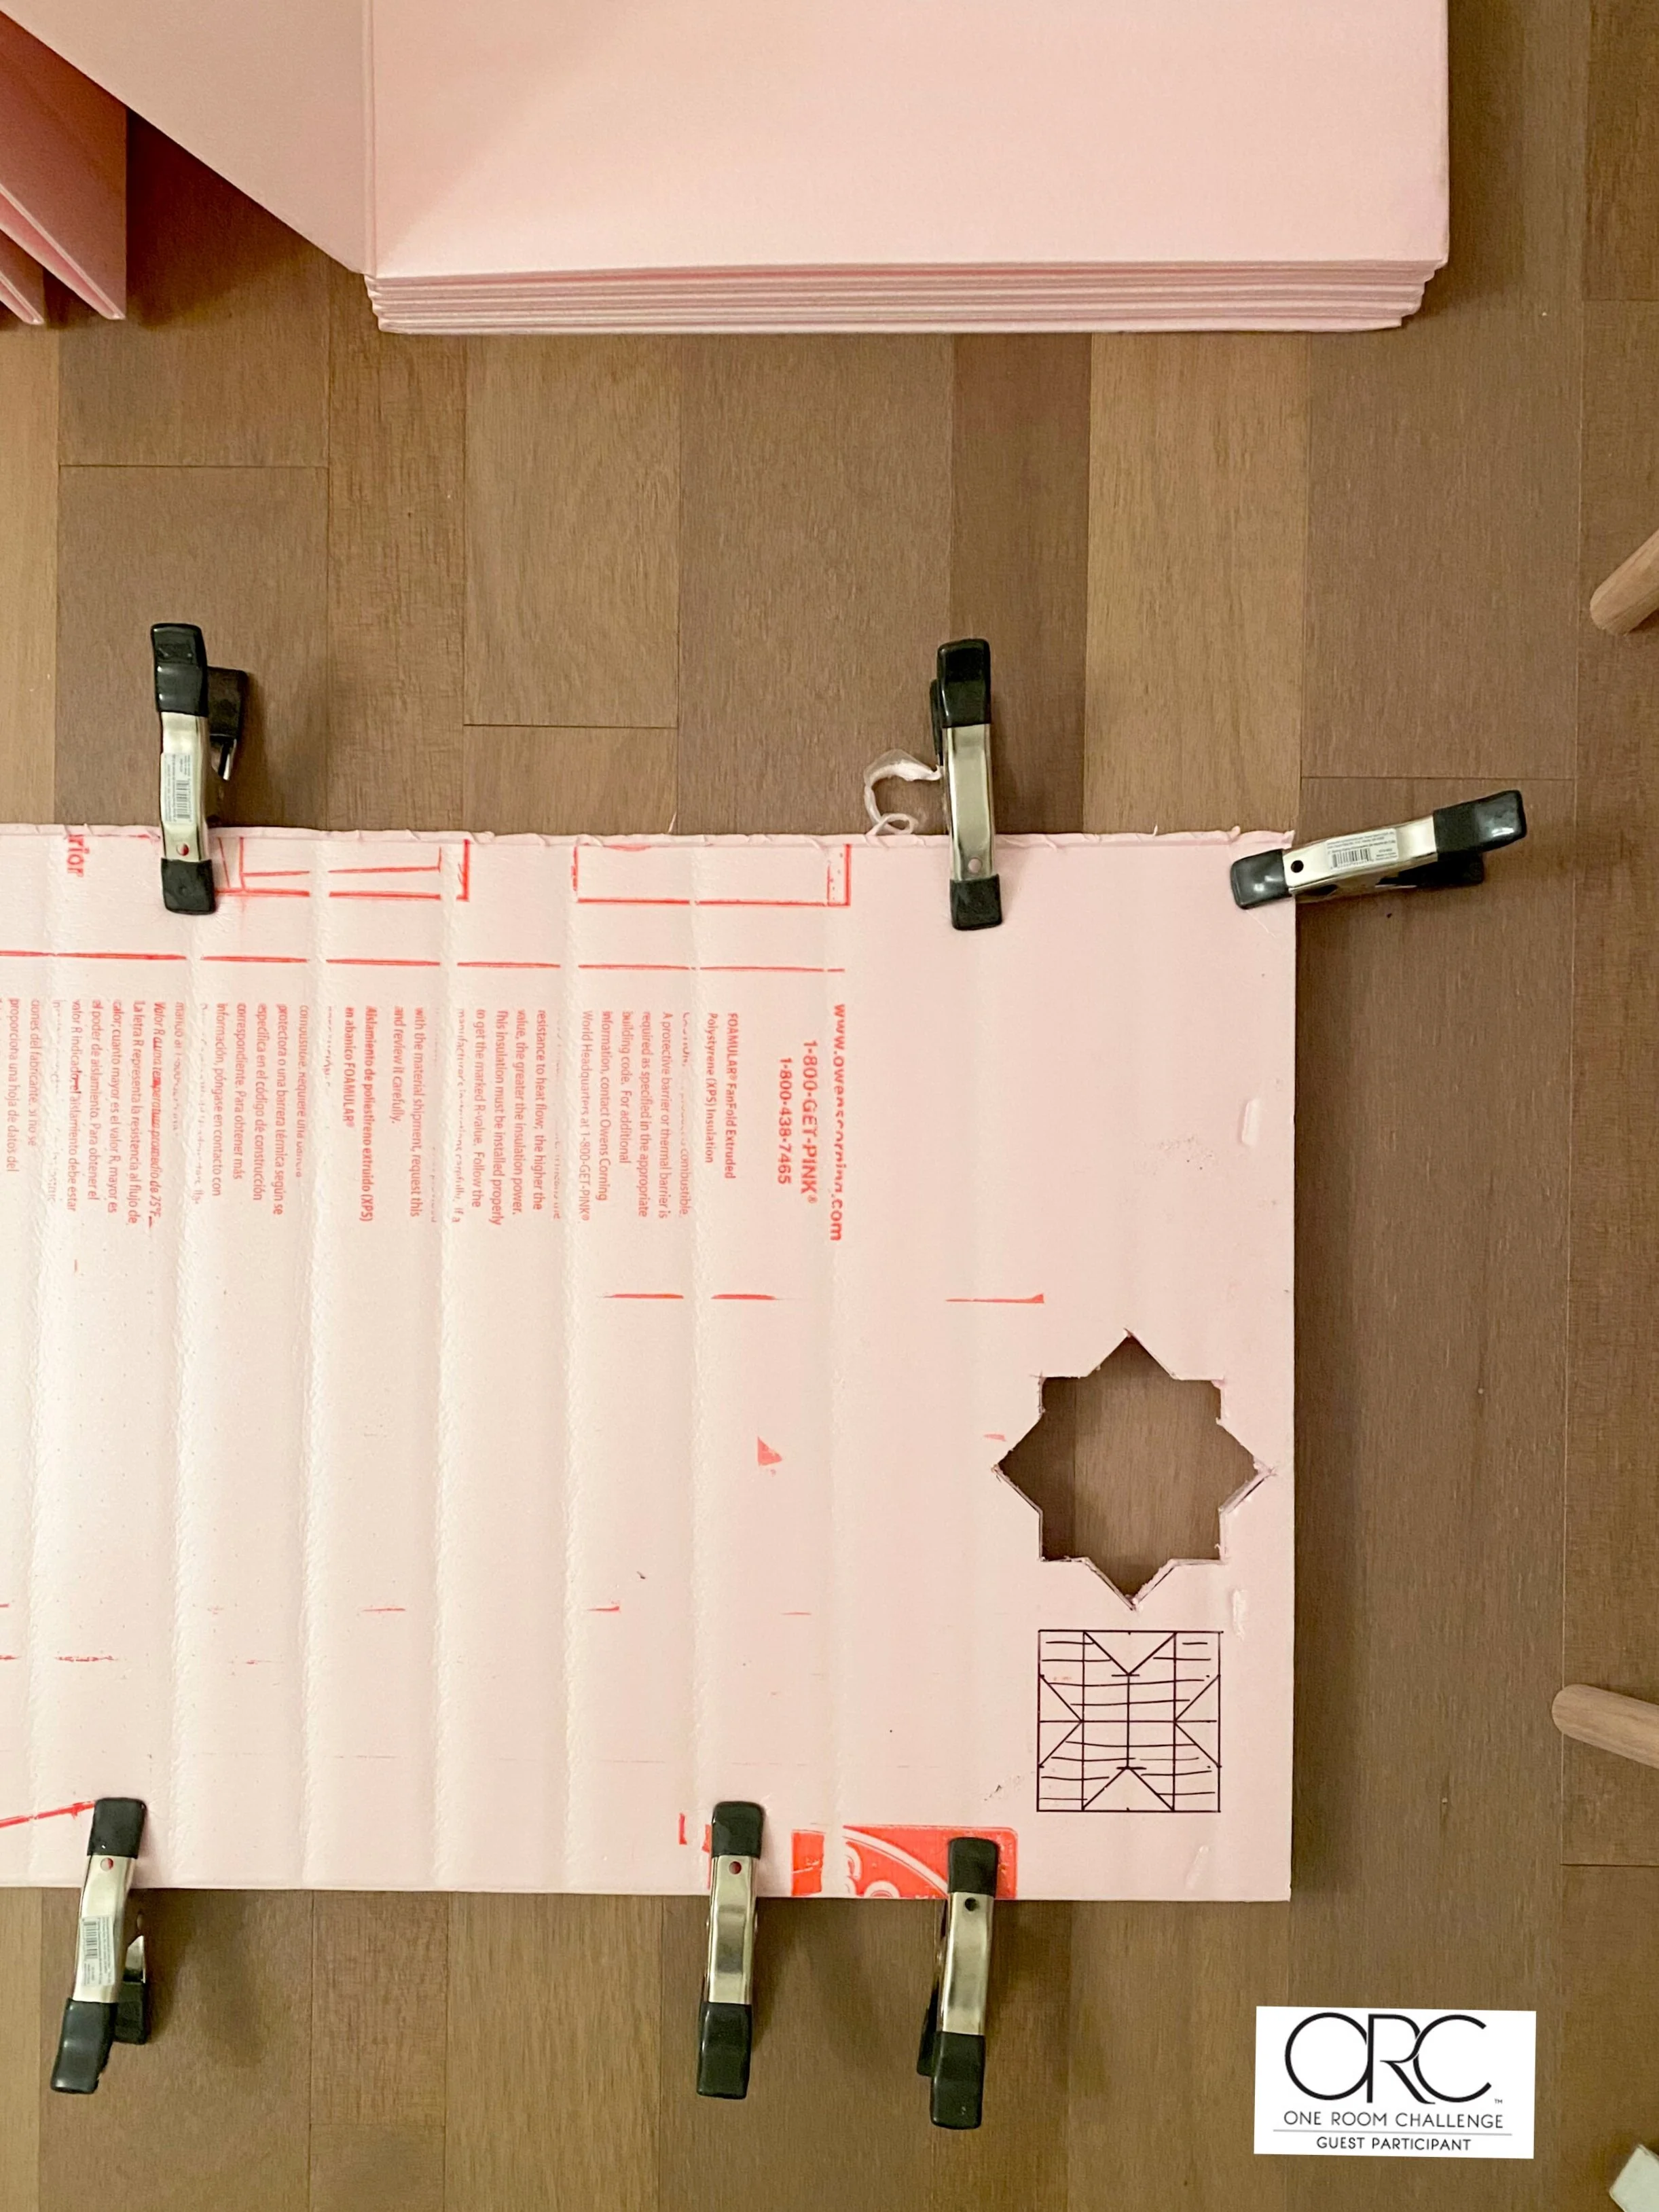
Cutting the template.
Once the glued dried between the insulation sheets, I measured and traced the star & cross pattern onto the foam. Then, I used my multitool to cut the pattern out.
This is where I hit a snag…
The foam sheets came unglued. I realized that I needed to find a different way to create the tile forms.
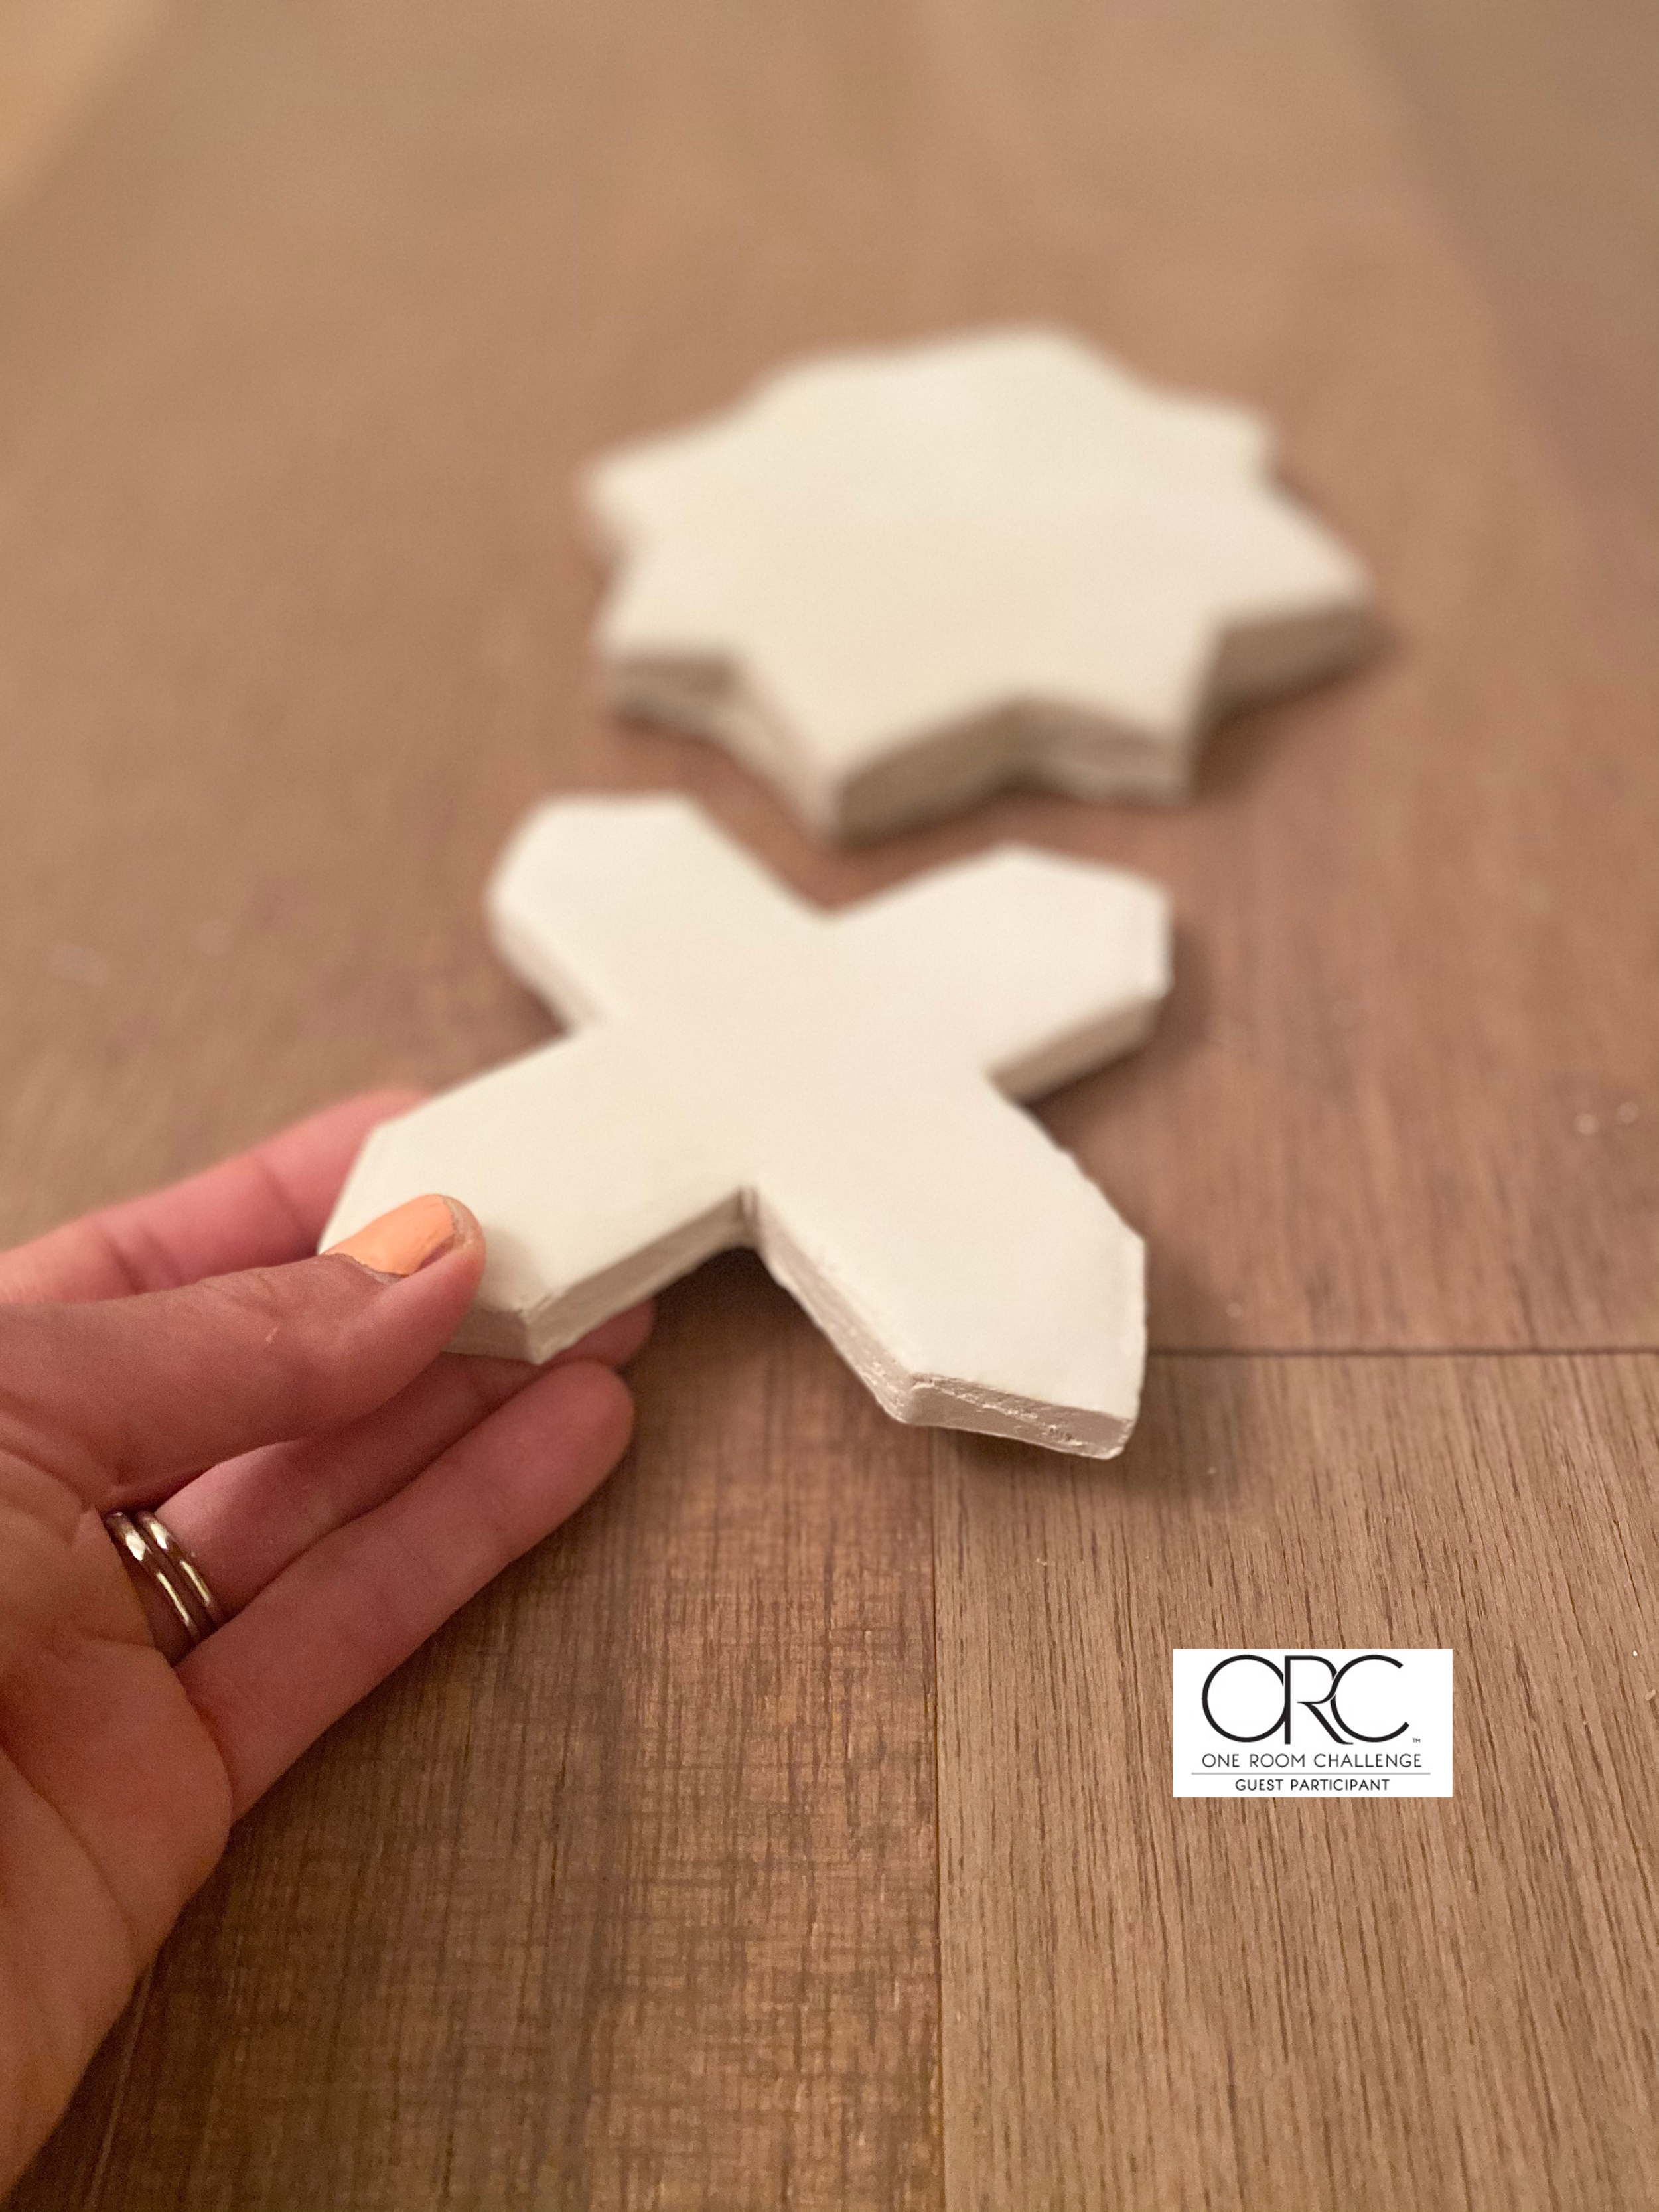
Thanks to YouTube and some amazing tutorials from HomeMadeModern, I found that using modeling clay and silicone would allow me to make reusable silicone star & cross tile molds!!
Using the modeling clay I can make a few true-to-size star & cross tiles. Once the clay tiles set, I will pour the silicone mixture over them and create my very own custom silicone tile molds!!
Be sure to check out the One Room Challenge Blog this week to catch all the other contestants progress.
WEEK FIVE
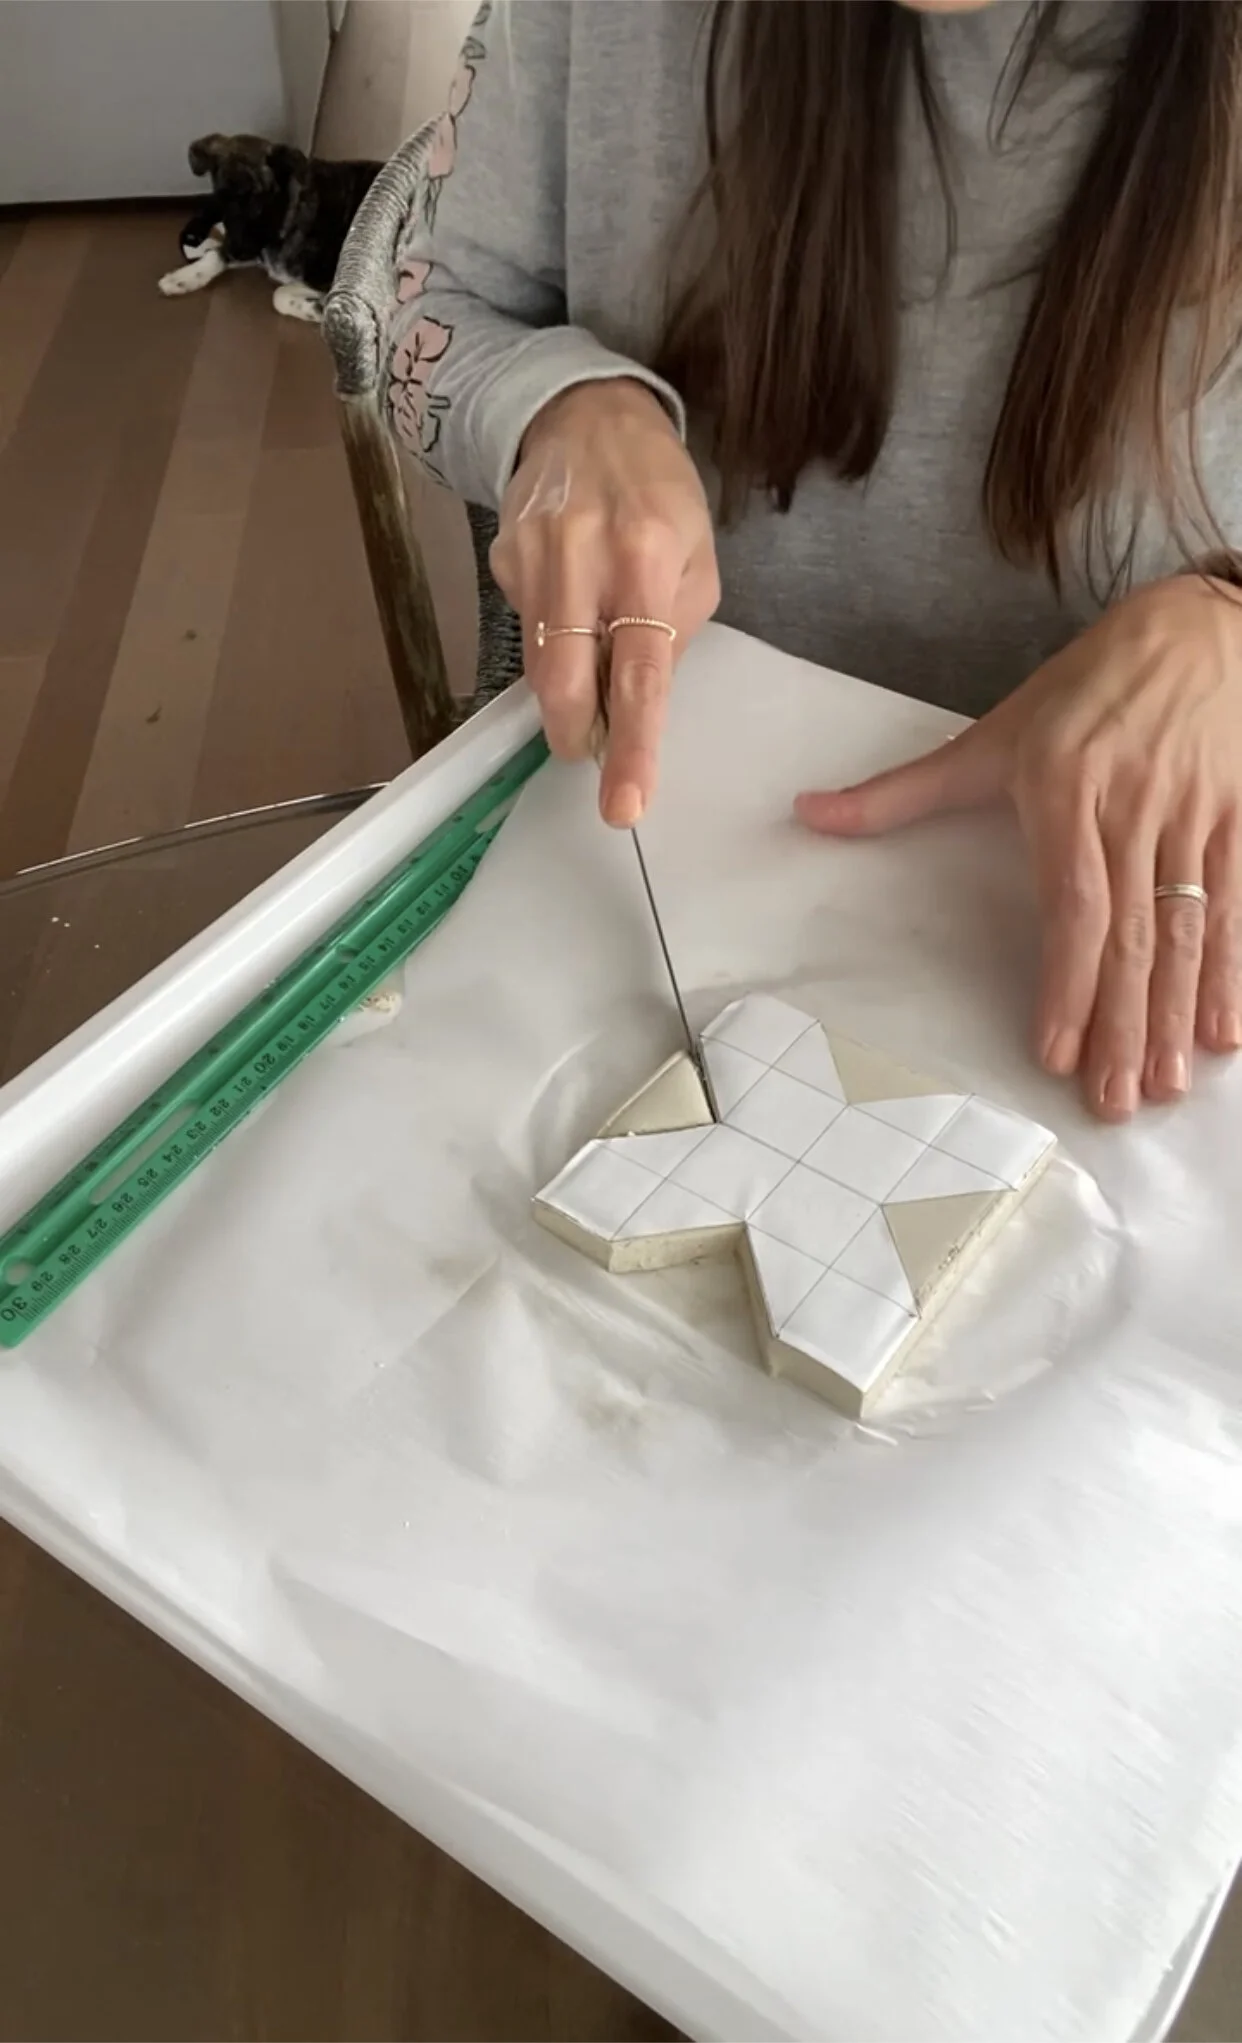
This week I took another try at making my star and cross tile molds.
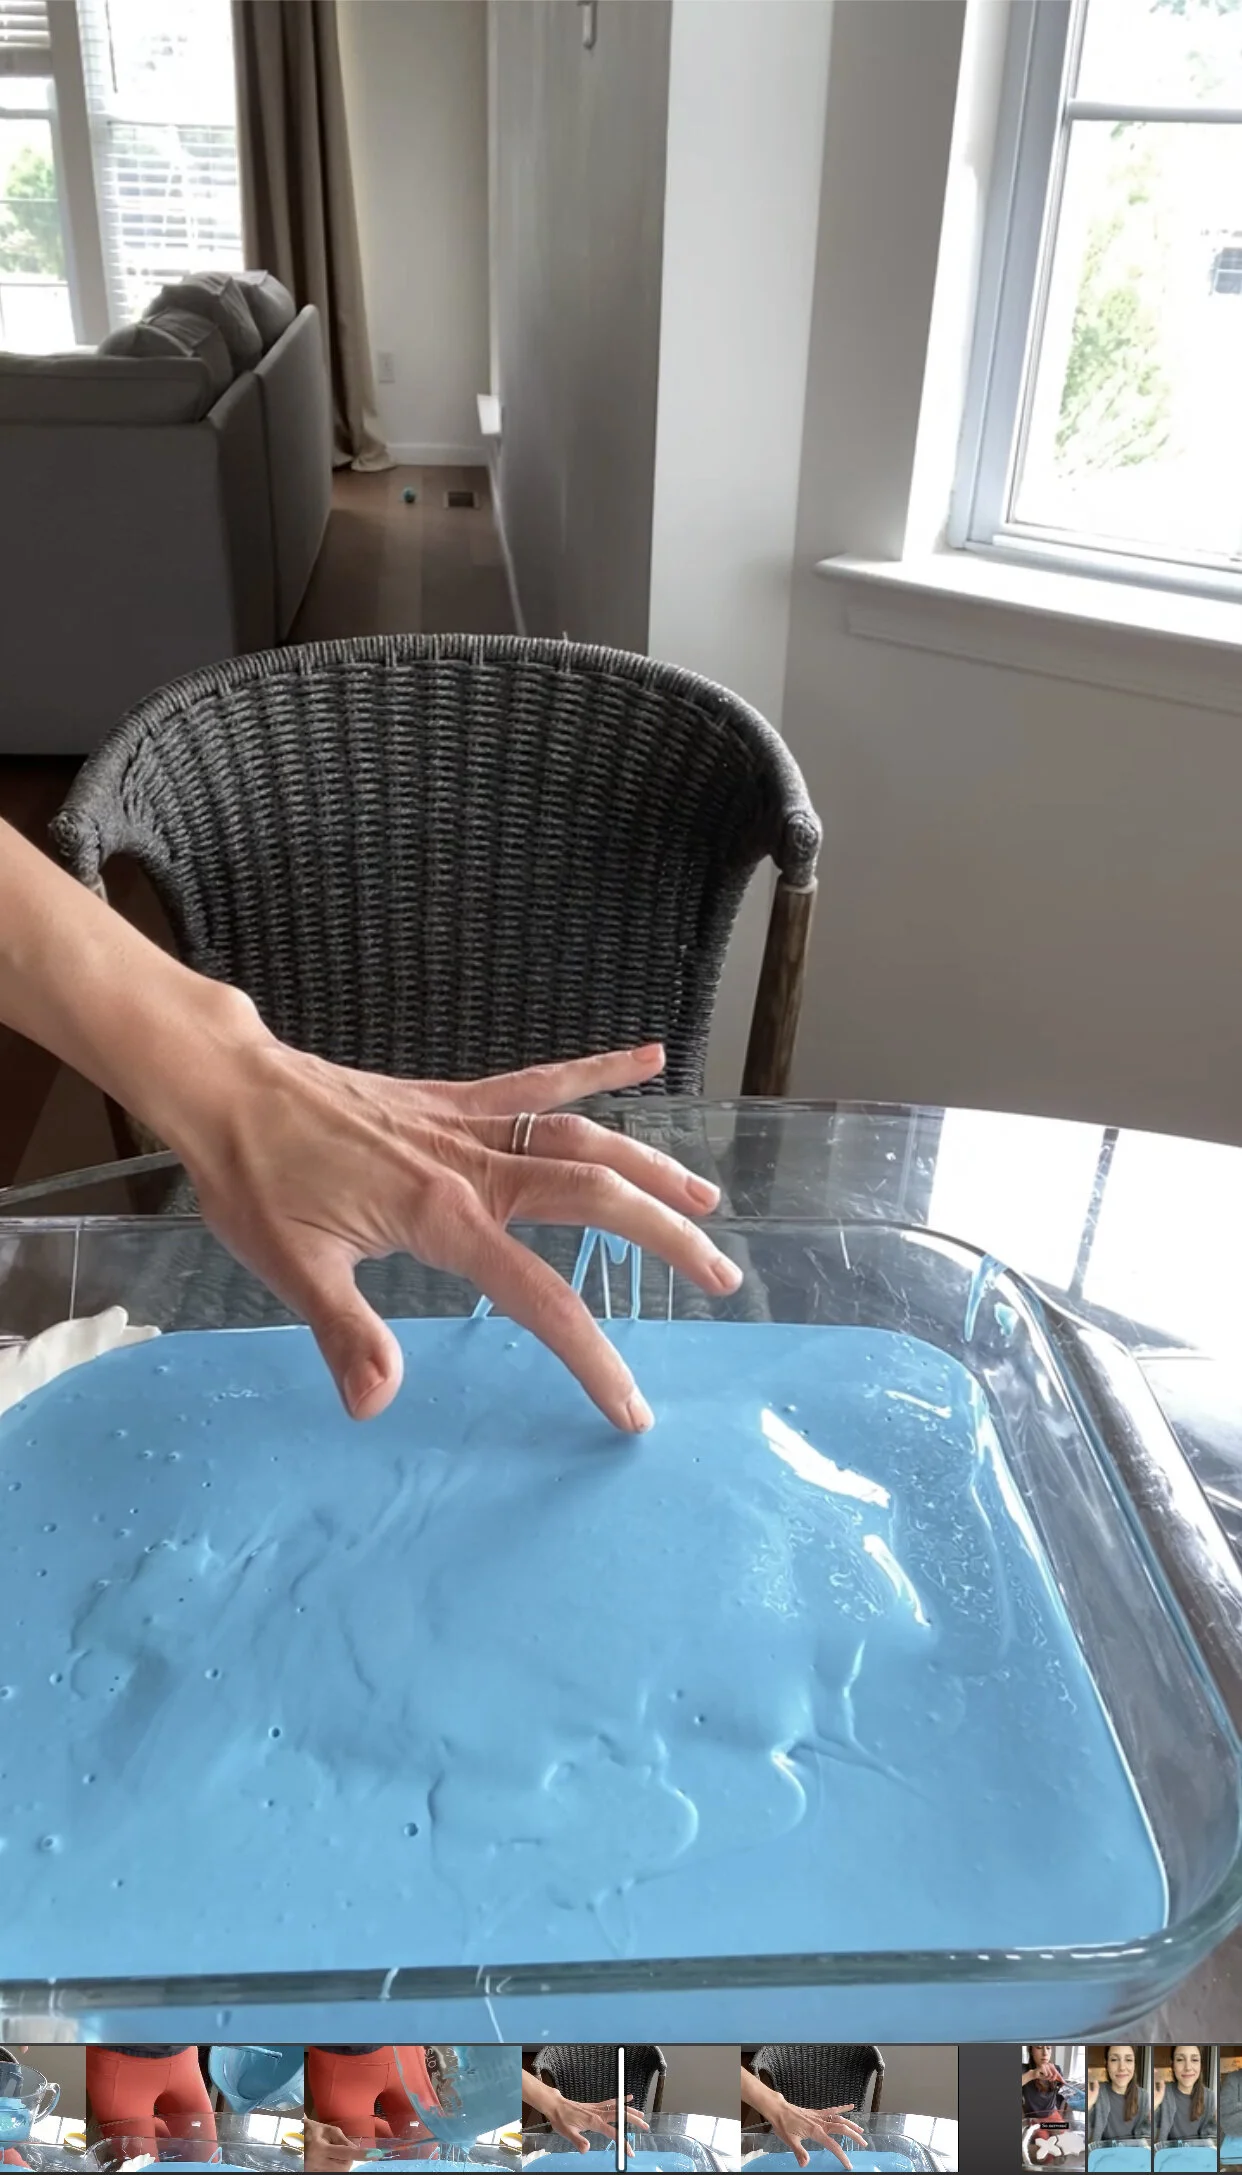
This time around I used modeling clay to replicate my floor tiles. Once the clay dried, I used a silicone mix and poured it over the clay tile.
When the silicone hardened – I would have my floor tiles mold!
However, I had an issue with the silicone sticking to the glass pan!

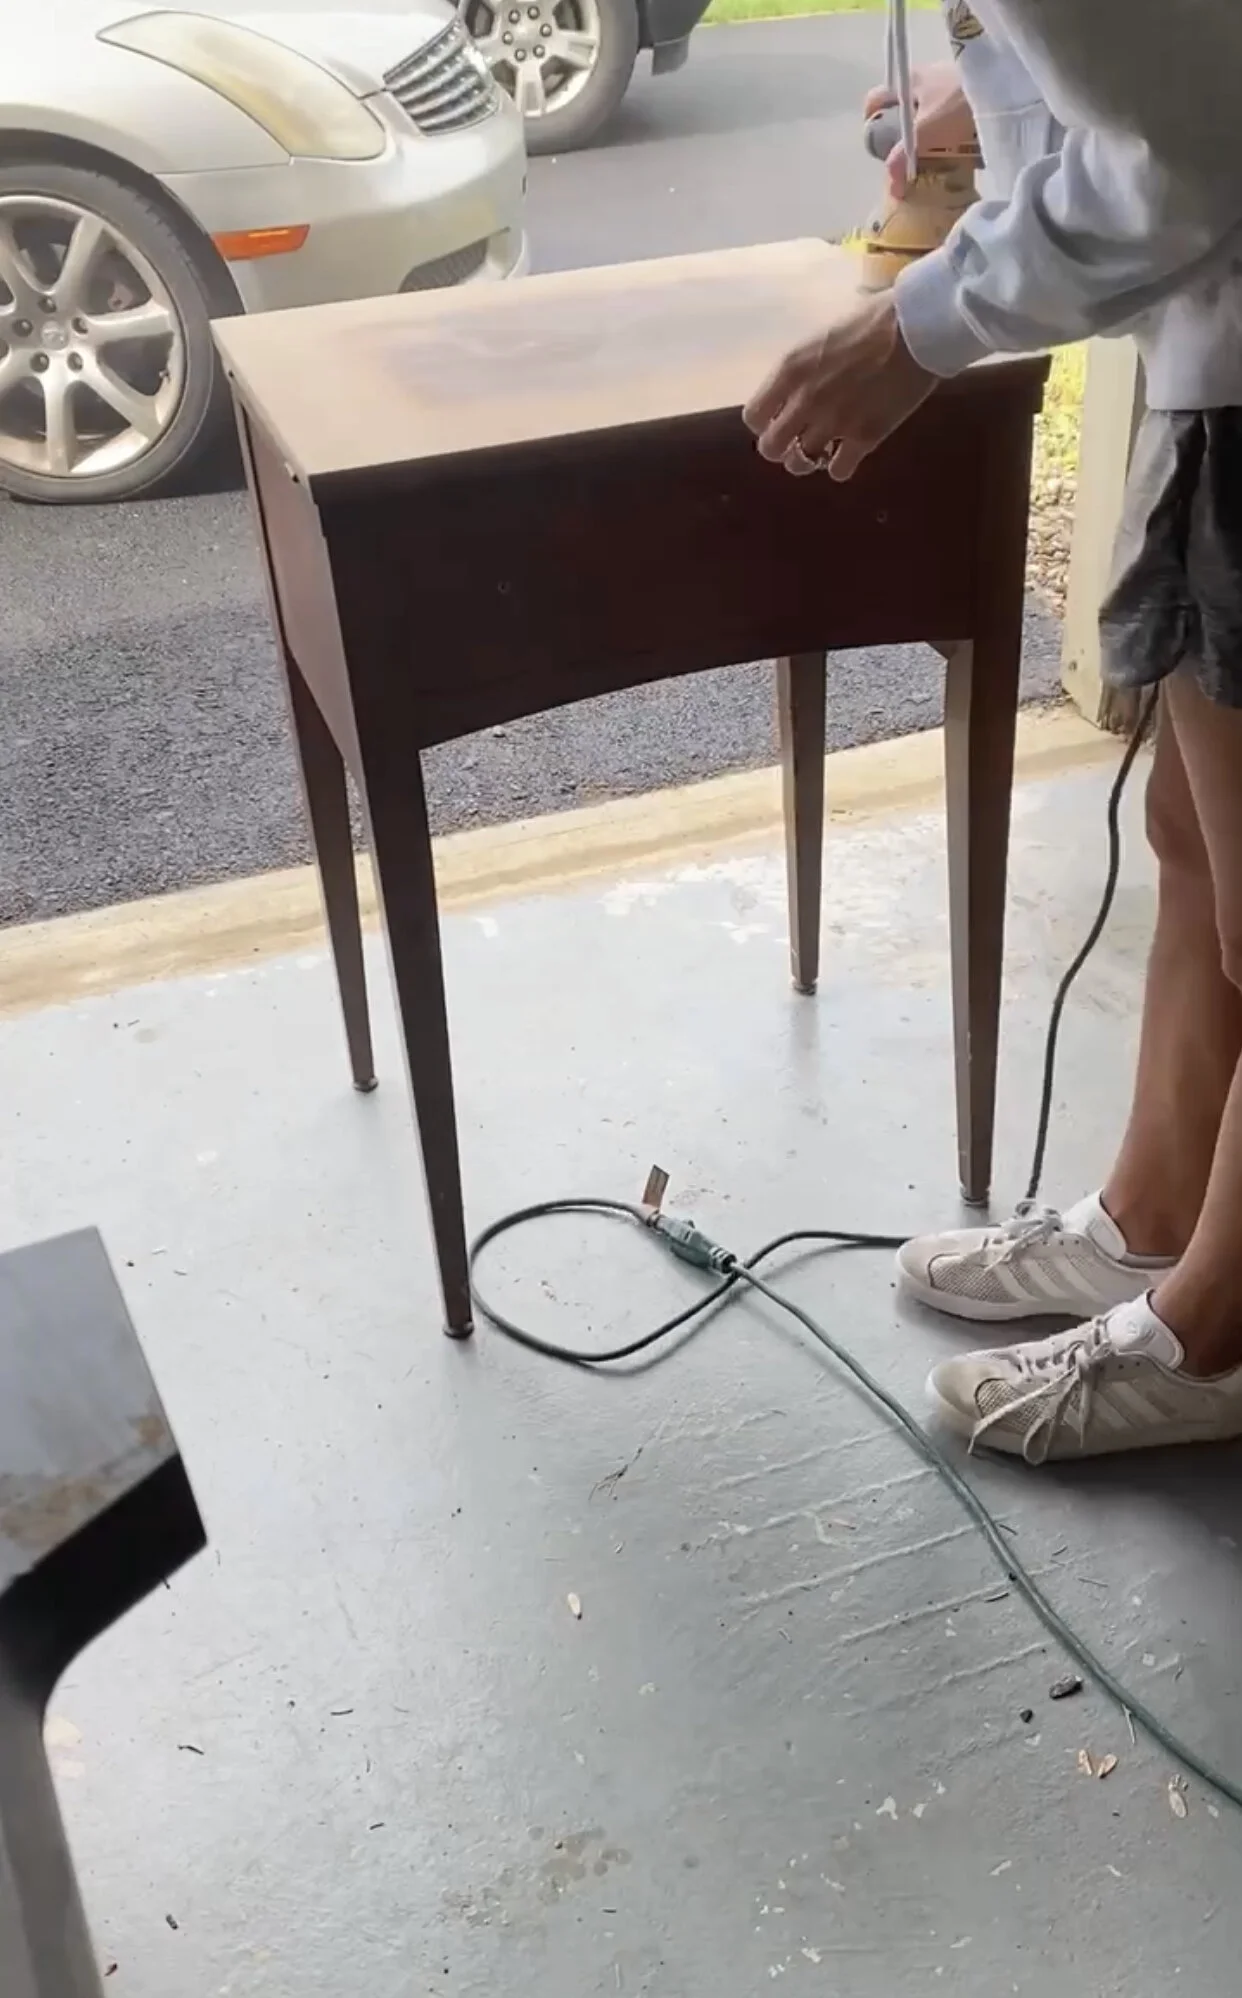
As I waited for the new silicone mixture to arrive in the mail, I began sanding down an old sewing table that will be repurposed for the vanity.
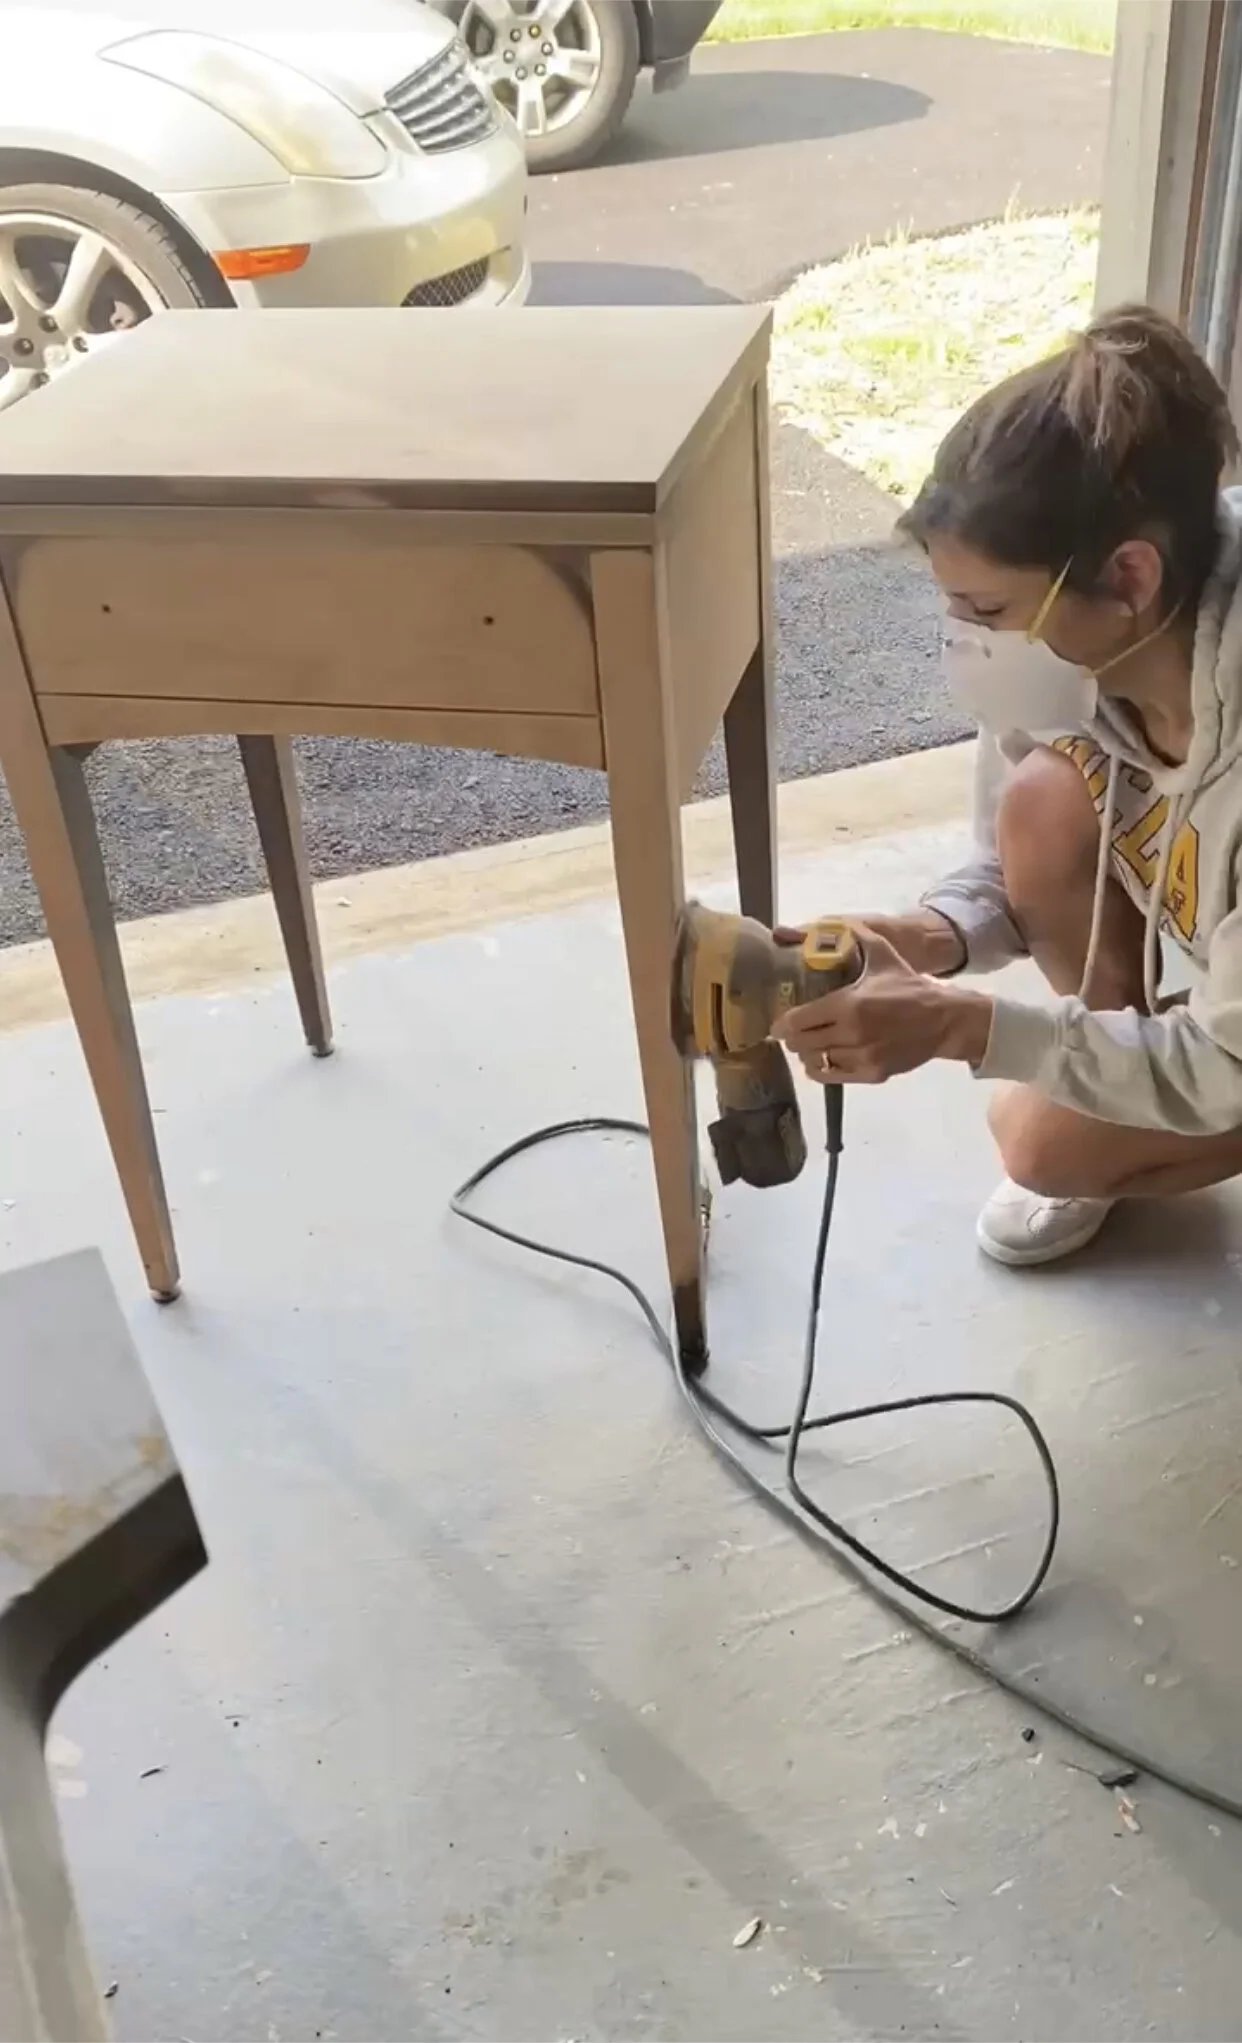
Week Six
Week six has been a challenge! Trying to find a way to make my silicone forms for my cement tiles was all about trial and error…but happily, I can say I finally have cement tiles!
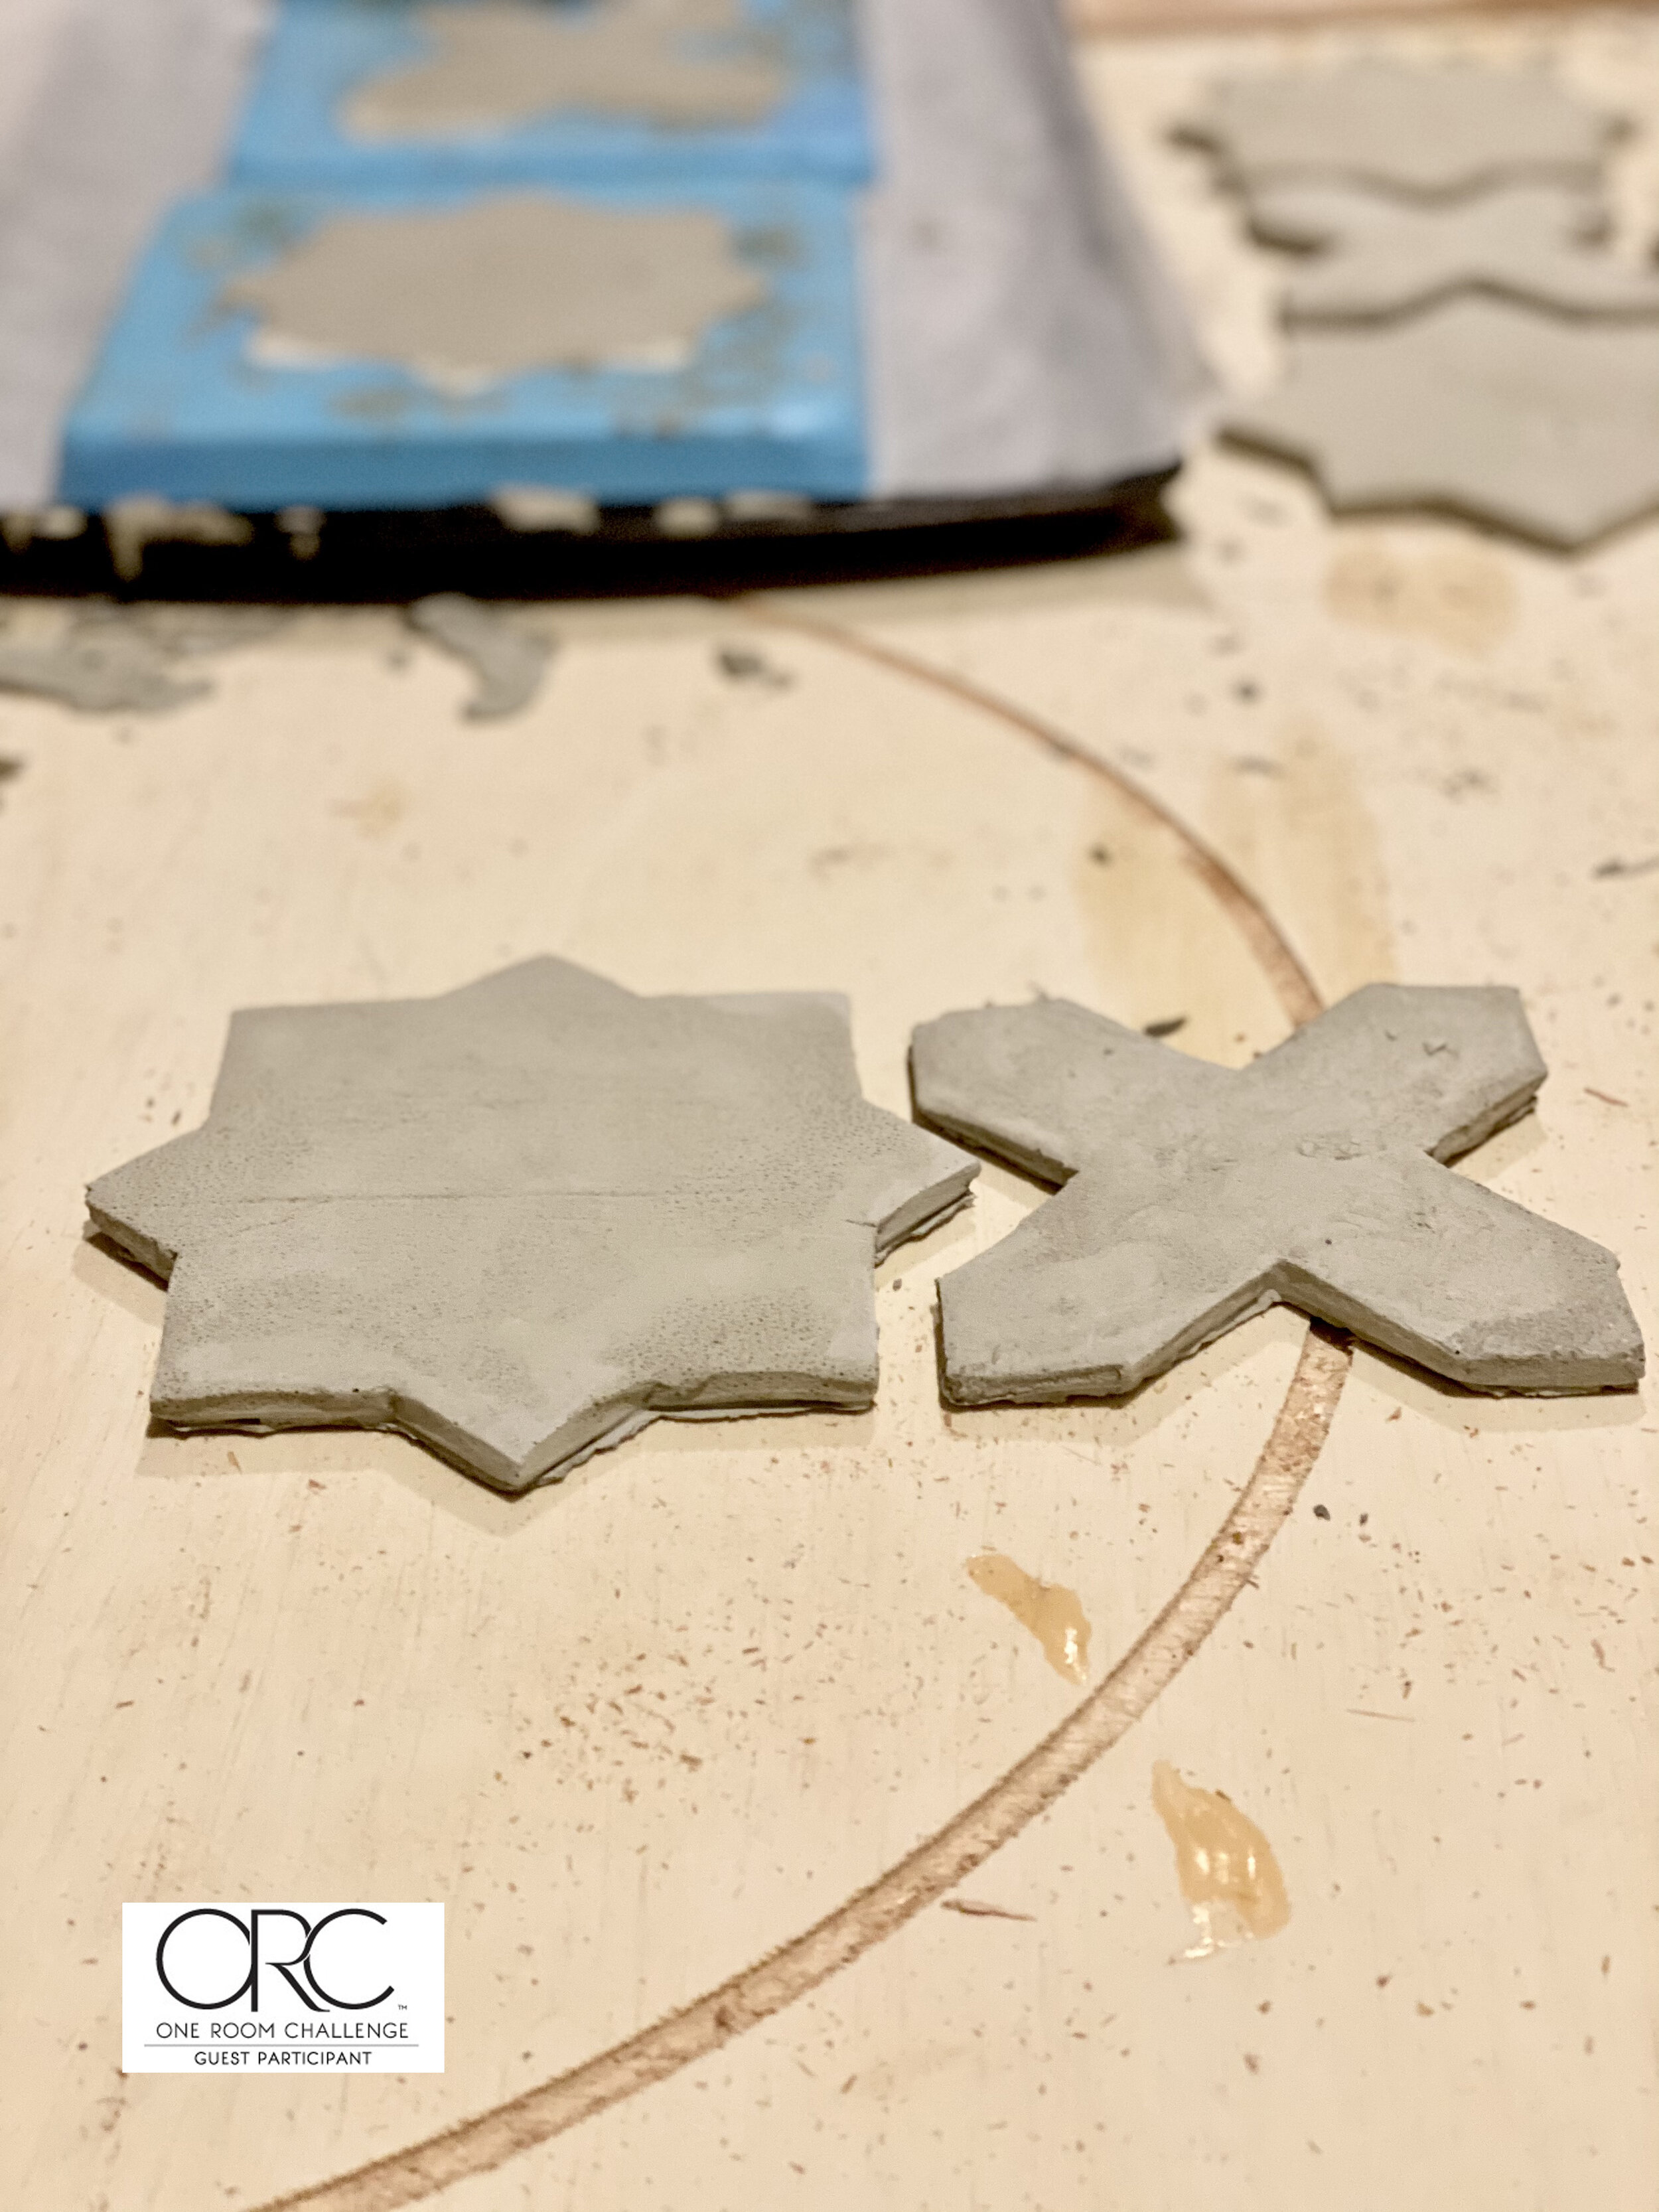
After many attempts at making silicone molds, I finally had success! I watched countless YouTube tutorials and asked experienced artists for any tips and tricks they had when it came to casting molds.
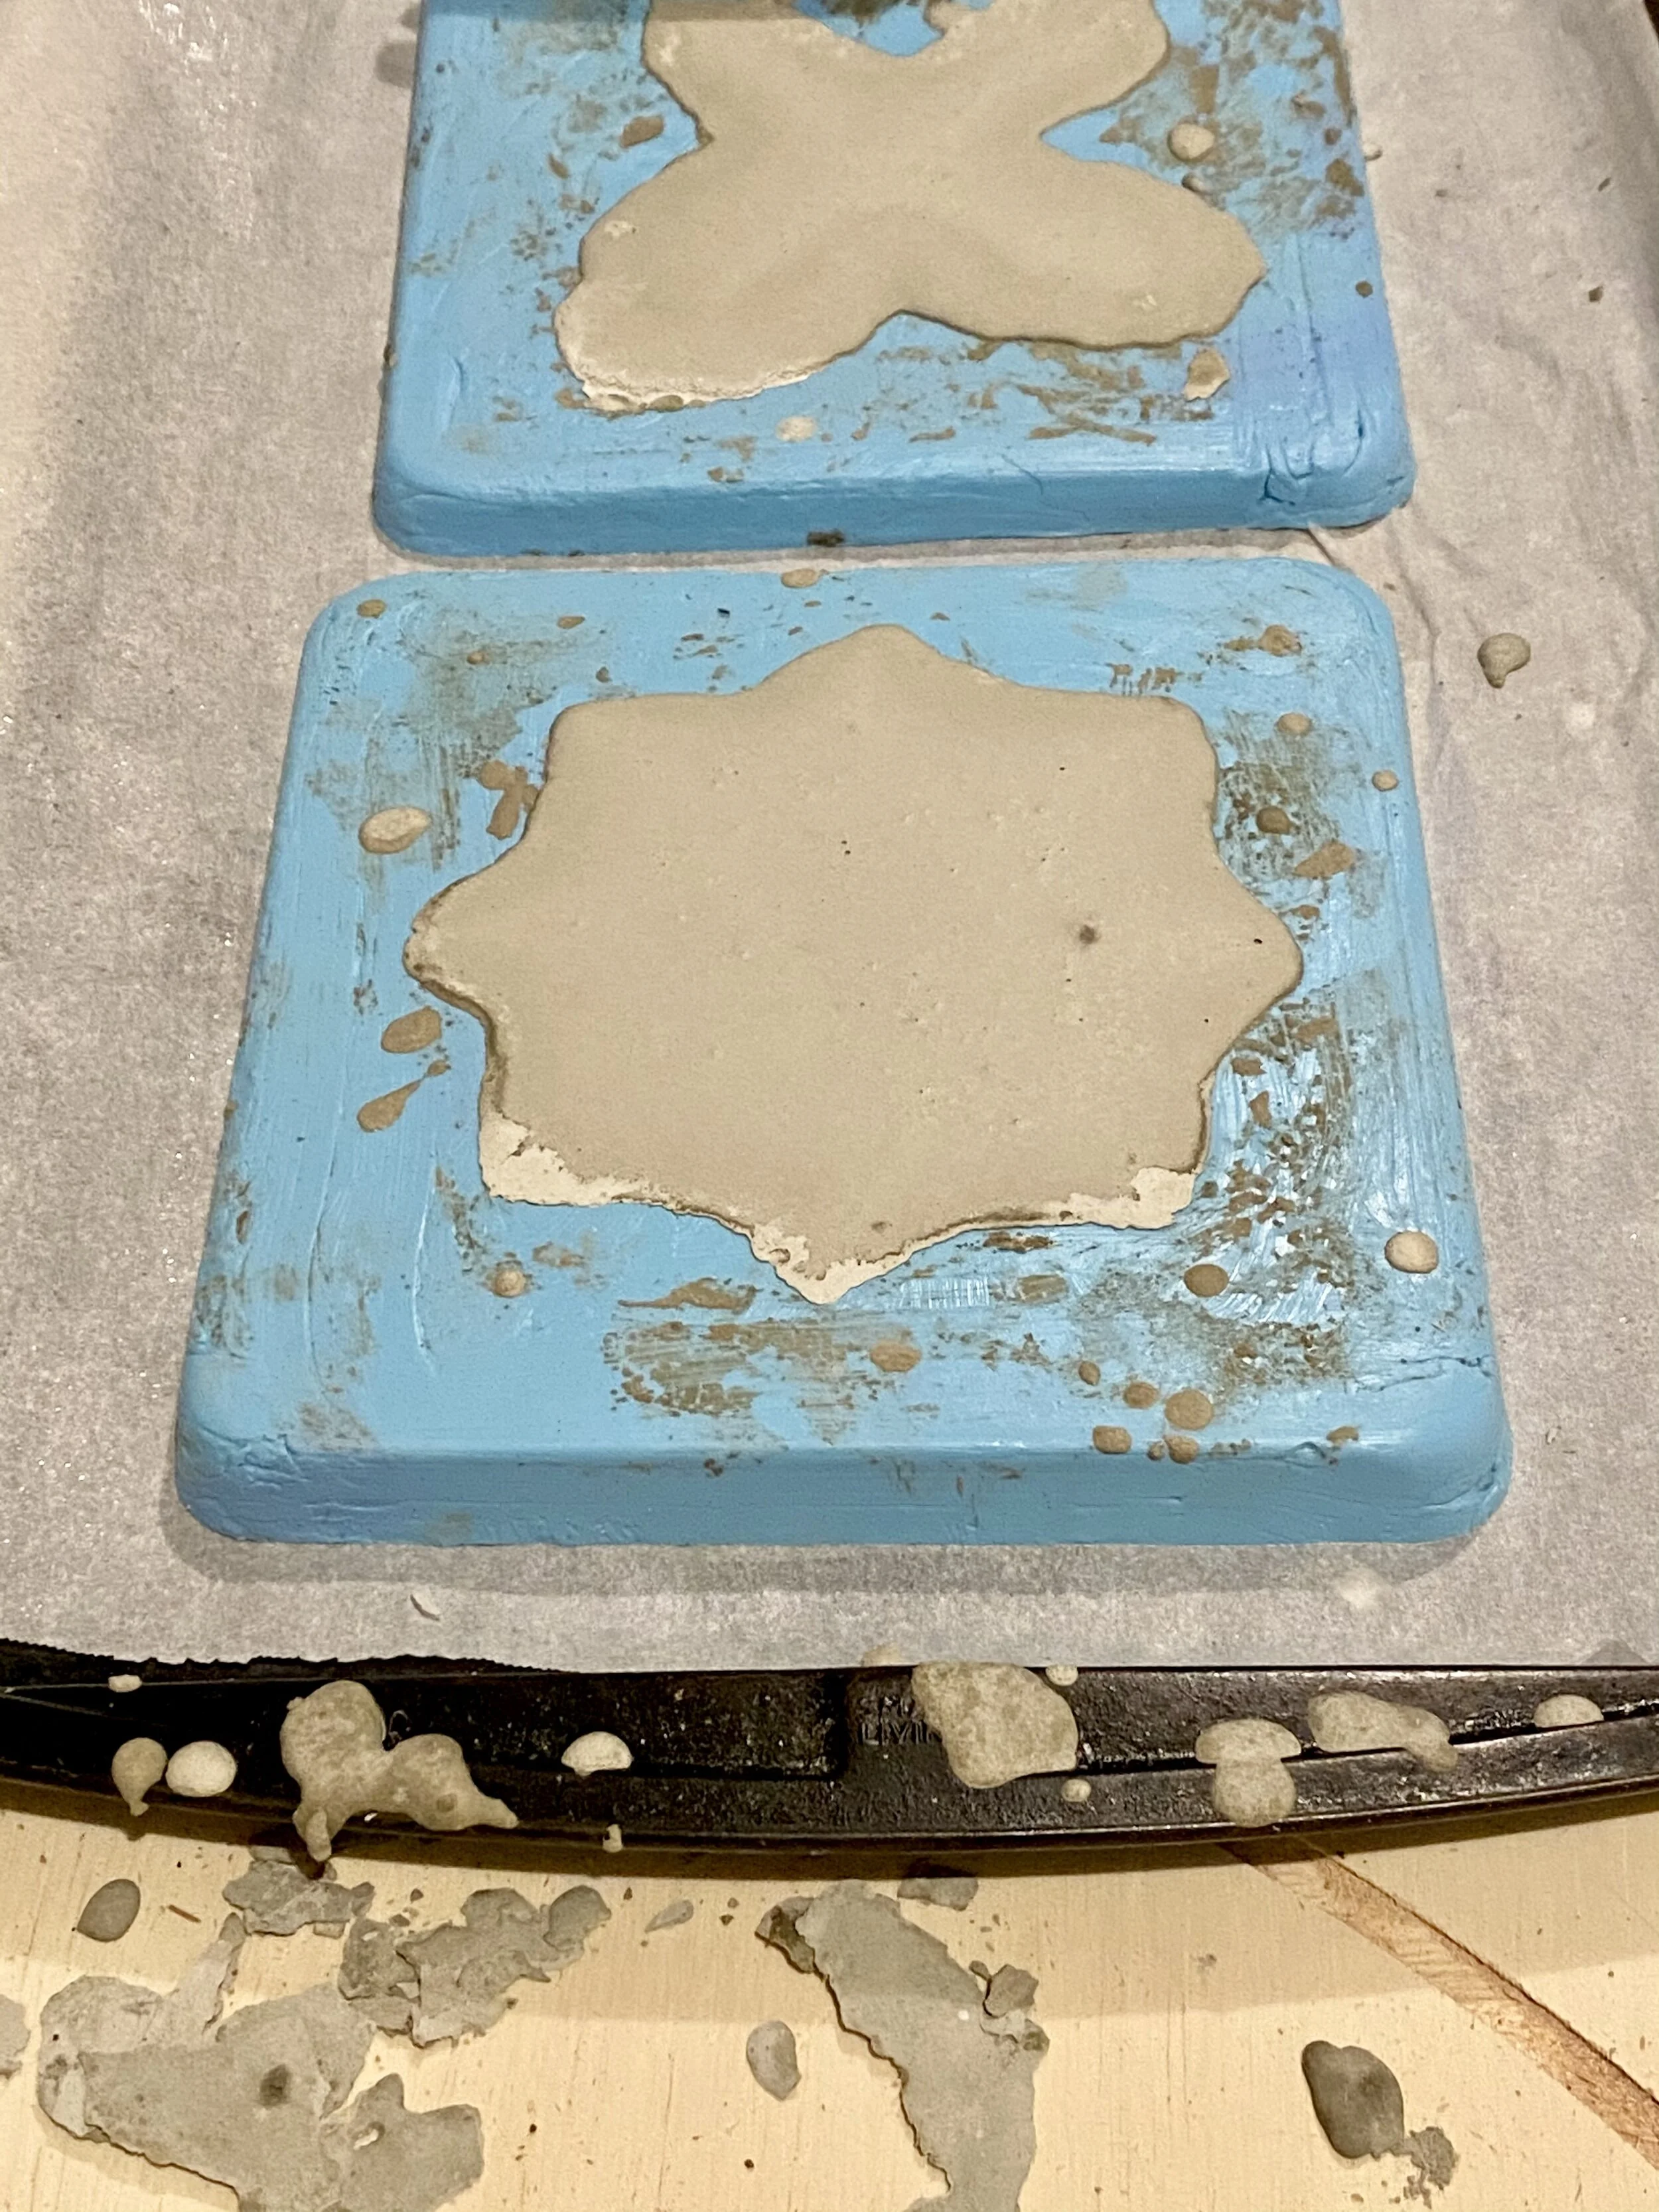
For the silicone mold I used the same mold making kit as last week. The main difference was using Vaseline on the pan that I used to make the silicone mold in! The Vaseline made it easy to release the silicone form after it set.
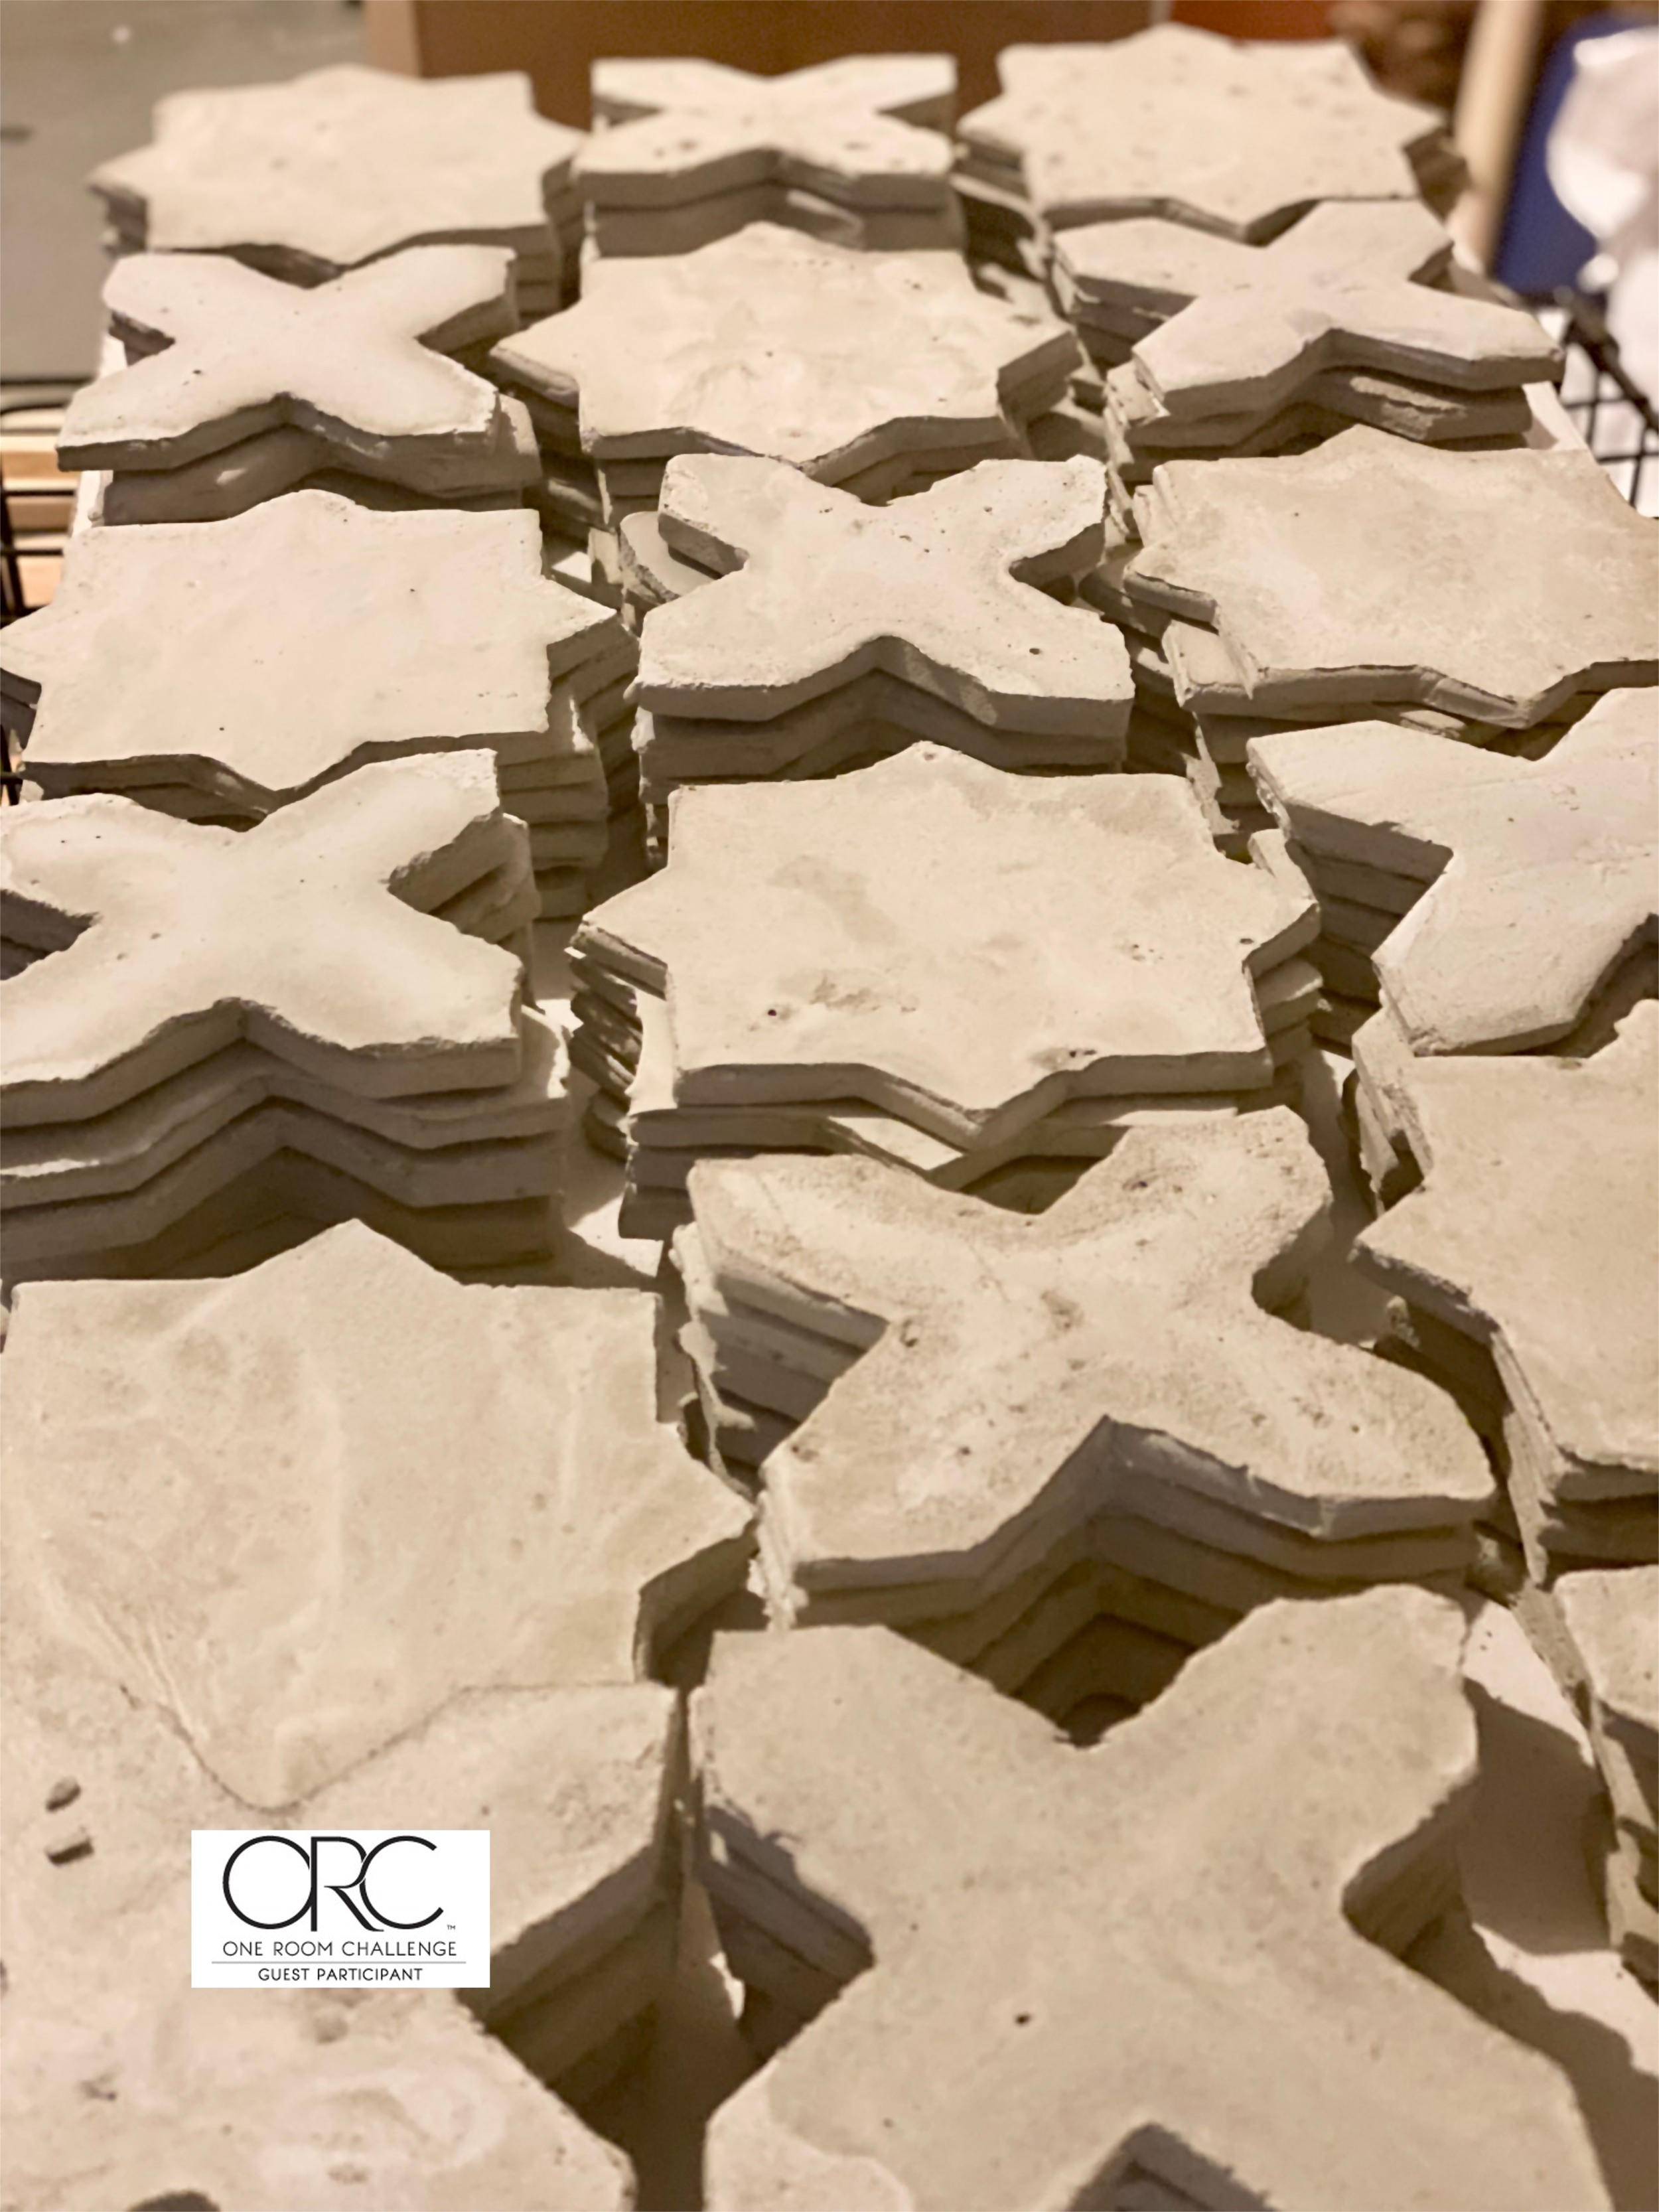
NEXT came mixing and pouring the cement into the forms. I wanted to be 100 percent sure that the cement would NOT stick to the form. To do this – I sprayed the silicone form with WD-40 before pouring the cement. This made the release of the cement tile seamless.
The rest of the week I spent making tile after tile. I am making additional silicone forms to make this process go faster. I will need about
120 tiles in all!
Pinterest Image
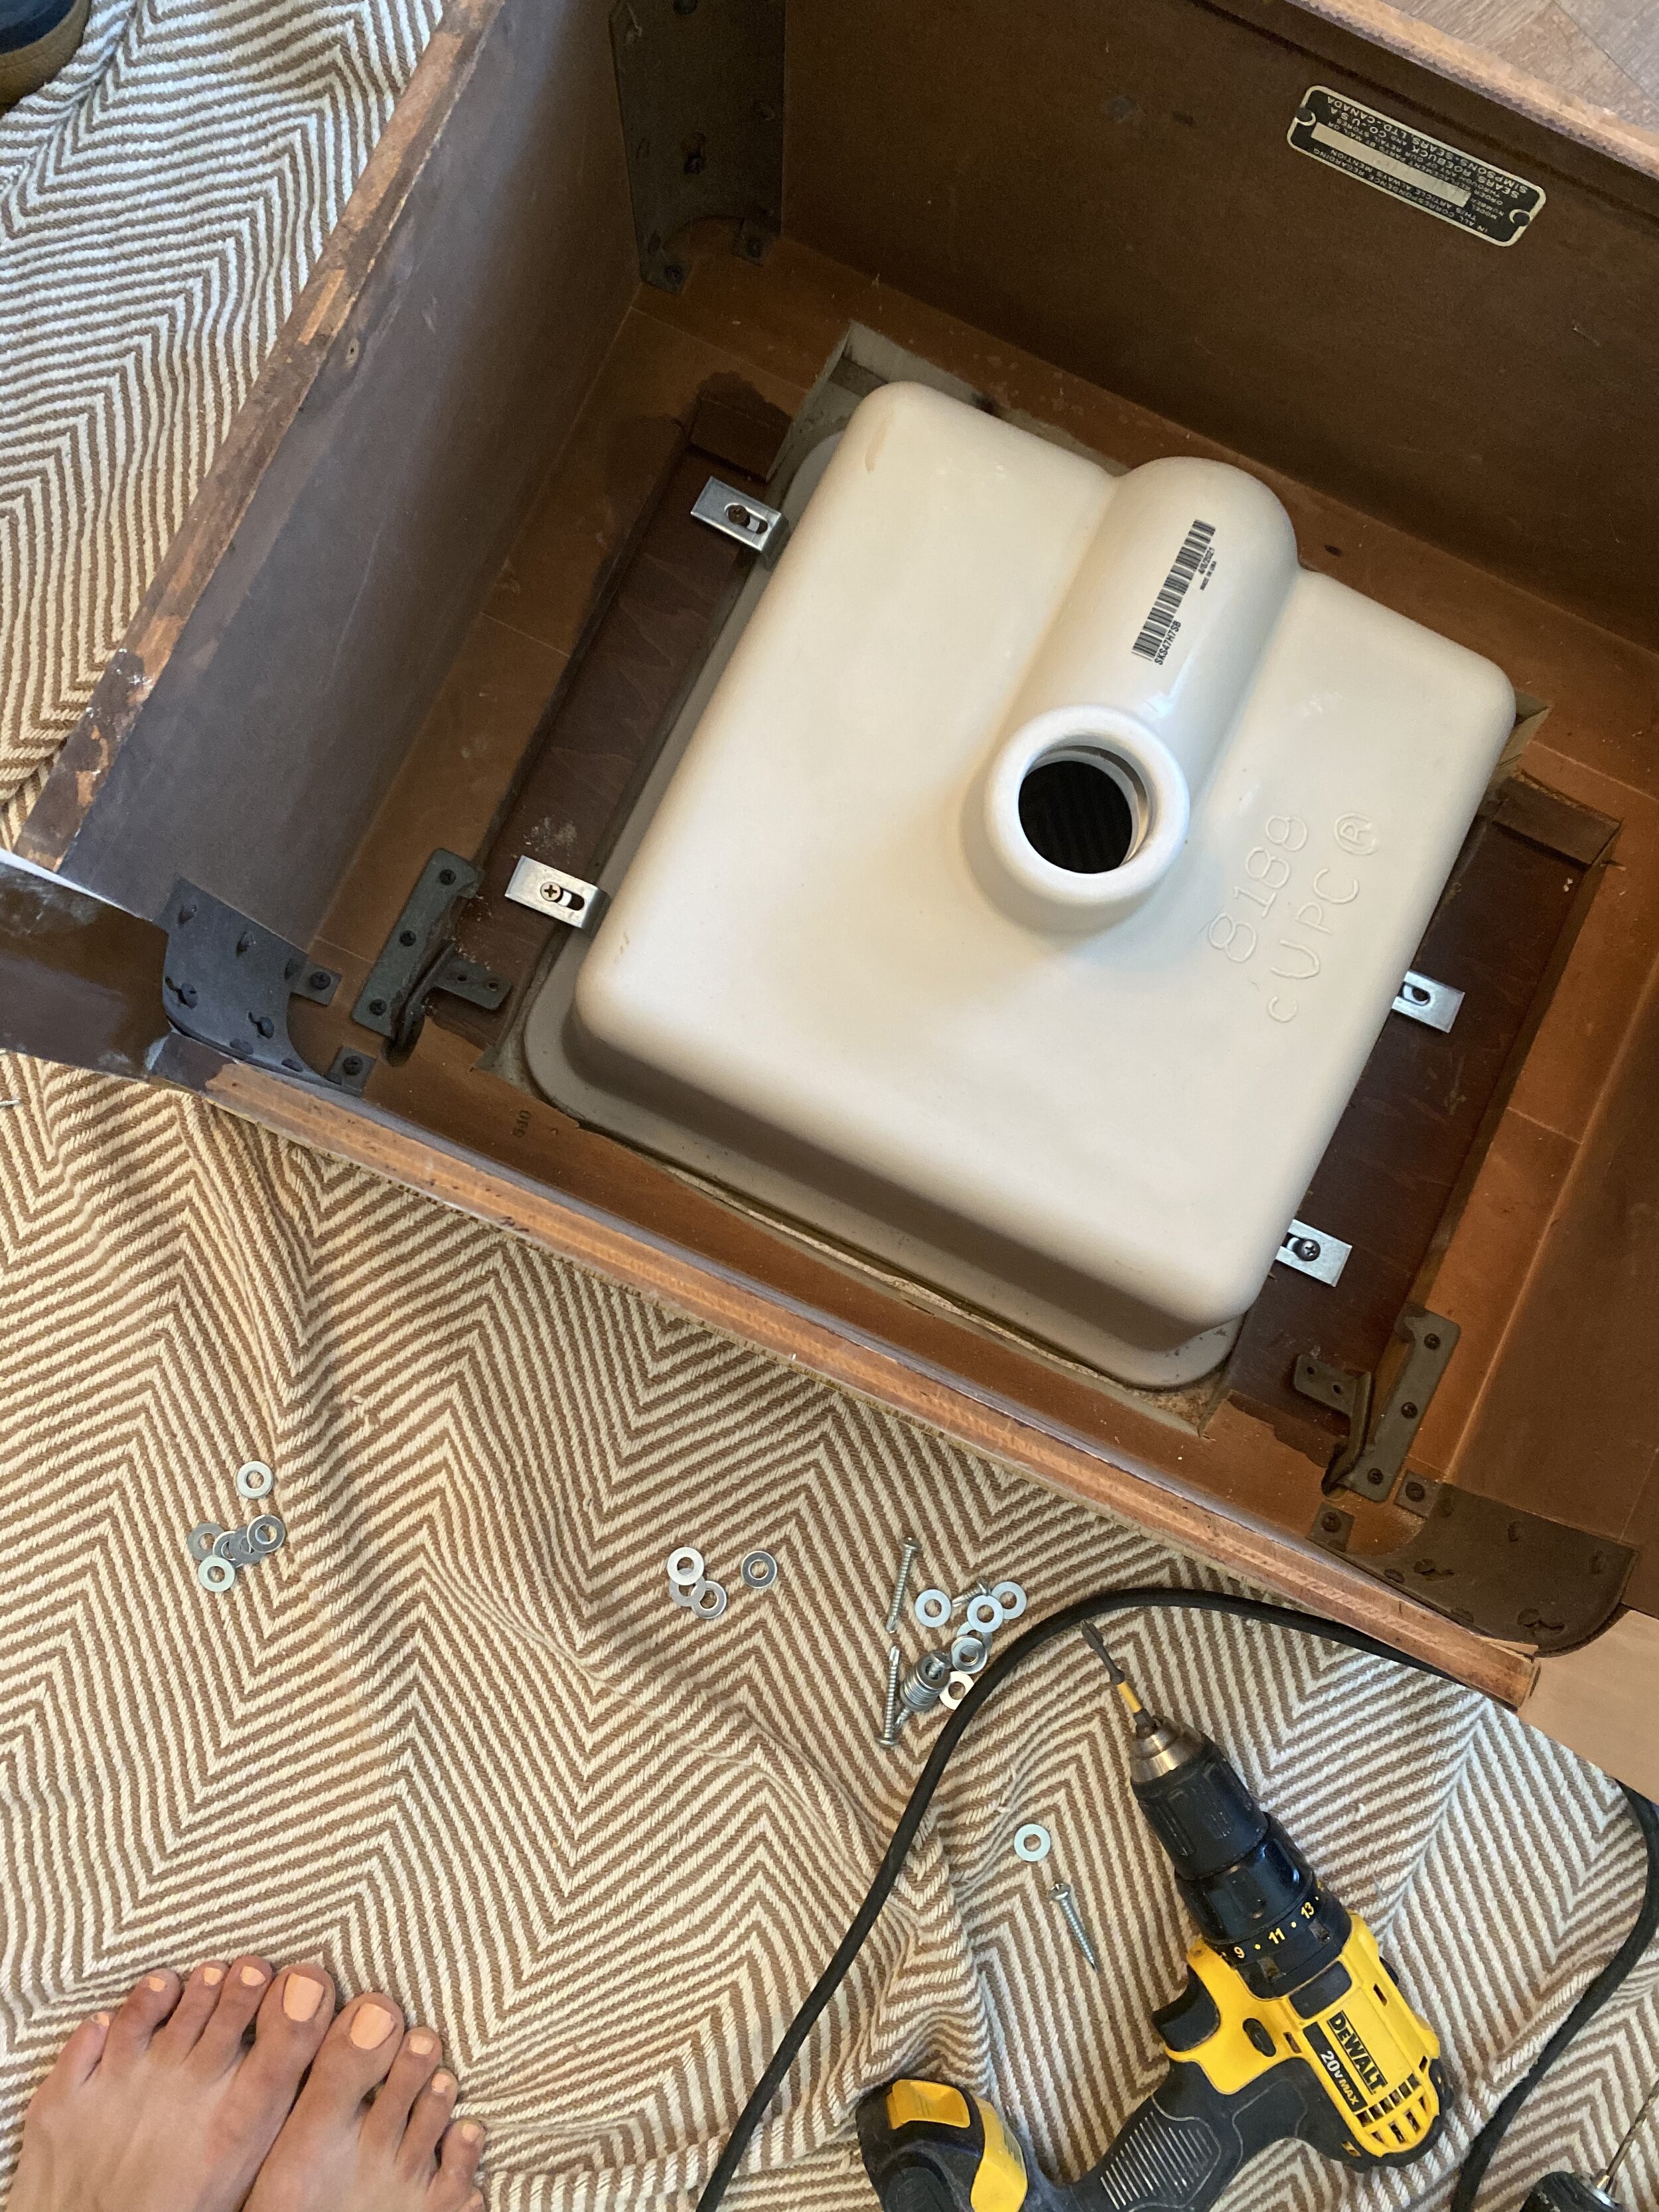
This week I will be working on the final vanity details!
Trying to choose between an undermount sink verse a vessel sink has me a little stumped. I love both of the looks but since my children will be using this bathroom A LOT – I want to make sure the sink is functional for our big family!
It all begins with an idea. Maybe you want to launch a business. Maybe you want to turn a hobby into something more. Or maybe you have a creative project to share with the world. Whatever it is, the way you tell your story online can make all the difference.
WEEK 7
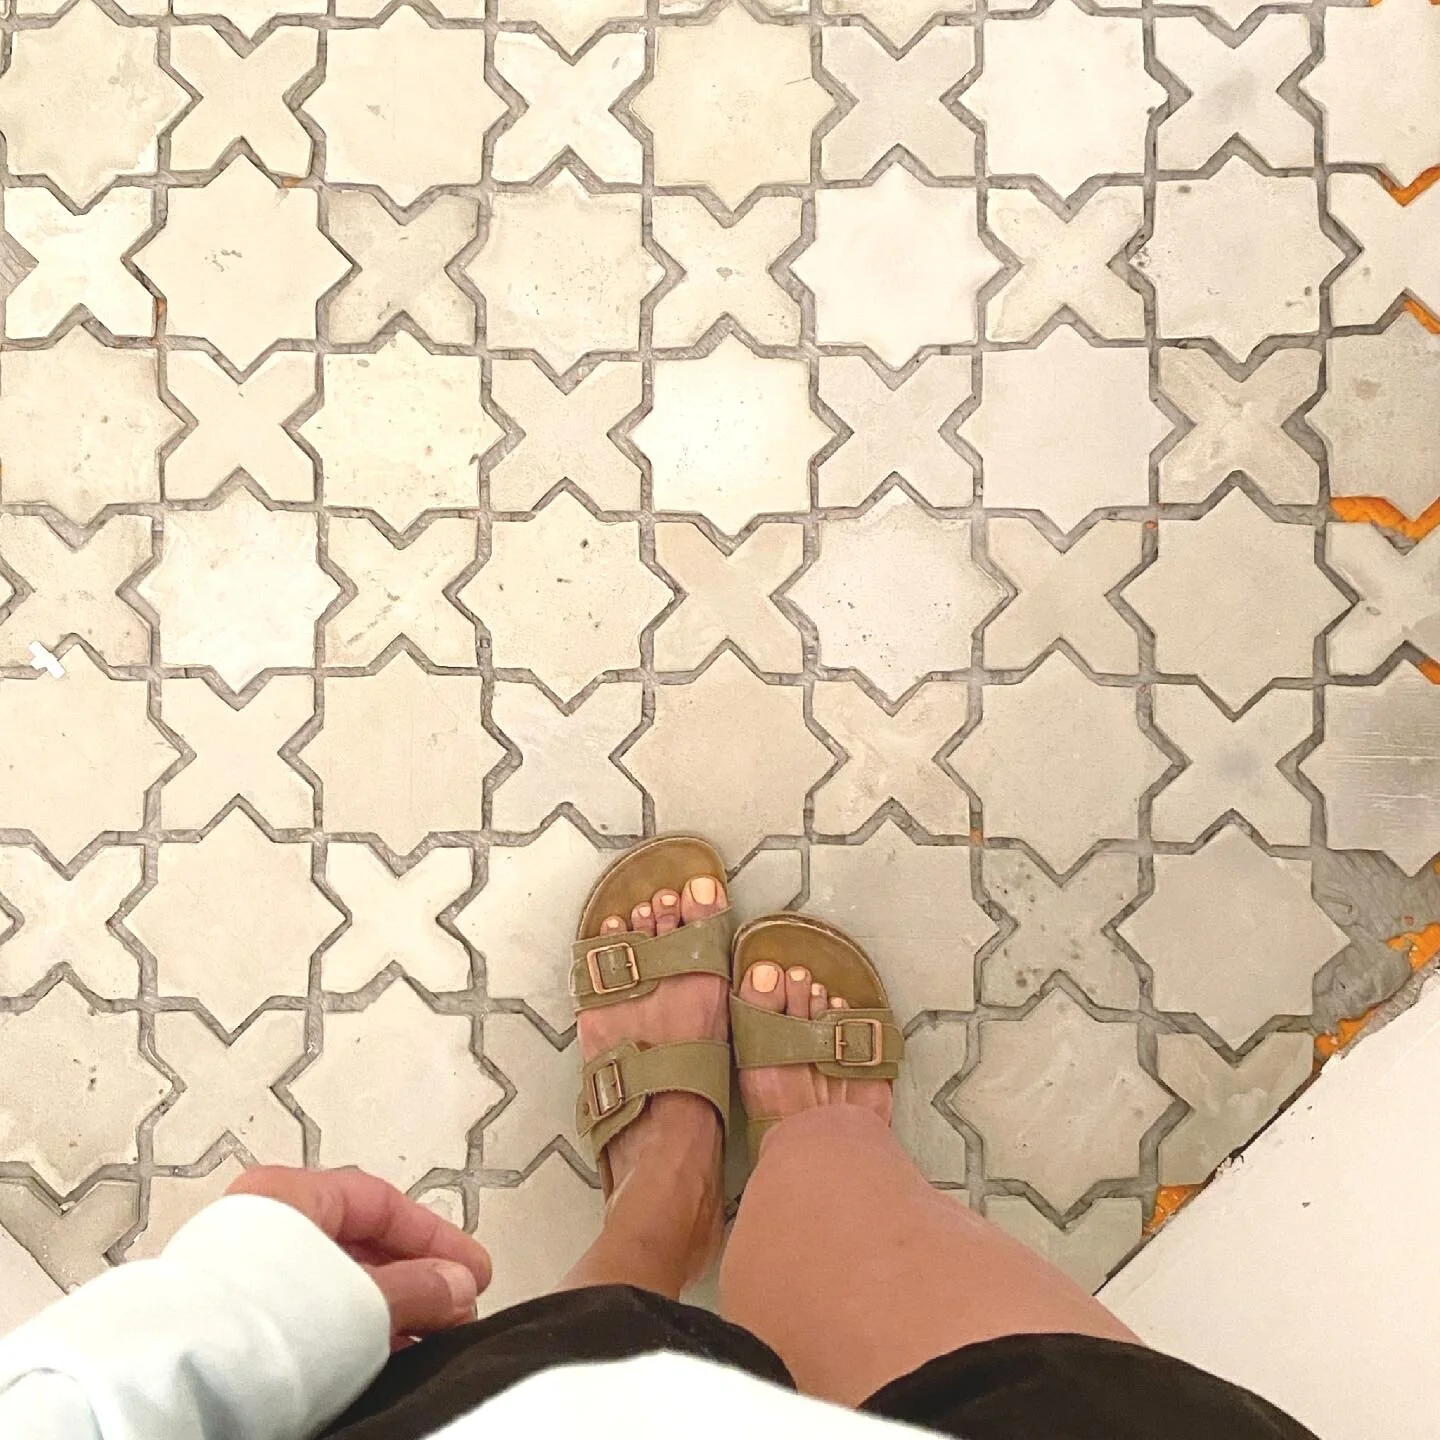
I can hardly believe this all worked!
This week I spent my days making tiles – every hour, on the hour. Each batch of cement tiles took about an hour to cure. Based on the square footage of my bathroom, I knew I needed at least 120 tiles to cover the floor. I made about twenty extra tiles planning on some breaking during installation.
I am beyond nervous to start installing these tiles this week! It took me weeks and weeks to perfect the process of making my star and cross cement tiles – I am hoping installation goes smoothly.
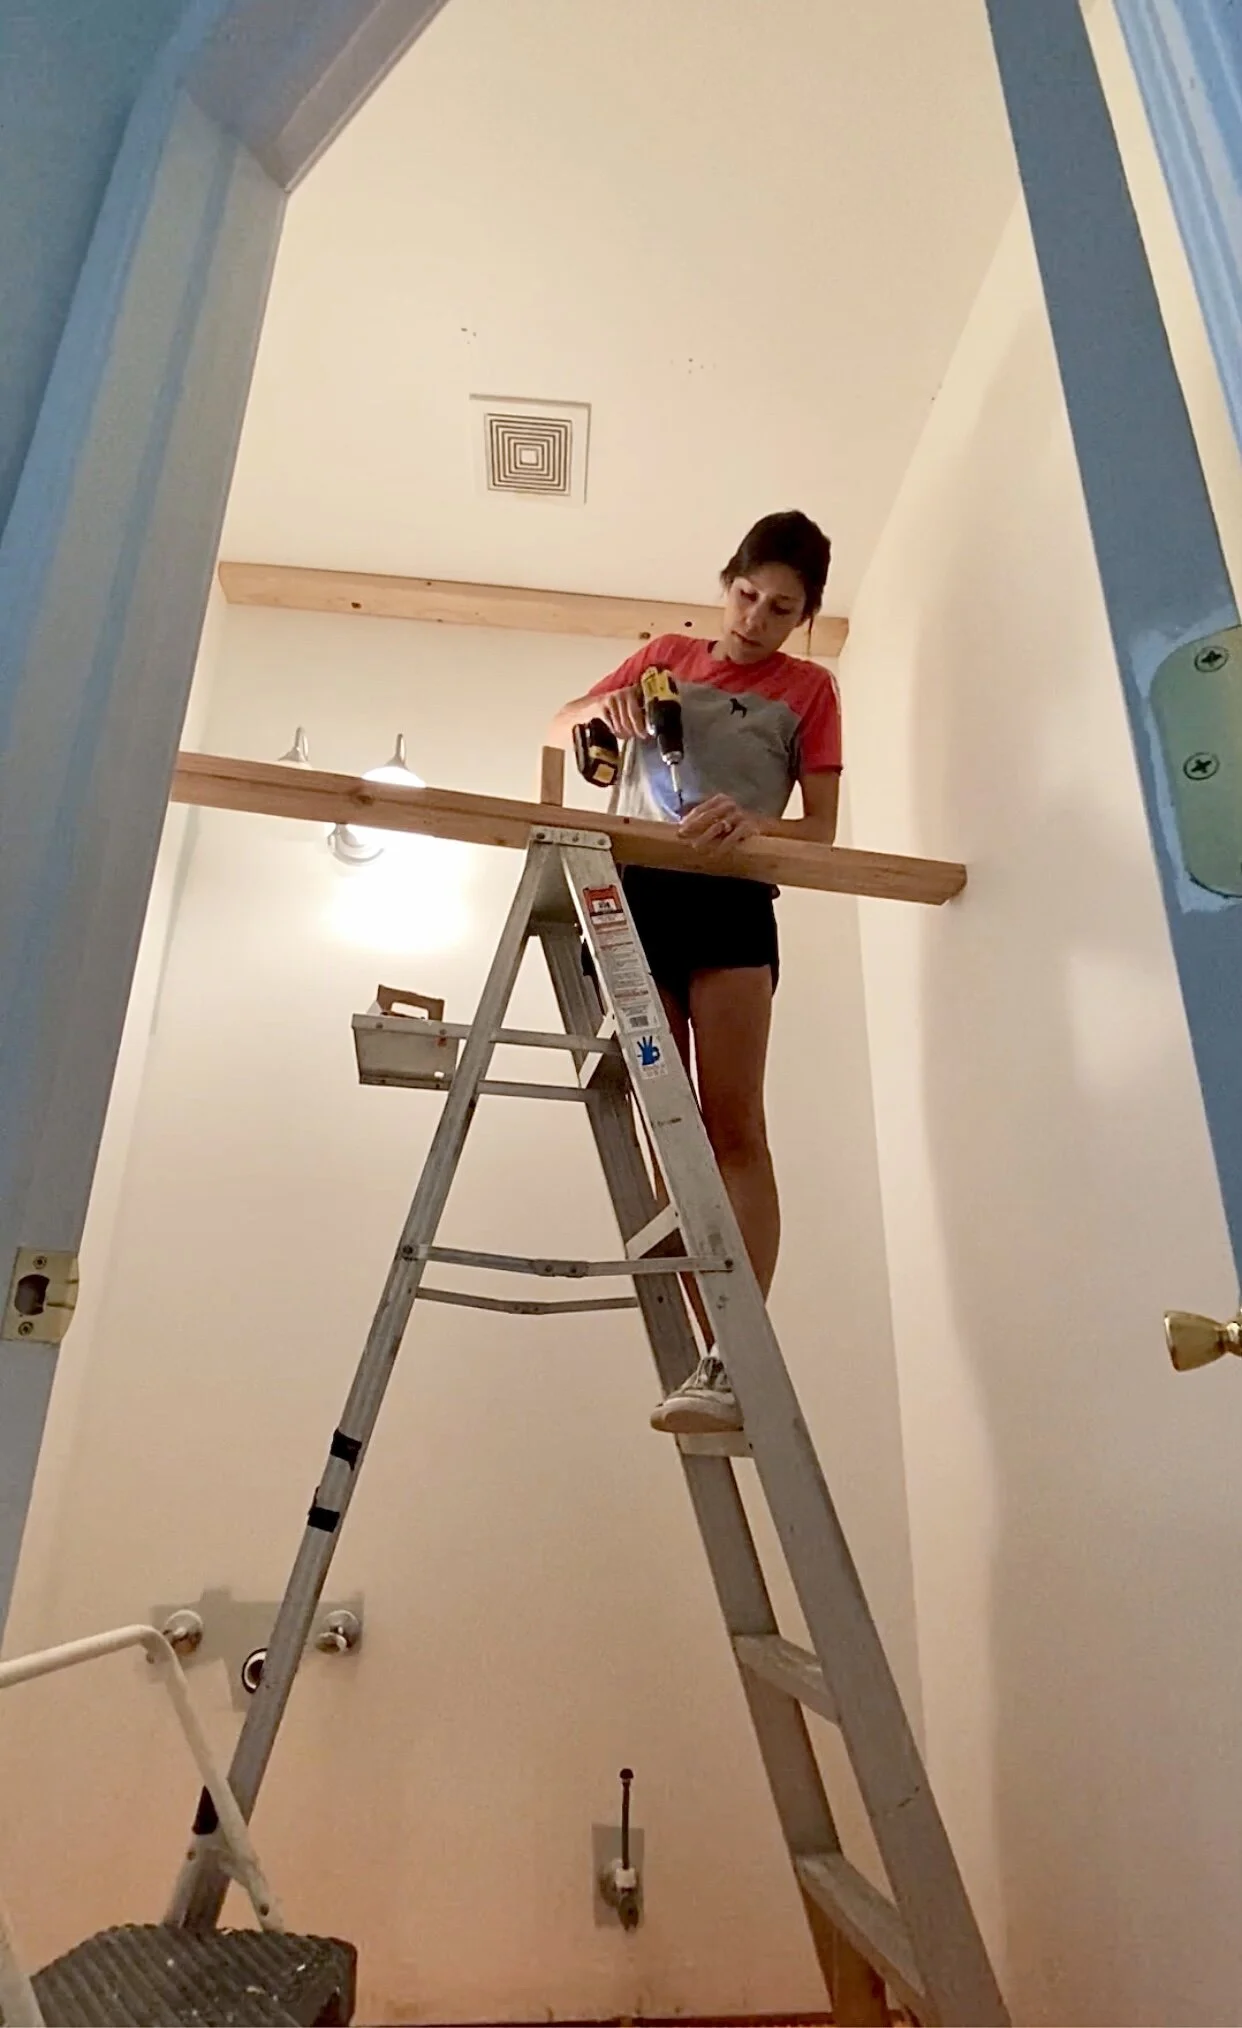
I also decided to add some faux beams to the bathroom design.
As I decided on the final finishes for the bathroom this past week, I really felt like the space needed some warmth and interest on the ceiling.
The ceiling height in the bathroom was 10’ – I knew I needed to add some visual interest to balance out the vertical space. I decided to add some faux beams!
Adding 2×4’s that anchored into the ceiling studs was the first step in getting the beams done.

Heading into the final week.
This week ahead will be a busy week.
In the days ahead I will be installing tile, running plumbing for the wall mounted faucet, toilet installation, and finishing up the beams. There will lighting installed and some DIY baseboards to come as well! A lot of finishing details will bring this modern organic bathroom together.
WEEK EIGHT – FINAL REVEAL
So much has happened this past week!
Talk about a busy week! So many things were on my project list for week 8. Building and installing beams, laying the tiles, the DIY vanity, and all of the finishing details.
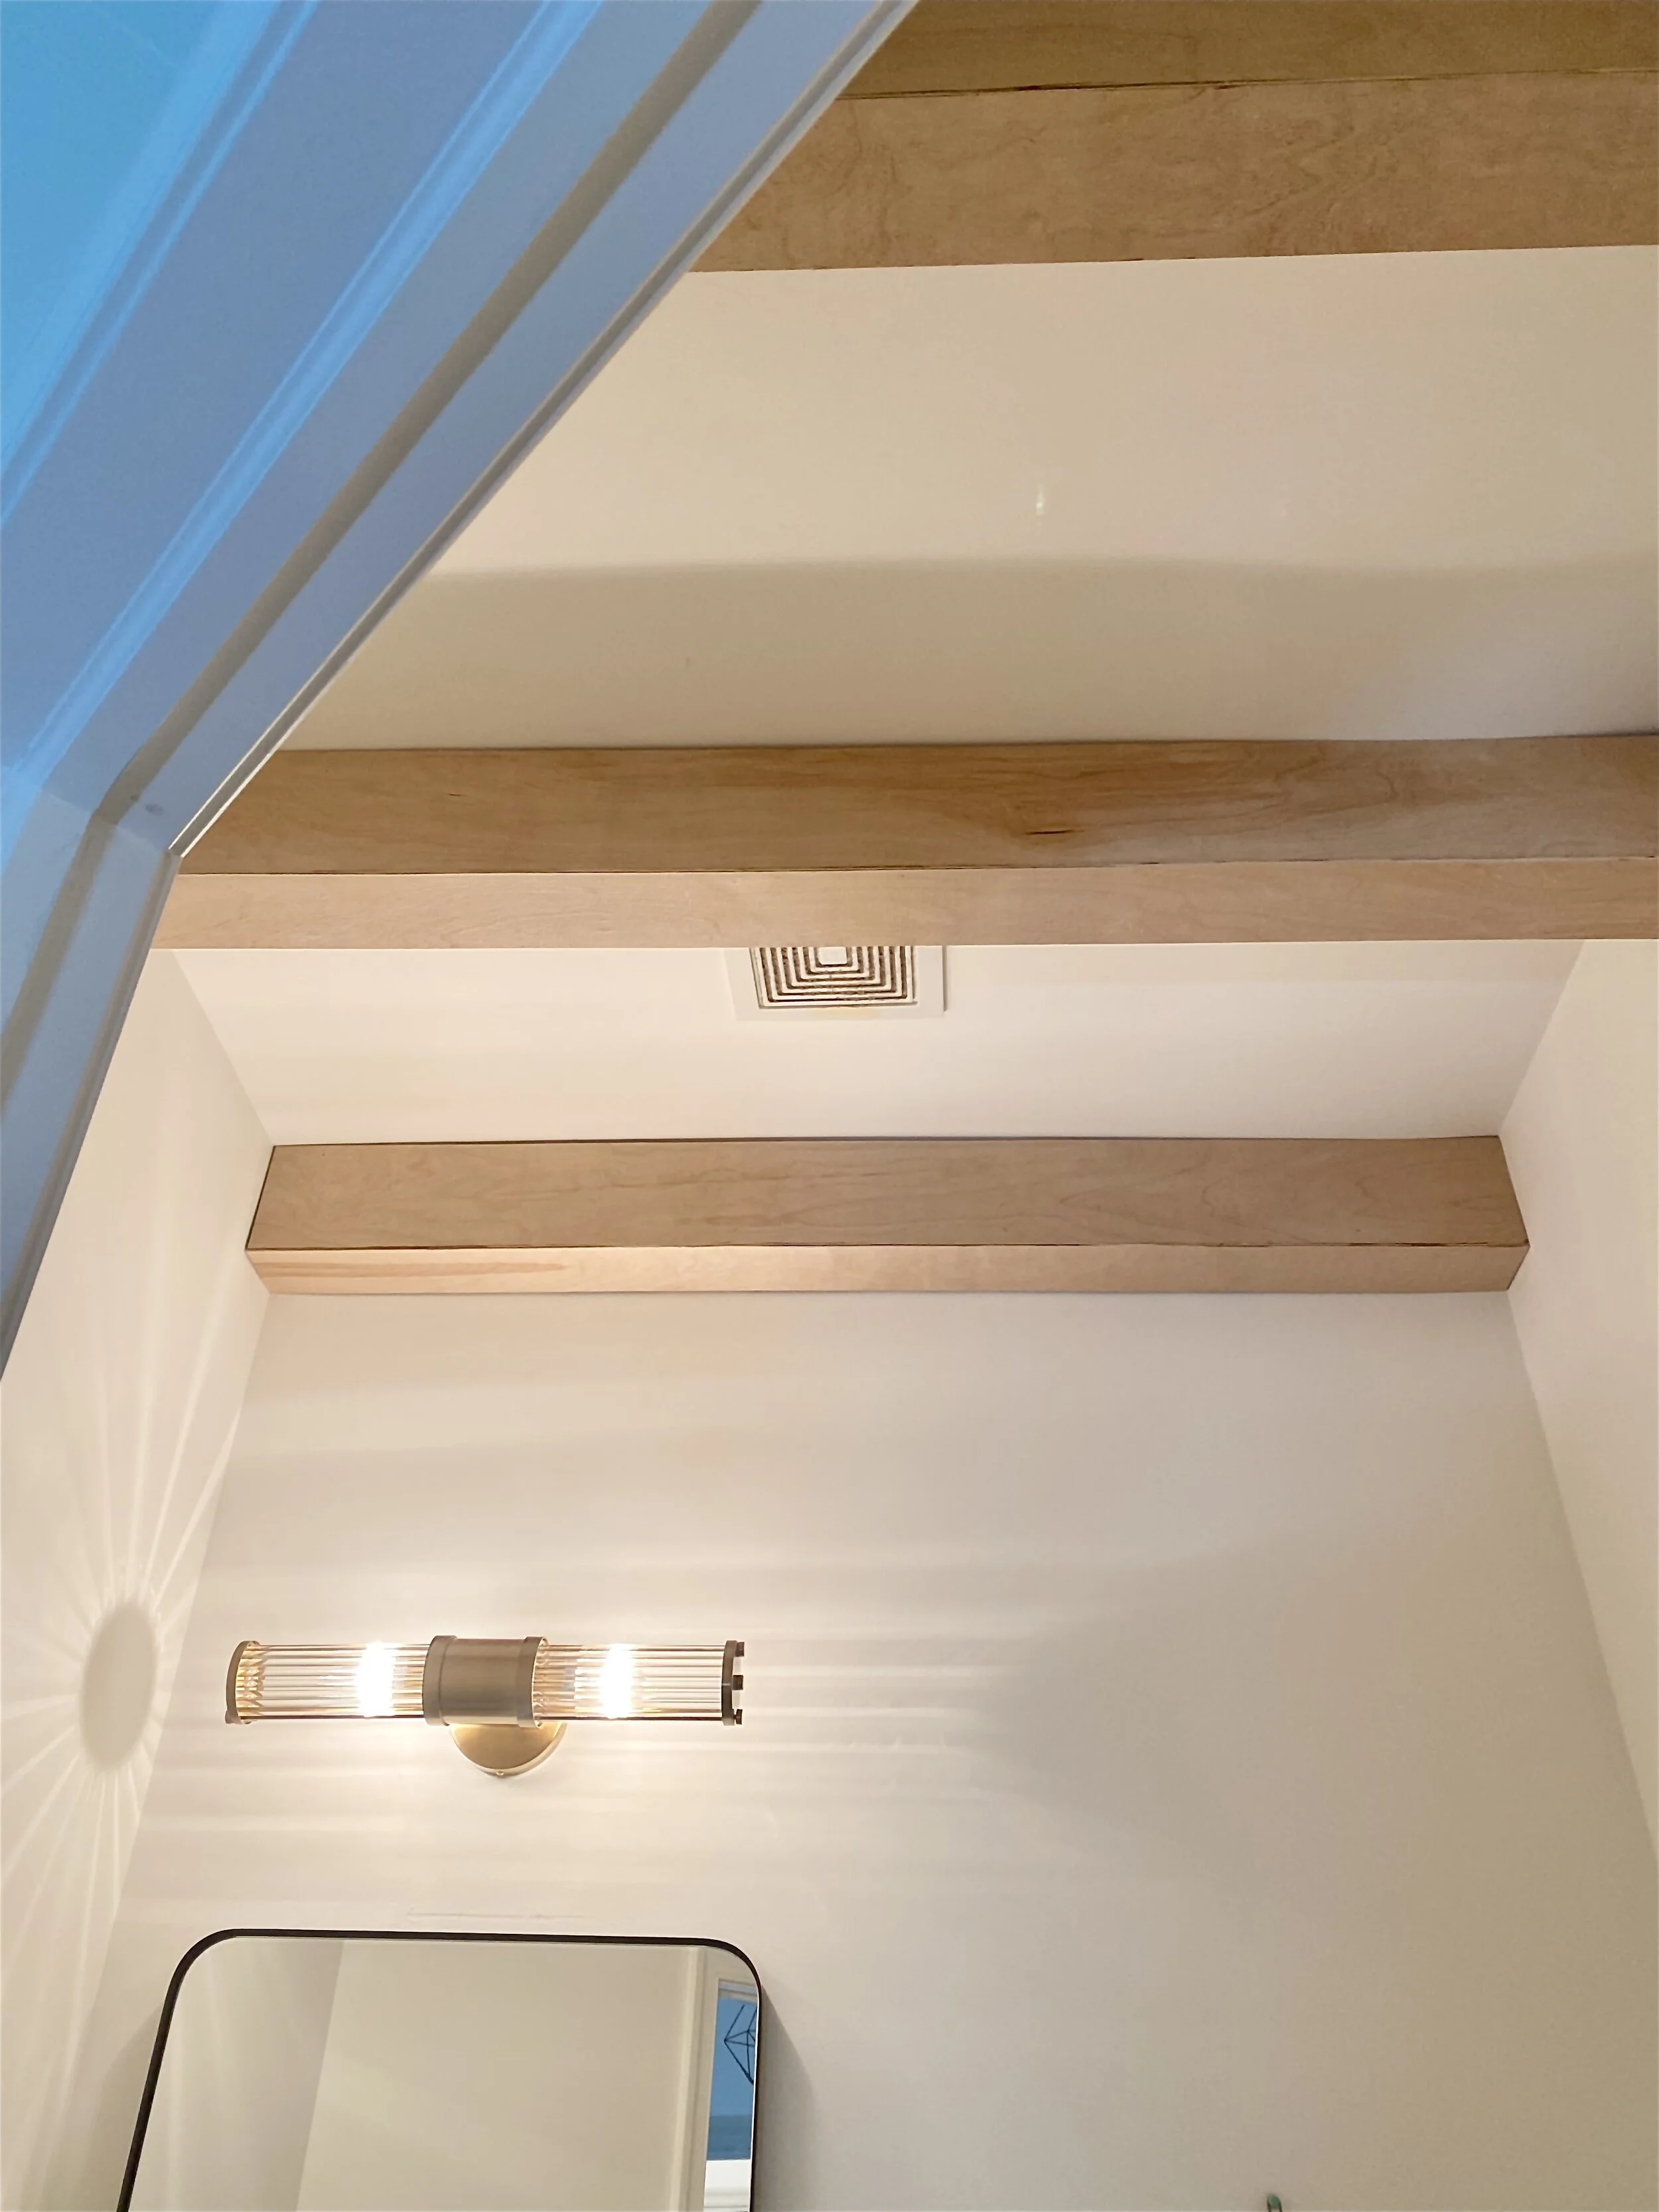
Faux Beams are up!
These beams were easy to make – and very affordable BUT I will admit beams are tricky to install! They have to be exact and yet when they are exact, they are hard to shimmy up the wall.
For the beams I used 1/8 maple plywood for the facing. It ran me about $13 for the plywood and $25 for the ceiling 2×4’s.
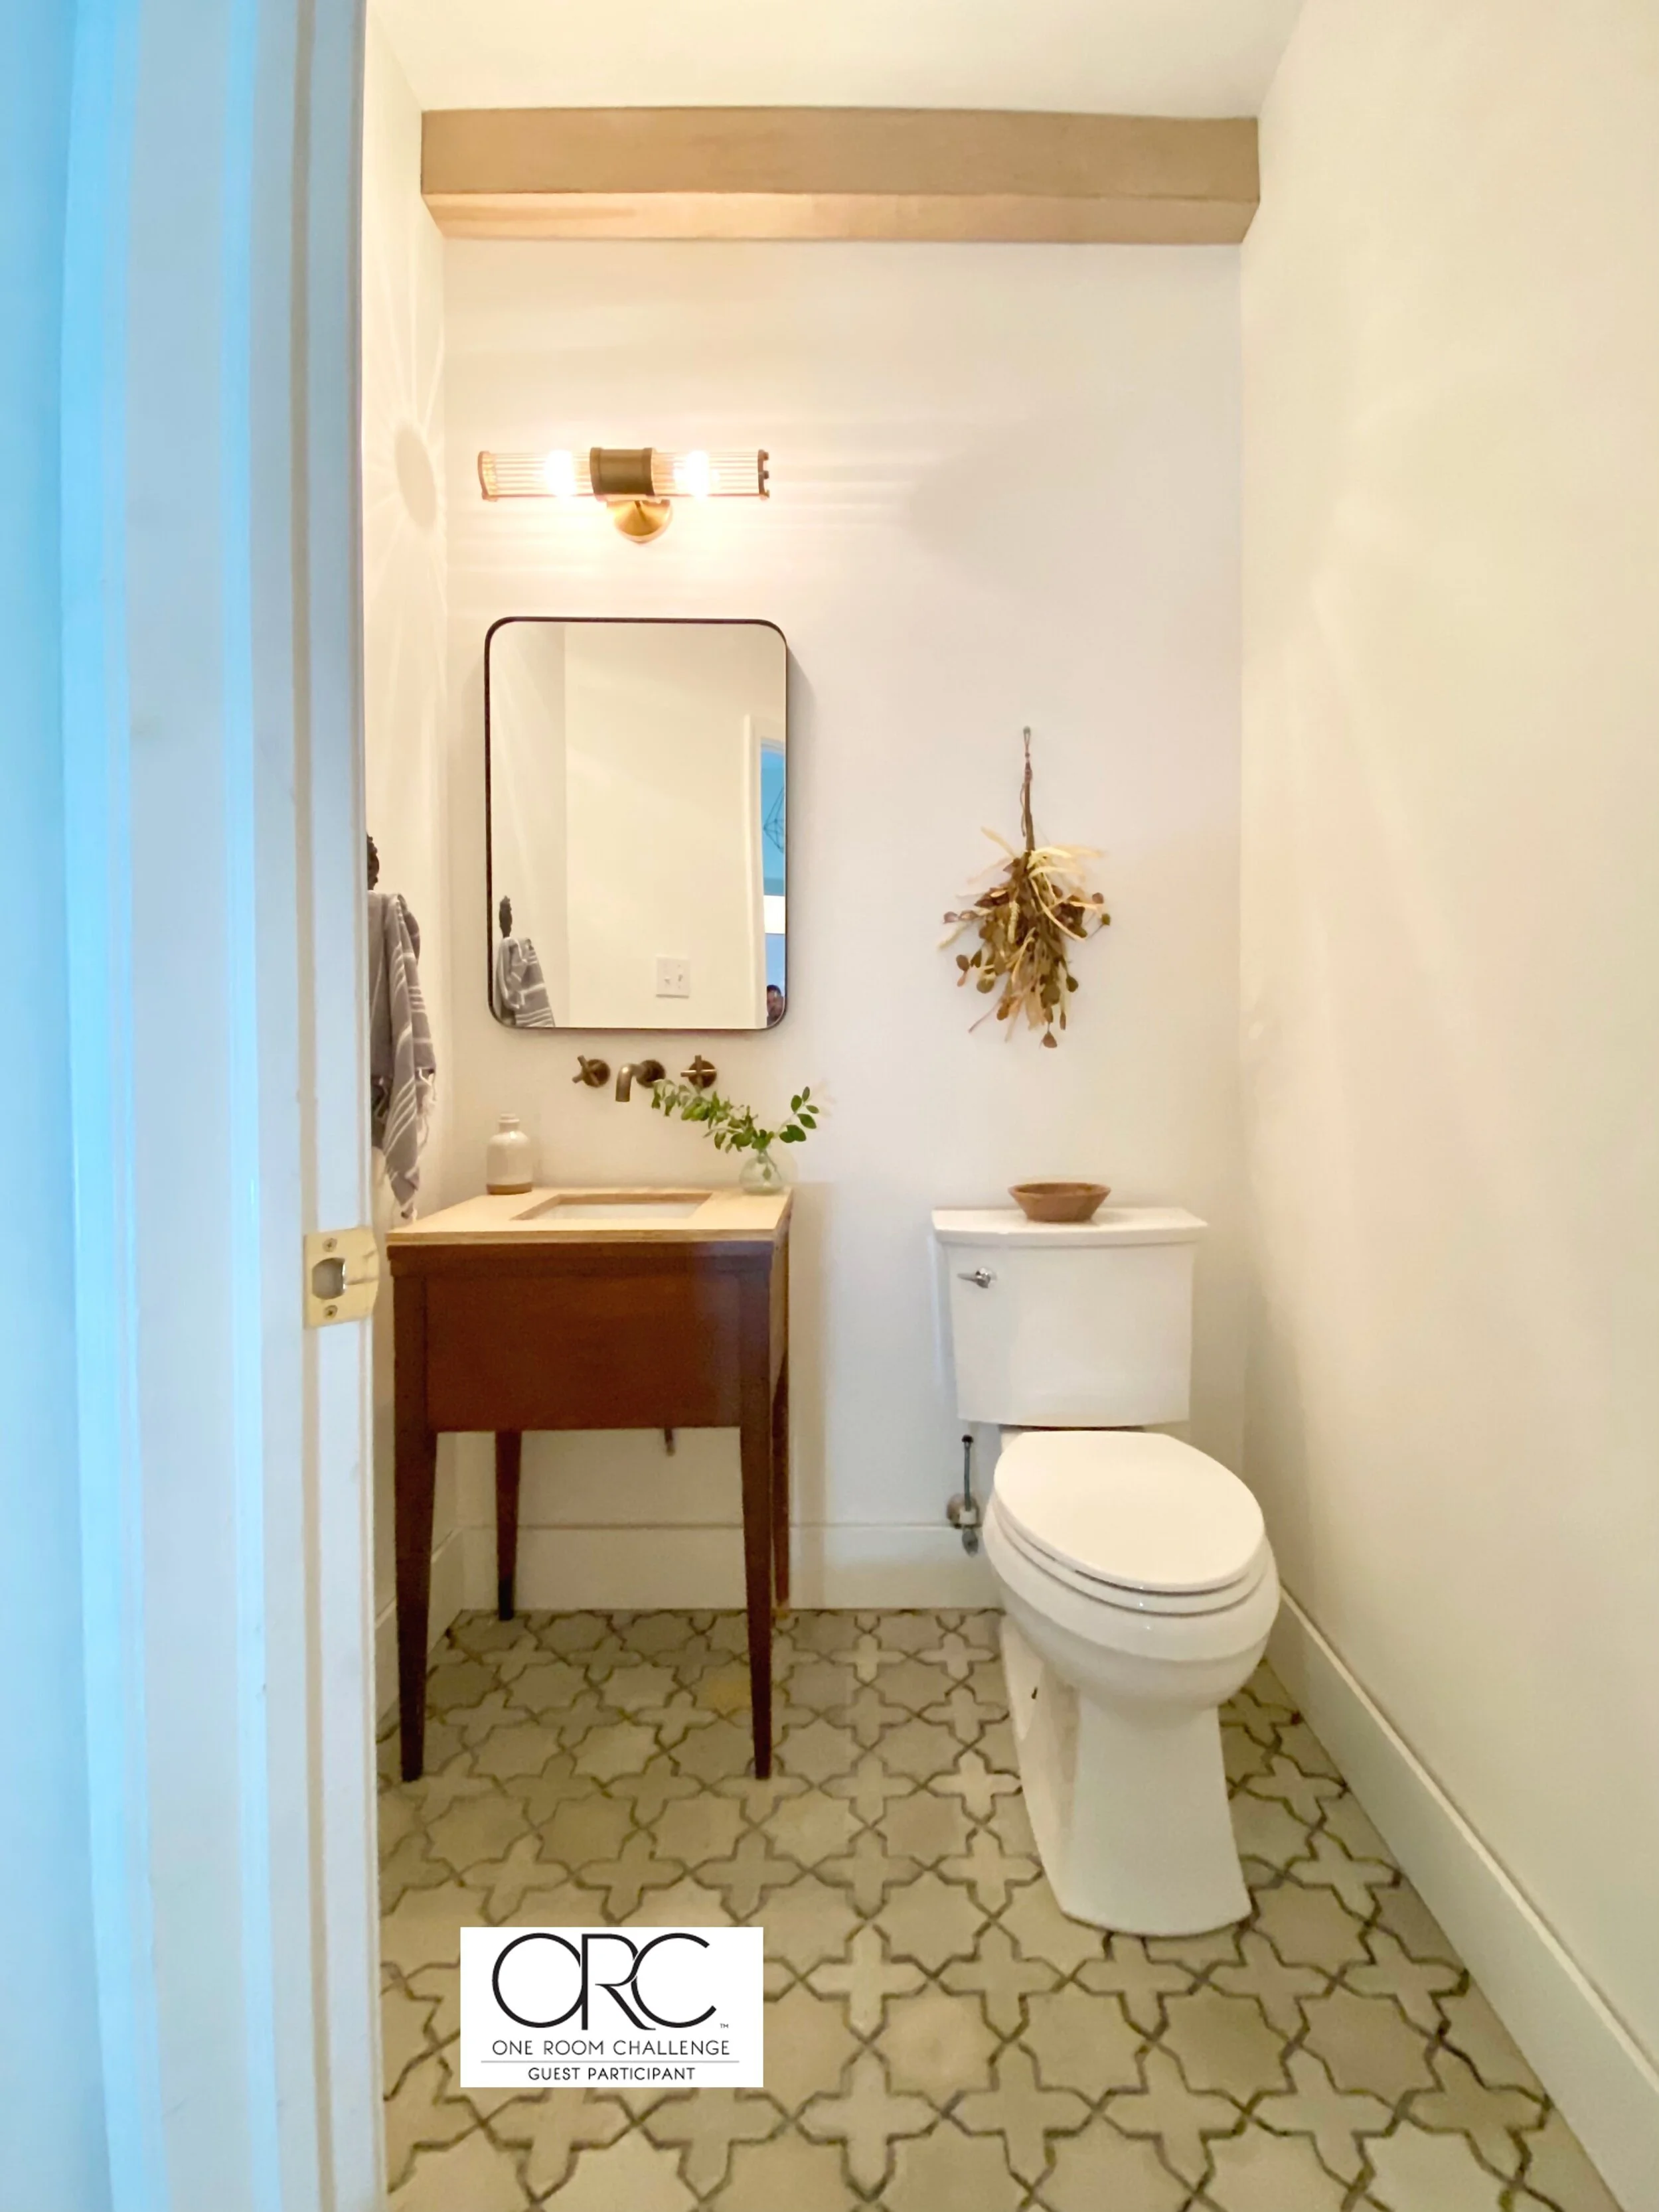
I had a hard time choosing the stain for the vanity. I loved the light wood look with the cement tiles, but I also loved the contrast of the darker wood with the white walls.
In the end I went with a rich dark stain.
It really added interest to the space along with the beams that drew the eye up to the ceiling.
As always…
Be sure to follow along with all the One Room Challenge fun on the One Room Challenge Blog.
#bhgorc @betterhomesandgardens @oneroomchallenge @abby_roadhome


