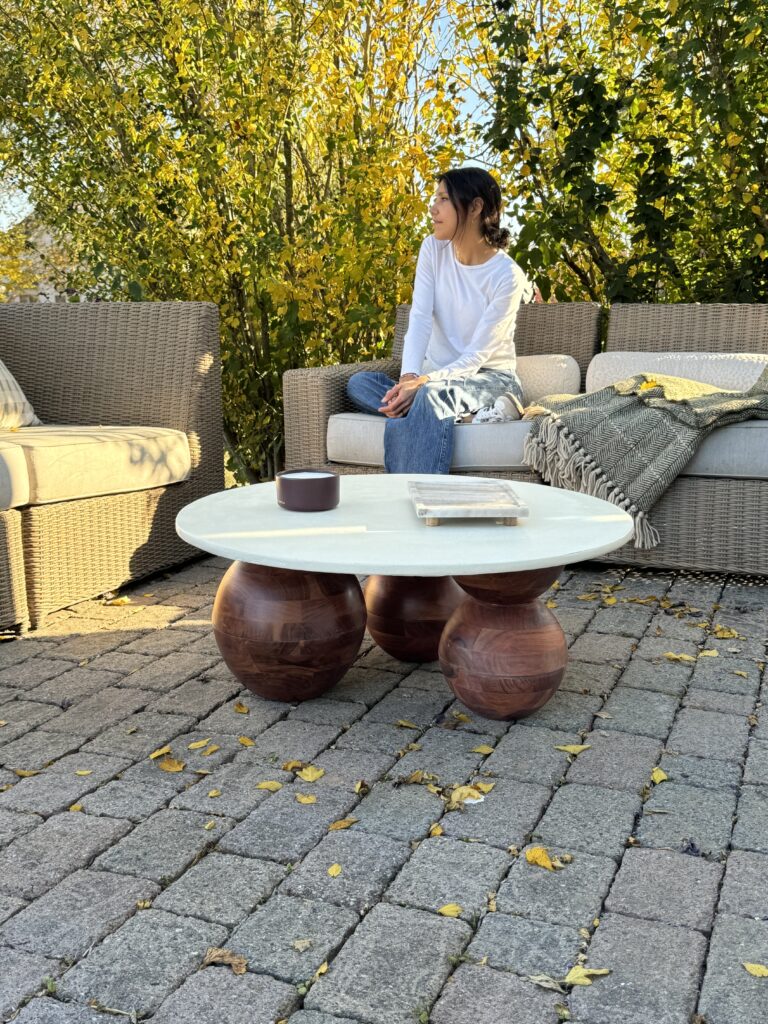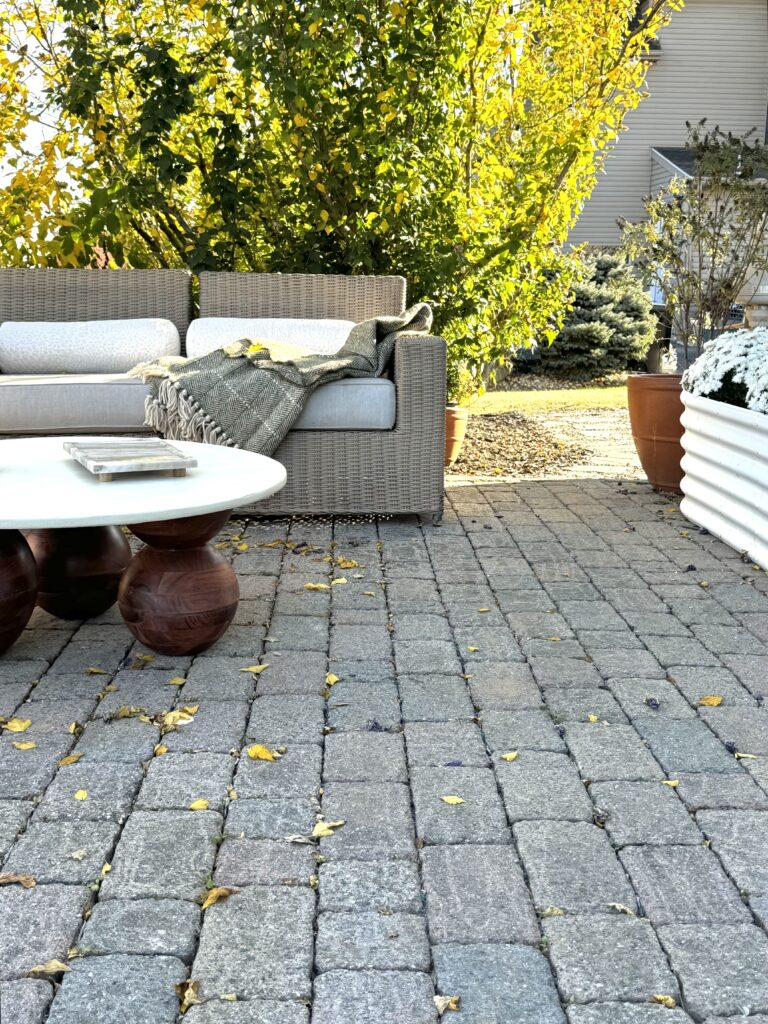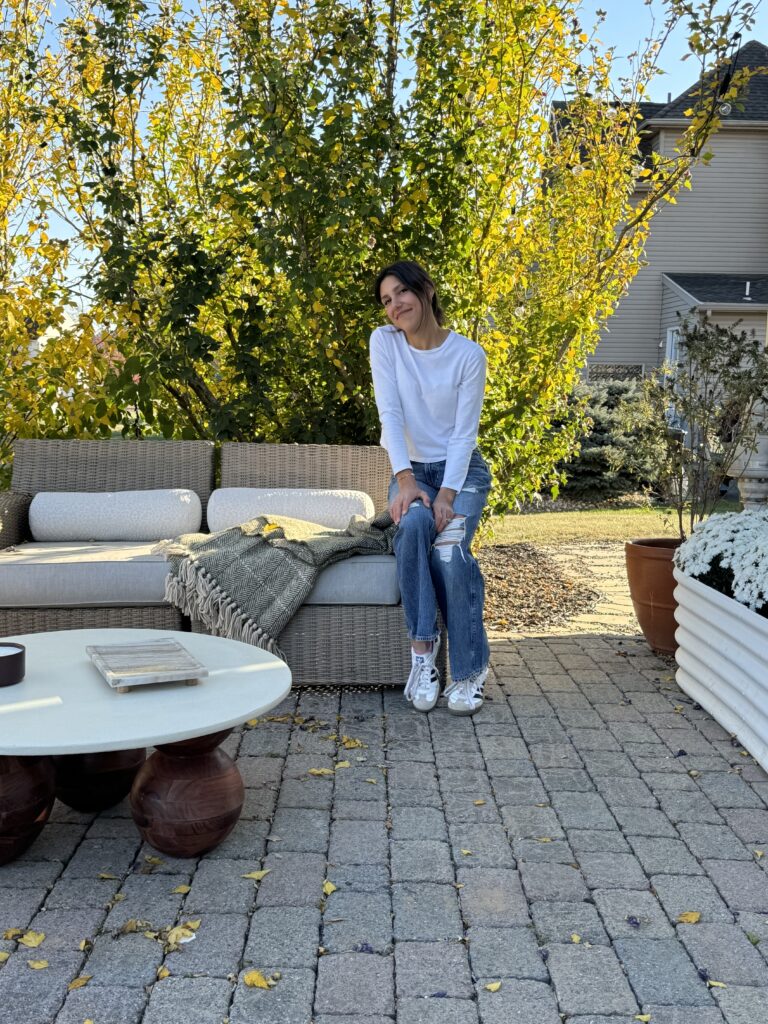
If you’re the type of person who loves repurposing materials and creating something stylish and functional…this DIY outdoor coffee table project is perfect for you! Using scrap wood and serving bowls as legs, you can build a one-of-a-kind piece of furniture that adds charm to your outdoor living space. Not only will this project help you declutter by using up leftover materials, but it also gives you a chance to flex your creative muscles and make a coffee table that’s entirely unique.
Ready to turn your scrap wood and serving bowls into a beautiful outdoor table?
Let’s get started!
Materials and Tools Needed
Wood bowls (Bowls come in 2 sizes. I used both the larger and smaller sizes)
Concretta (Meoded – color Simply White)
Scrap wood (3/4″ plywood)
Step-by-Step Guide
Step 1: Creating the Table top
- Trace and Cut the Wood: Start by tracing a circle onto your scrap wood. I used my small patio bistro table, but you can use anything circular that’s the size you want for your tabletop. After tracing, carefully cut out the circle using a jigsaw.
- Sand the Edges: Once your wood is cut, sand down the edges to smooth them out. I used a 120 grit sandpaper first to get rid of rough edges,
- Prime the Table: For the concretta application, I applied a coat of primer to the wood. This helps the concrete adhere better. Allow the primer to dry completely.
Step 2: Making the Legs
Glue the Bowls Together: To make the legs, I used two different-sized bowls. The largest bowl forms the base, while the smaller bowls act as the supporting legs. Here’s the sequence:
- Large Bowls: I glued my largest bowls together to create a sphere shape. These will act as the main structural support for the table. You want these bowls glued firmly to ensure they’re stable enough to hold the weight of the tabletop. (I added a piece of scrap wood to even the height of the glued large bowls to the height of the three glued small bowls I made in the step below.)
- Small Bowls: I glued three small bowls together to make the other legs. This gives the table an interesting asymmetrical look, with a mix of sizes creating a dynamic visual effect.
Be sure to allow the glue to dry completely before handling the bowls further.
Step 3: Apply the Concretta Finish
- Apply the First Coat of Cement: Once the cement is mixed, spread a thin, even layer across the top of the table using a paintbrush or spatula. Make sure the cement covers the entire surface. I applied a thin coat first to give the wood some protection and create a smooth base for the next layer
- Sand Between Coats: After the first coat of cement dries, I lightly sanded the surface to smooth it out. This step ensures the second layer adheres properly and creates a more refined look.
- Apply the Second Coat: After sanding, apply a second coat of cement to build up the concrete texture and give it a thicker finish. Allow it to dry completely, then sand the surface again for a super smooth finish.
- Clear Polyurethane: Once the cement is fully dry, I applied a clear polyurethane top coat. This helps seal the concrete and gives it a glossy, smooth finish. You could also use an outdoor-rated sealant for extra protection against weather.
Step 4: Enjoy your new table
- Place your table legs in the order you’d like them
- Glue the top of bowl leg based to the table top and allow to dry.
- Enjoy!
Final Thoughts:
Building an outdoor coffee table from scrap wood and serving bowls is a fun and rewarding project that lets you reuse materials and create something entirely unique. By following these steps, you’ll have a stylish table that adds a touch of personality to your outdoor space. Whether you’re sipping your morning coffee or hosting a backyard barbecue, your DIY table is sure to be a conversation starter.

