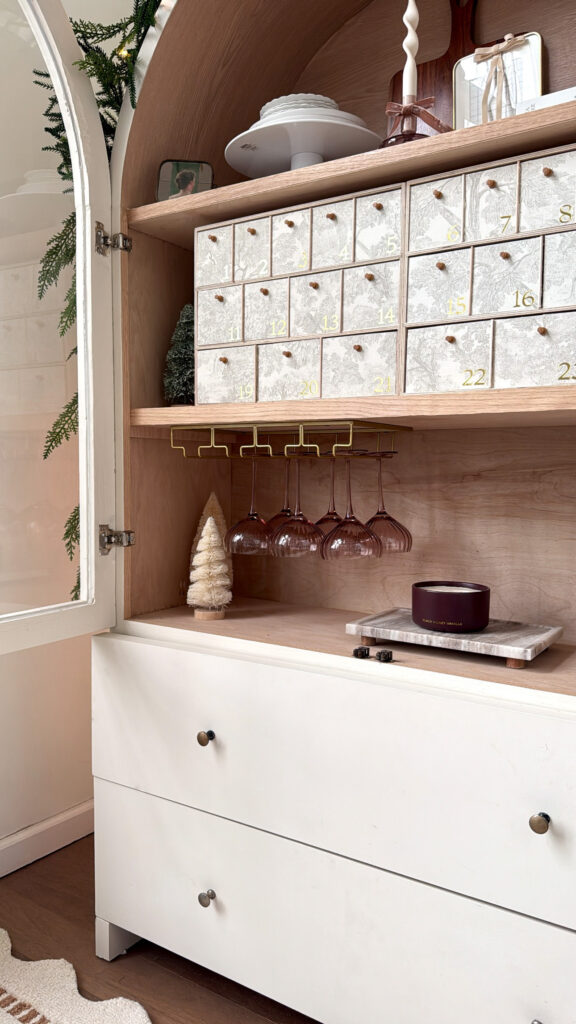
The holiday season is a time for joy, creativity, and making cherished memories. One of the best ways to countdown to Christmas is with a personalized advent box! A DIY advent box allows you to customize each day leading up to Christmas, making it extra special for your family and friends. In this guide, we’ll walk you through how to make an advent box with plenty of ideas and tips to make it unforgettable.
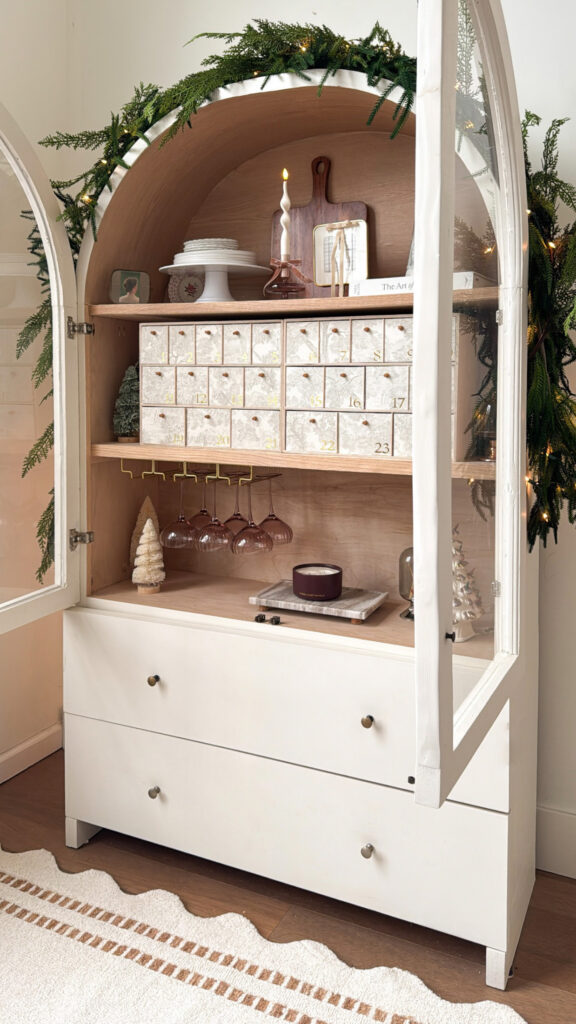
Materials and Tools Needed
- Storage boxes
- Wallpaper
- Wood dowels
- Wood thumb tacks
- Number stickers
- Treat bags
- Dots for treat bags
- Drill
- Hot glue gun
Step-by-Step Guide
Step 1: Wallpaper Your Box
Cover the exterior of your box with wallpaper or decorative craft paper for a polished, festive look. Use glue or tape to secure it, ensuring there are no wrinkles or air bubbles. This step will give your advent box a professional, holiday-ready appearance.
- Measure and cut the wallpaper to fit each surface of your box (top, bottom, and sides).
- Use glue or tape to attach the wallpaper, ensuring it adheres securely.
- Smooth out any air bubbles as you go for a professional finish.
This simple step instantly elevates your box, transforming it into a stunning holiday centerpiece.
Step 2: Build the Drawers
To mimic the look of individual drawers for each day of December, you’ll need to create compartments inside the box using wooden dowels.
- Measure the interior dimensions of your box and plan the layout to form 24 evenly sized slots.
- Cut the wooden dowels to fit your measurements.
- Use a hot glue gun to secure the dowels in place, creating a sturdy and neat grid.
These compartments not only organize your surprises but also add a structured, professional appearance to the box.
Step 3: Add Drawer Knobs with Wooden Tacks
For an authentic drawer look, add knobs to each compartment. Wooden tacks are perfect for this detail.
- Drill a small hole in the center of each compartment front.
- Insert a wooden tack into the hole.
- Use hot glue to secure the tack in place, ensuring it stays firmly attached.
This simple addition not only enhances the design but also makes it easy to open and access each day’s treat.
Step 4: Number your Drawers
- Use numbered stickers or handwritten labels to mark each section from 1 to 24. Arrange them in sequence or scatter them randomly for added fun.
Step 5: Fill Your Drawers
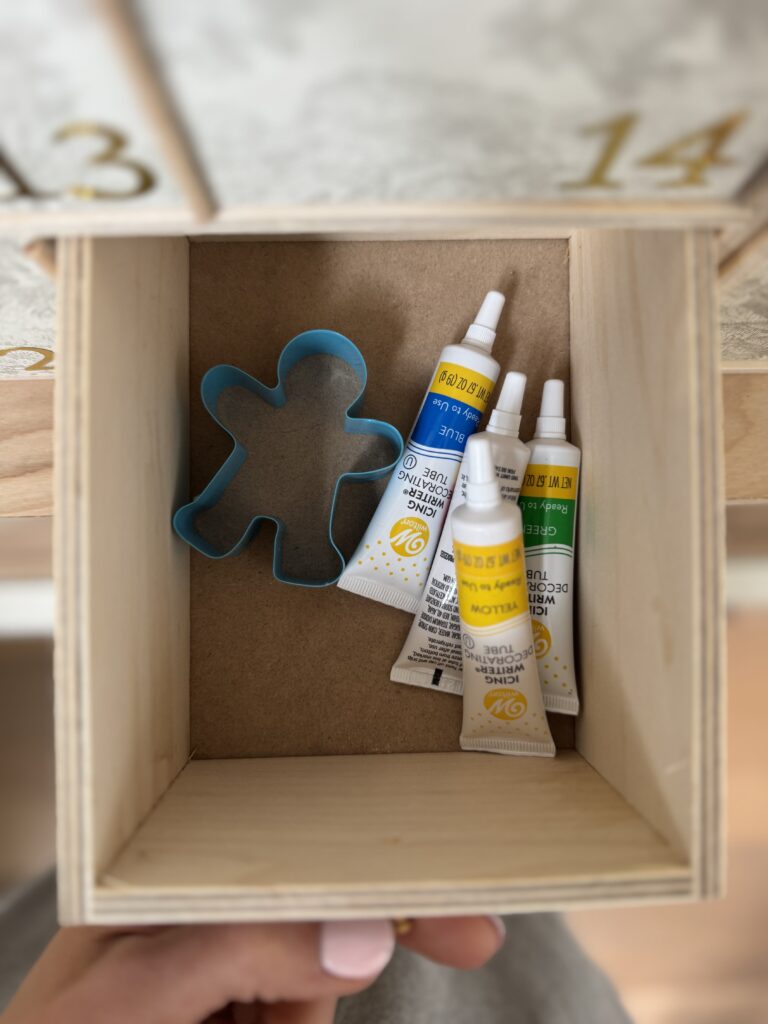
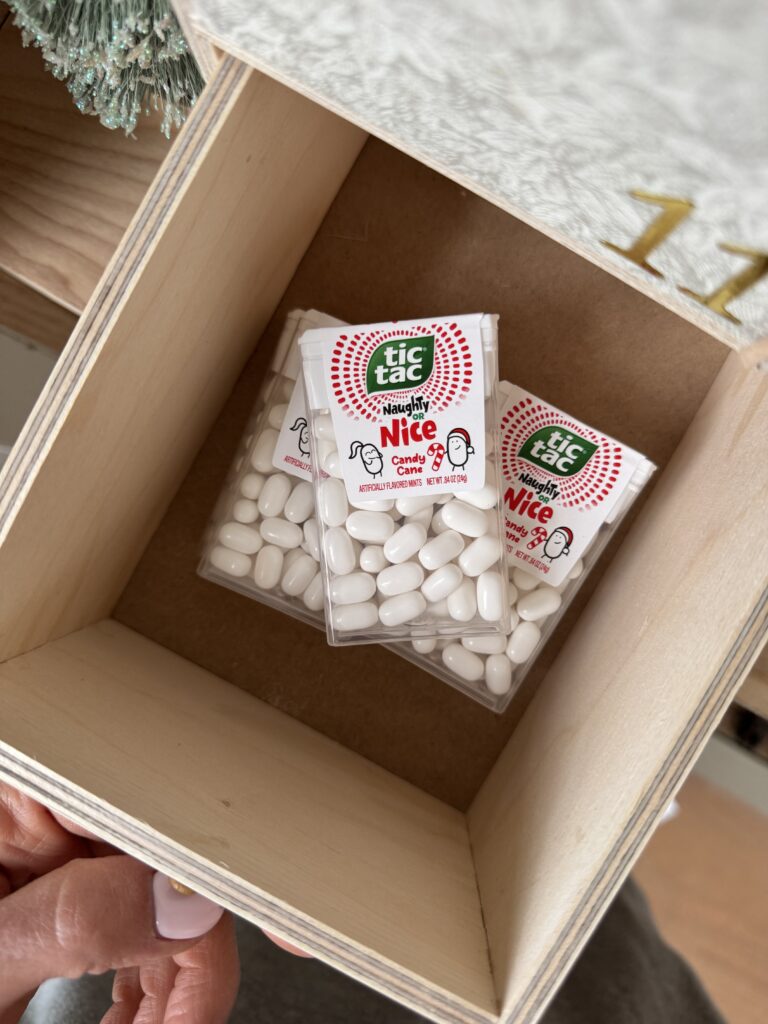
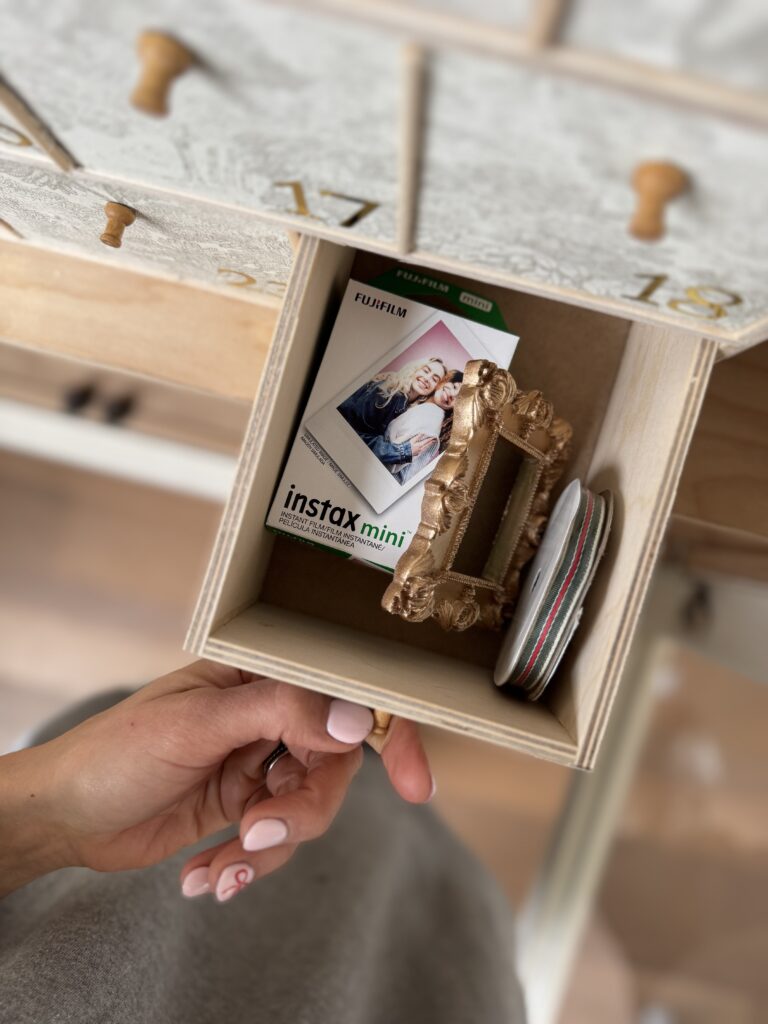
When it’s time to stuff your advent box, get creative with your gifts! For larger compartments that hold multiple days’ worth of items, use small bags to organize the surprises. Number the bags with little dots and labels to keep everything in order.
Here are some fun and family-friendly ideas for advent box fillers:
- Cookie cutters for holiday baking
- Candy to satisfy a sweet tooth
- Instant mini camera film and frames for capturing festive memories
- Socks for cozy and practical fun
- Personalized notes, riddles, or holiday-themed jokes
- DIY coupons for experiences like “Movie Night” or “Baking Cookies Together”
- Small toys, beauty samples, or other thoughtful gifts
Step 6. Display Your Advent Box
- Place your completed advent box in a prominent spot, like a mantel or a decorated table, where it can be a festive centerpiece for the season.
Final Thoughts:
Creating this DIY advent box was such a fulfilling experience. I loved planning out every detail, from selecting the gifts to crafting the compartments. It was a labor of love that I know my family will cherish, not just this year, but for many Christmases to come. The joy and excitement it brings to our holiday traditions make every bit of effort worth it.
Whether you’re making one for a loved one or yourself, this step-by-step guide on how to make an advent box will inspire you to craft something truly special. There’s nothing quite like the magic of opening a little surprise each day and savoring the holiday season together.
Tips for Making Your DIY Advent Box Stand Out
Start Early: Allow plenty of time to gather materials and put everything together.
Personalize It: Tailor the contents to the recipient’s interests for a thoughtful touch.
Add Variety: Mix treats, trinkets, and experiences to keep the surprises exciting.
Be Practical: Include both fun and useful items to balance the box’s appeal.
